vAudit Video Recording Flow (Shopify)
Purpose
This document explains how to create and configure a vAudit Video Recording Flow with Shopify Integration using vMeasure Forge.
Step 1: Create a Workflow in vMeasure Forge
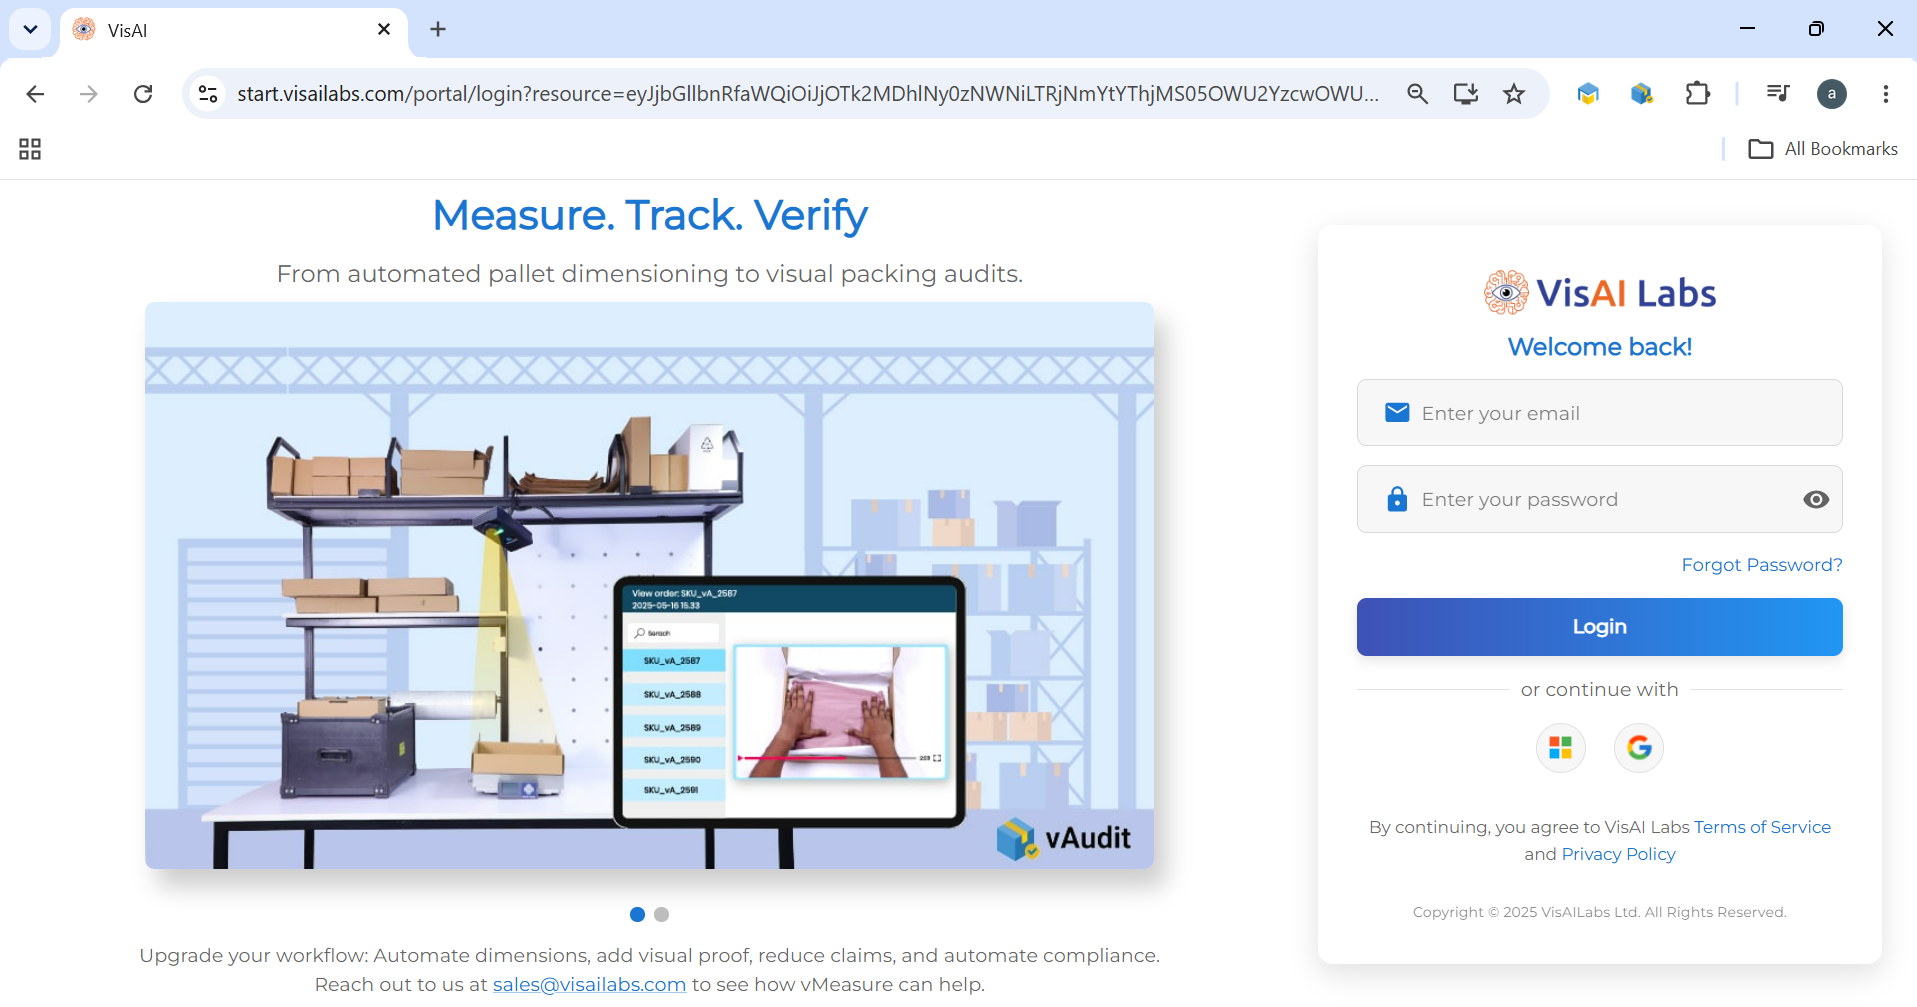
- Log in to vMeasure Forge.
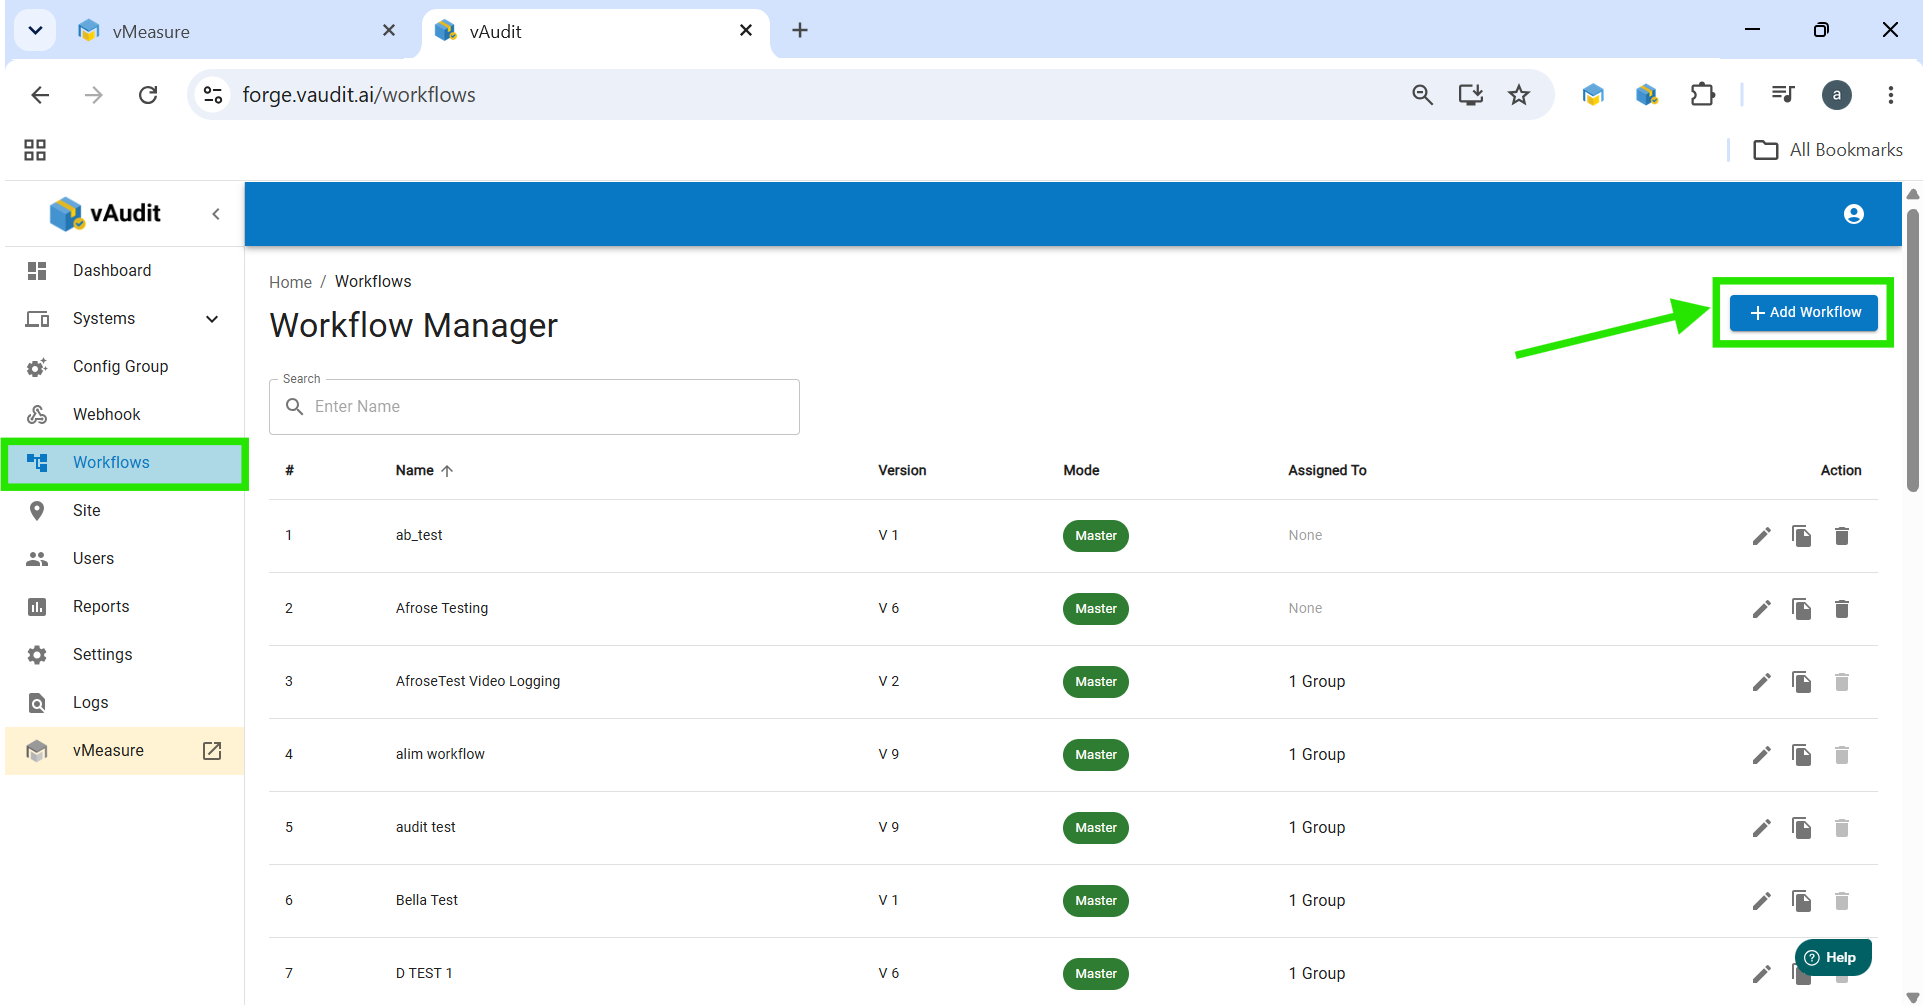
- Navigate to Workflow and click Add Workflow.
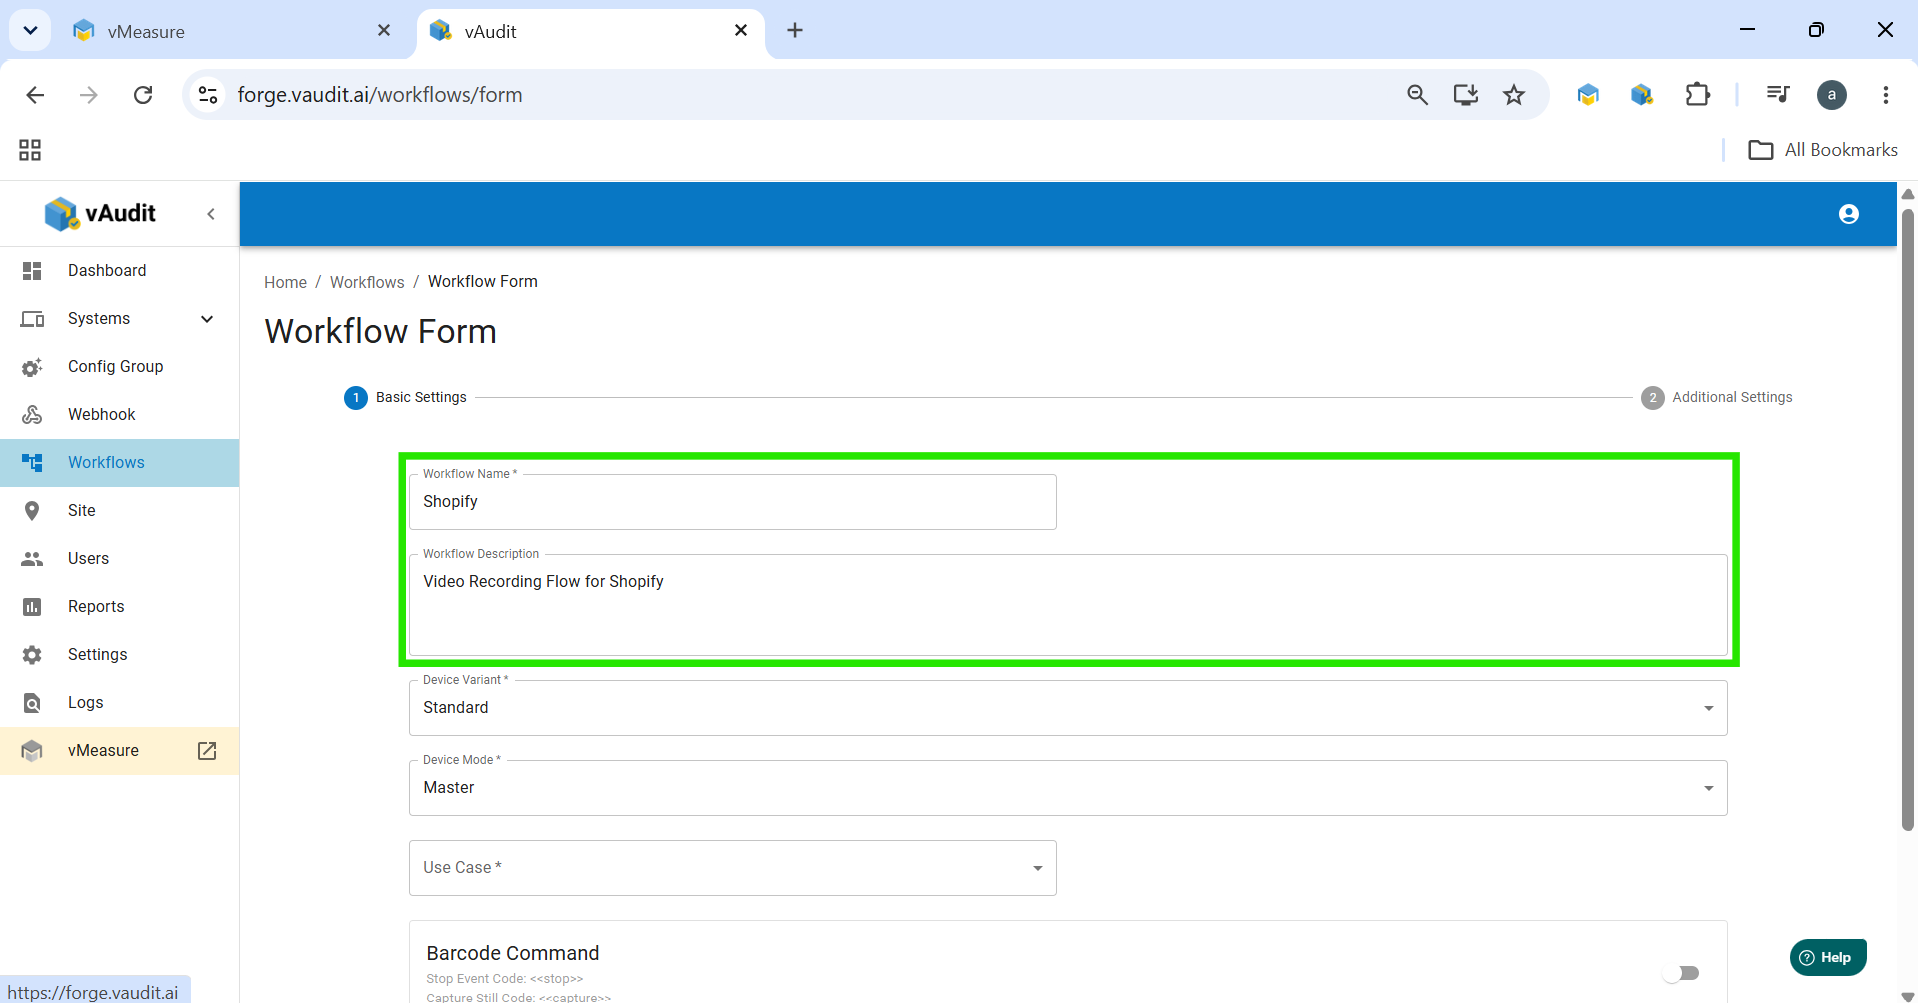
- Enter the required workflow details:
- Workflow Name
- Workflow Description
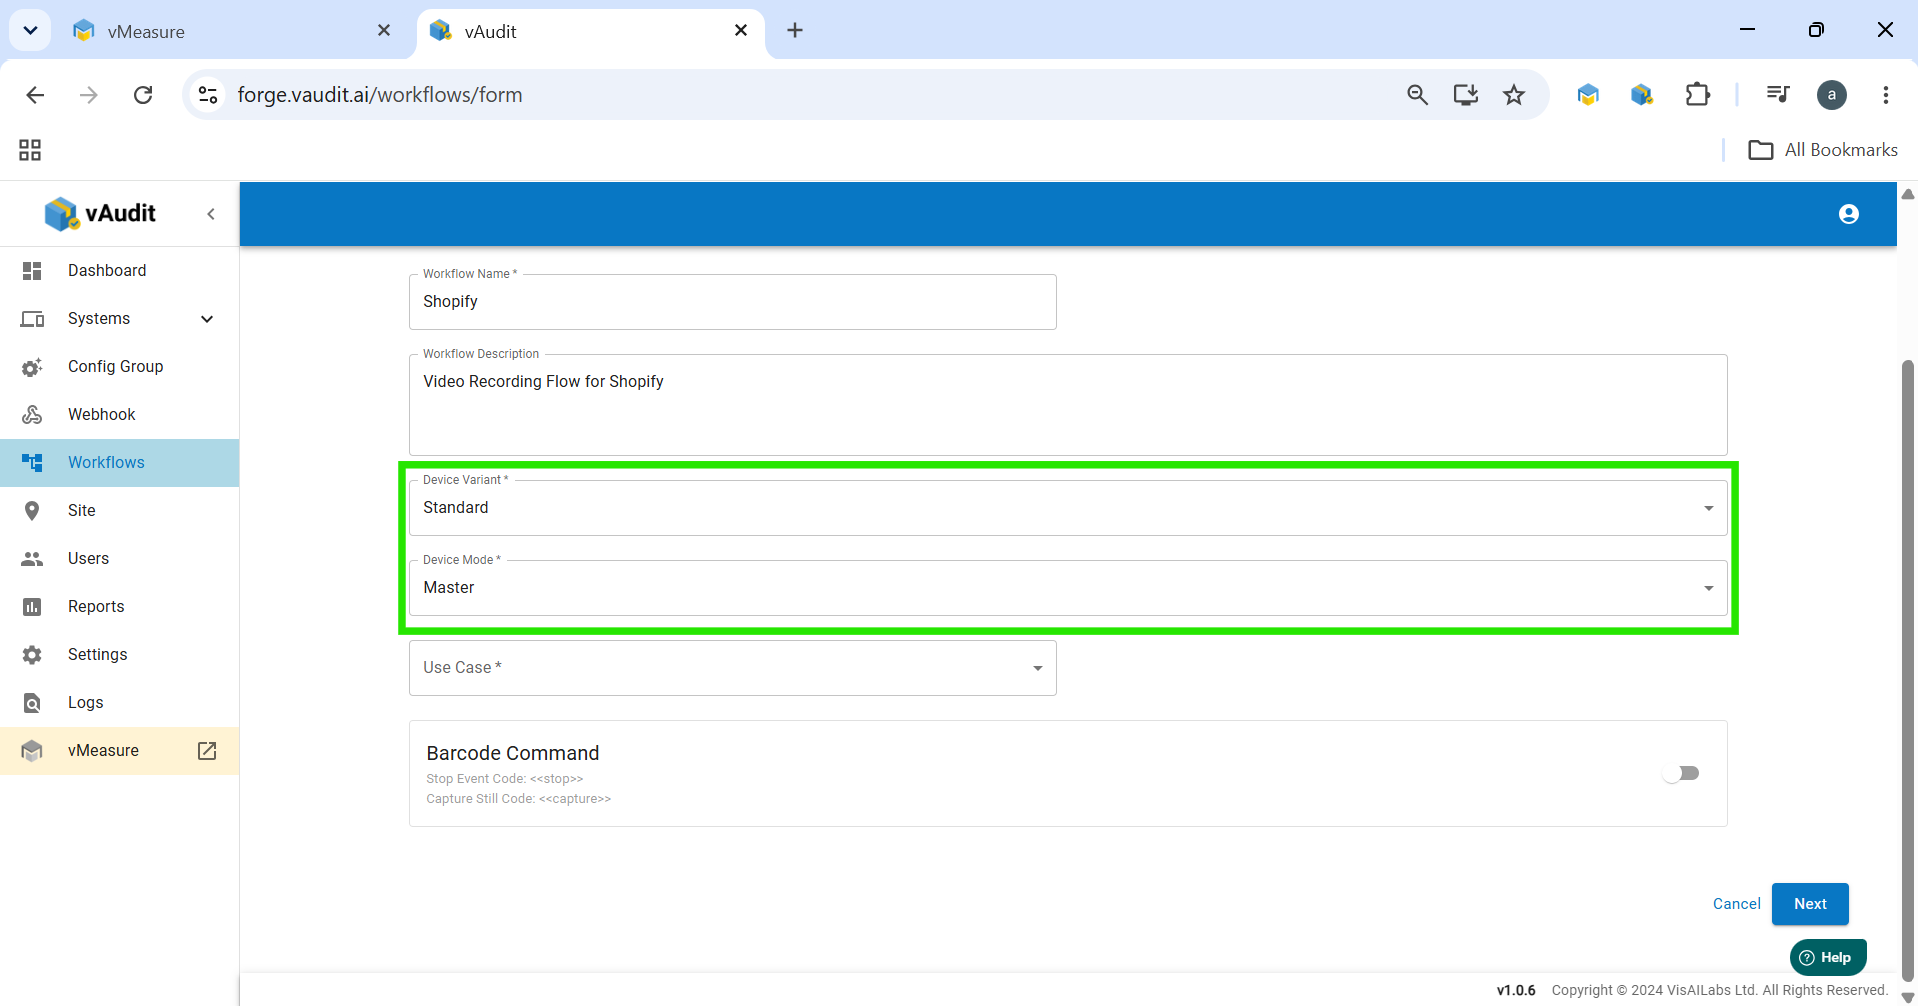
- Configure the workflow with the following settings:
- Device Variant: Standard
- Device Mode: Master
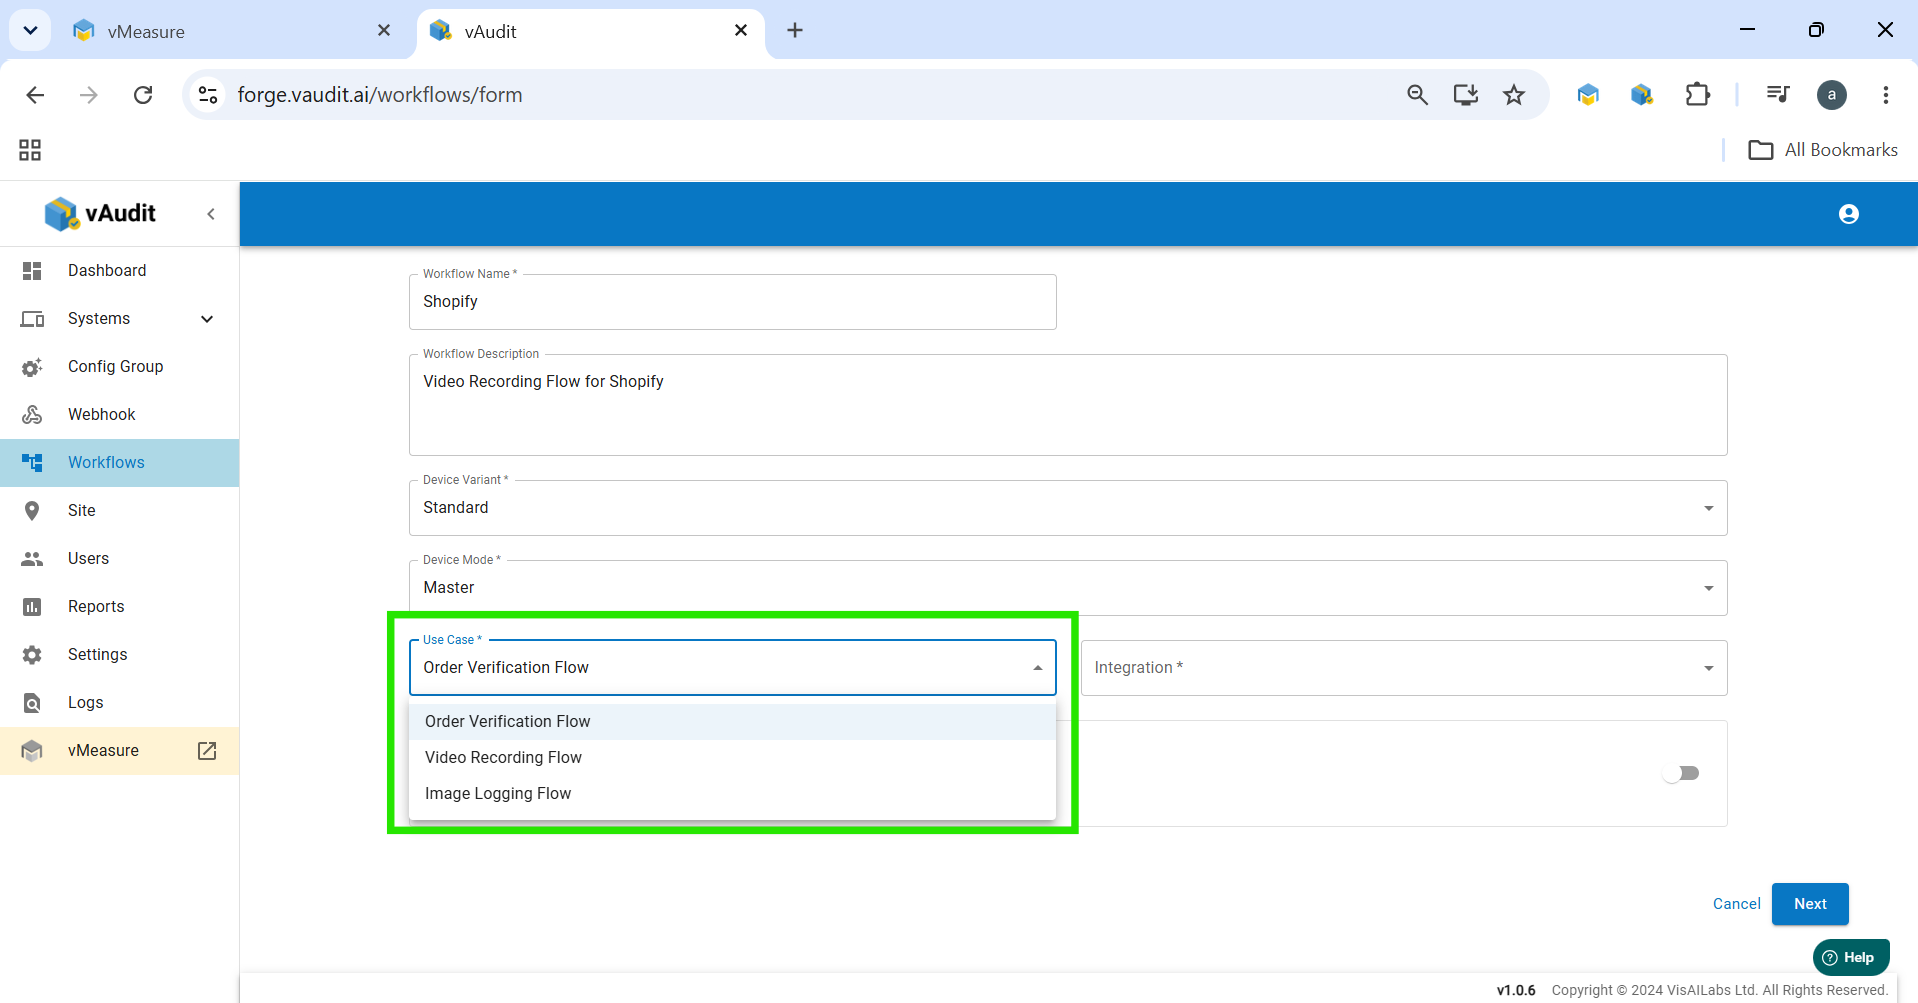
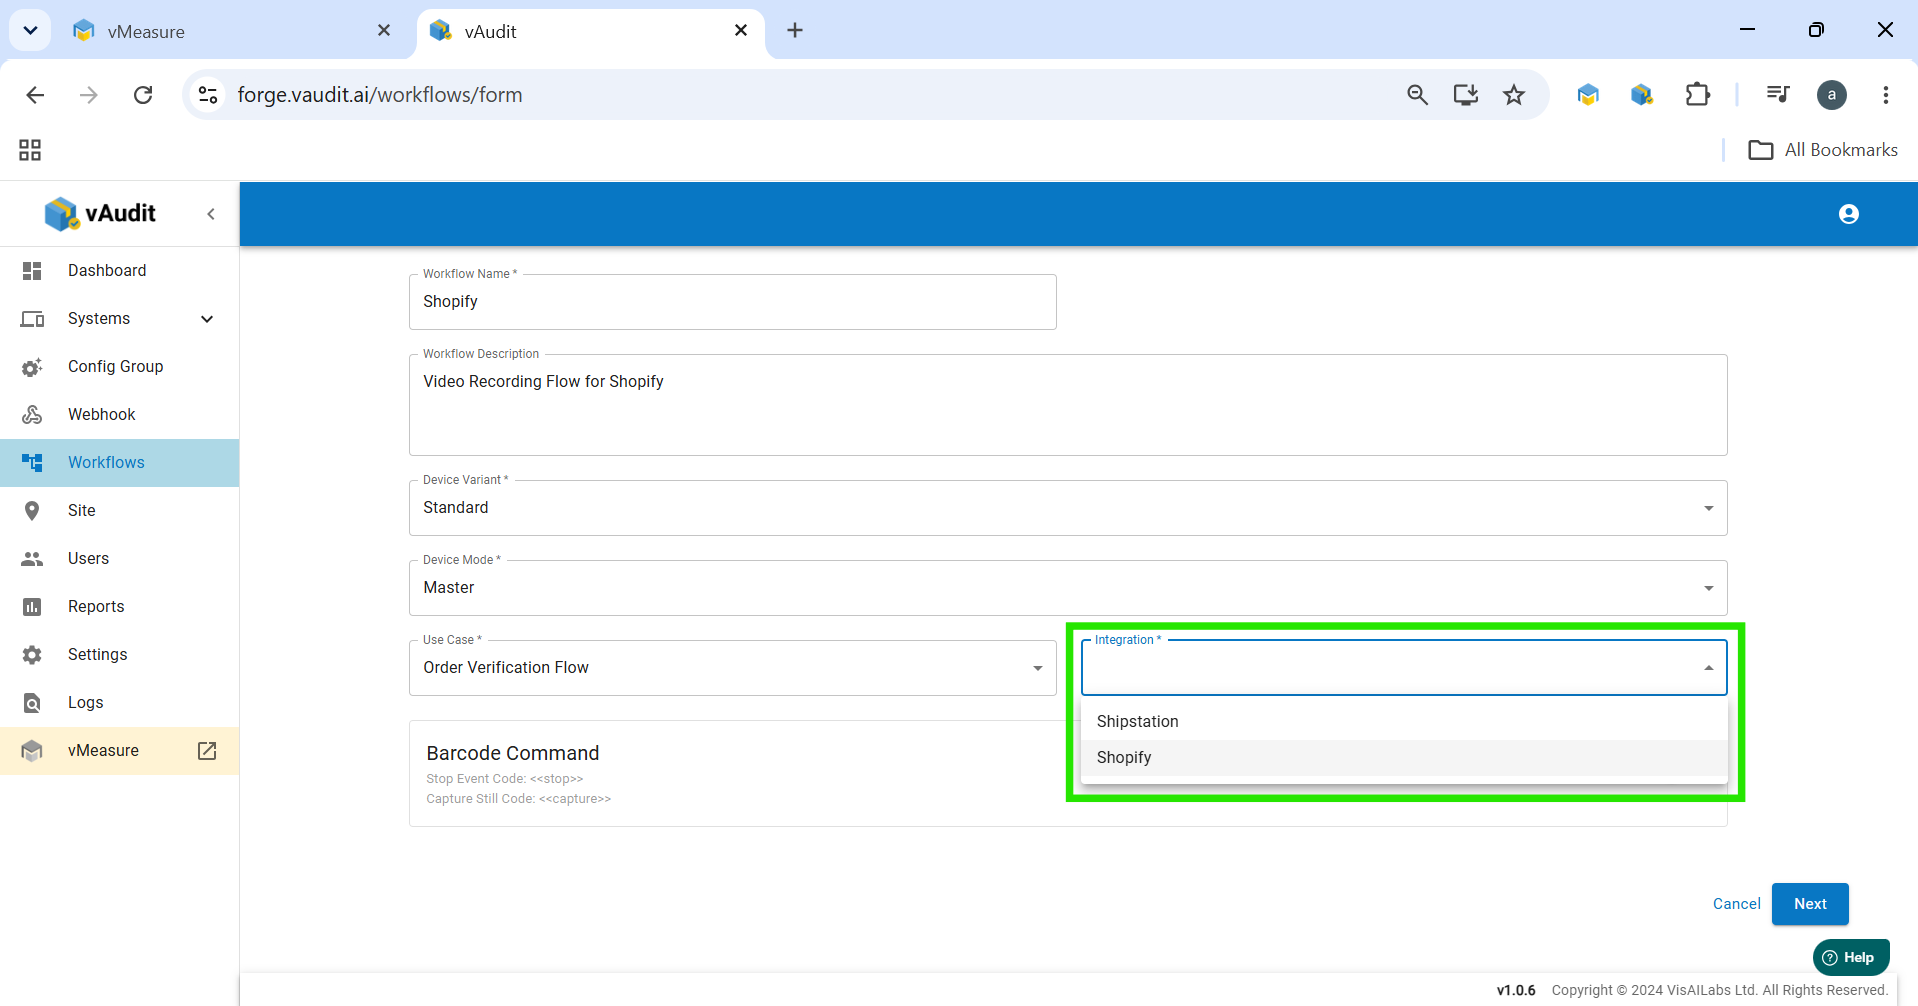
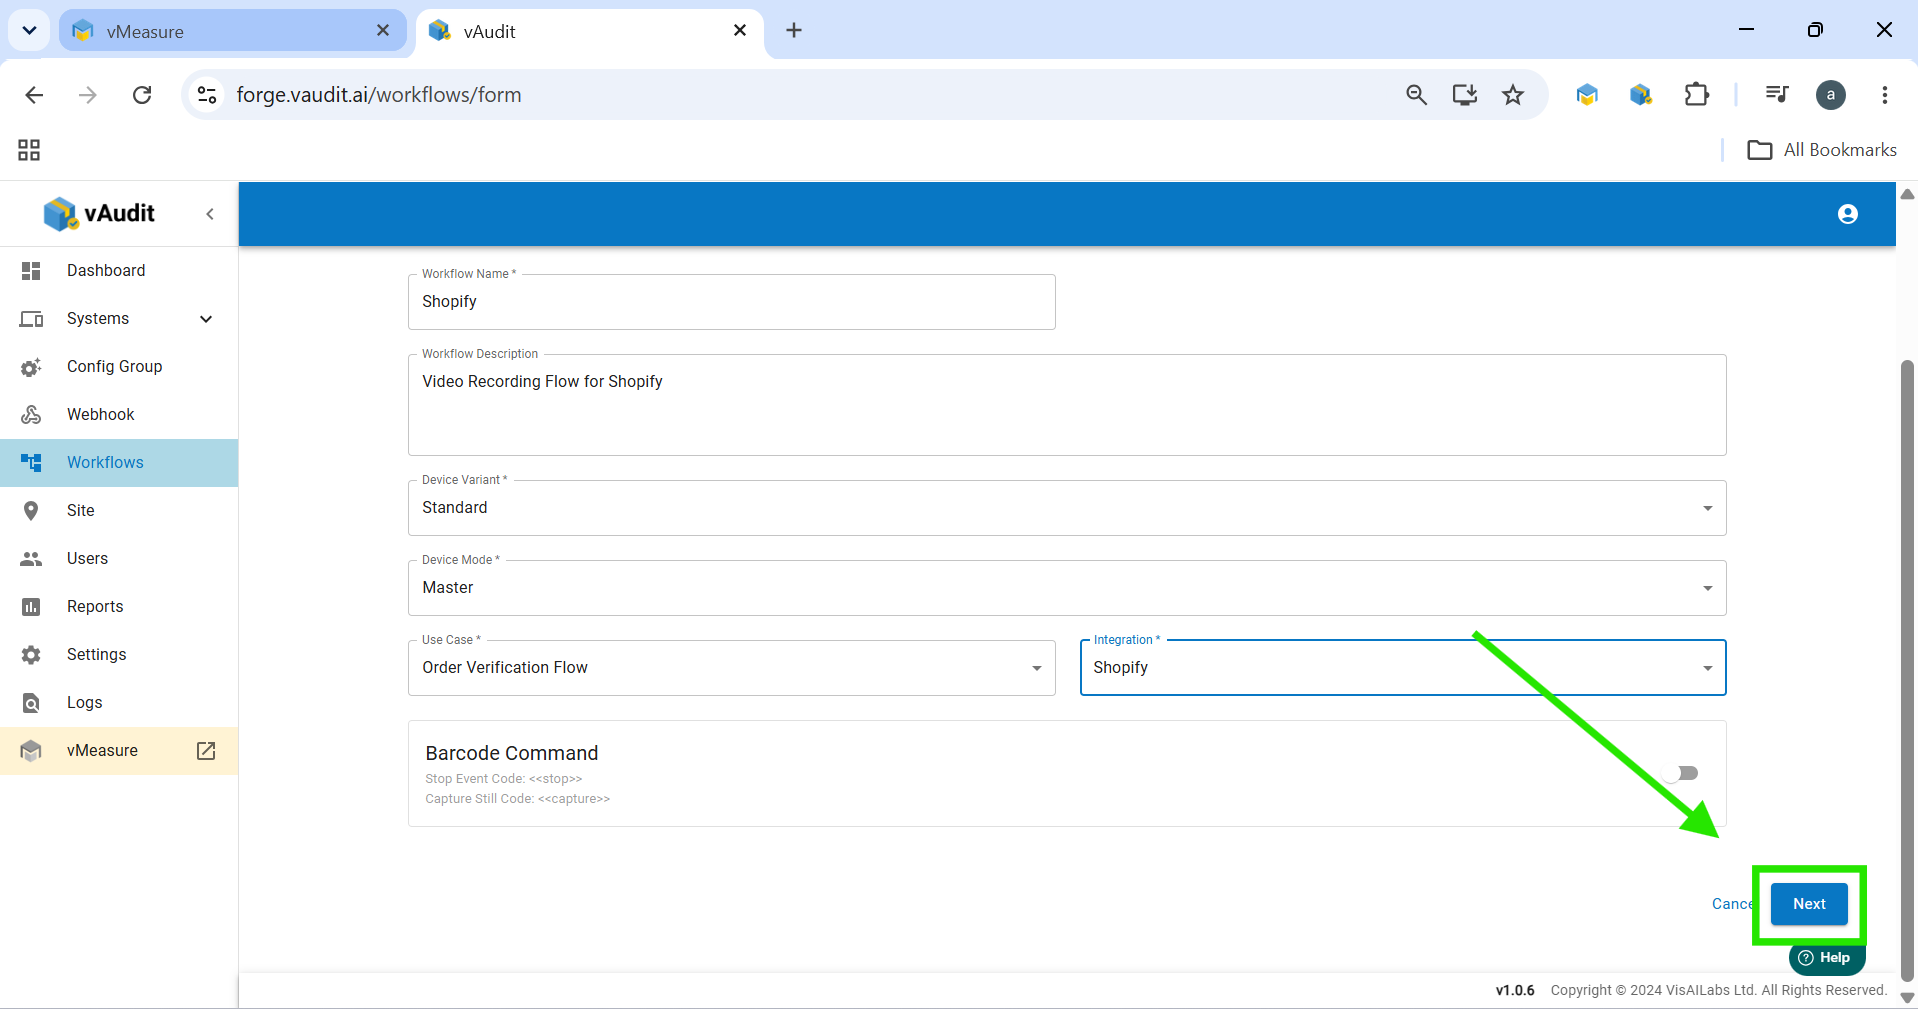
- Select the Use Case as Video Recording Flow, then click Next.
- Configure the barcode settings:
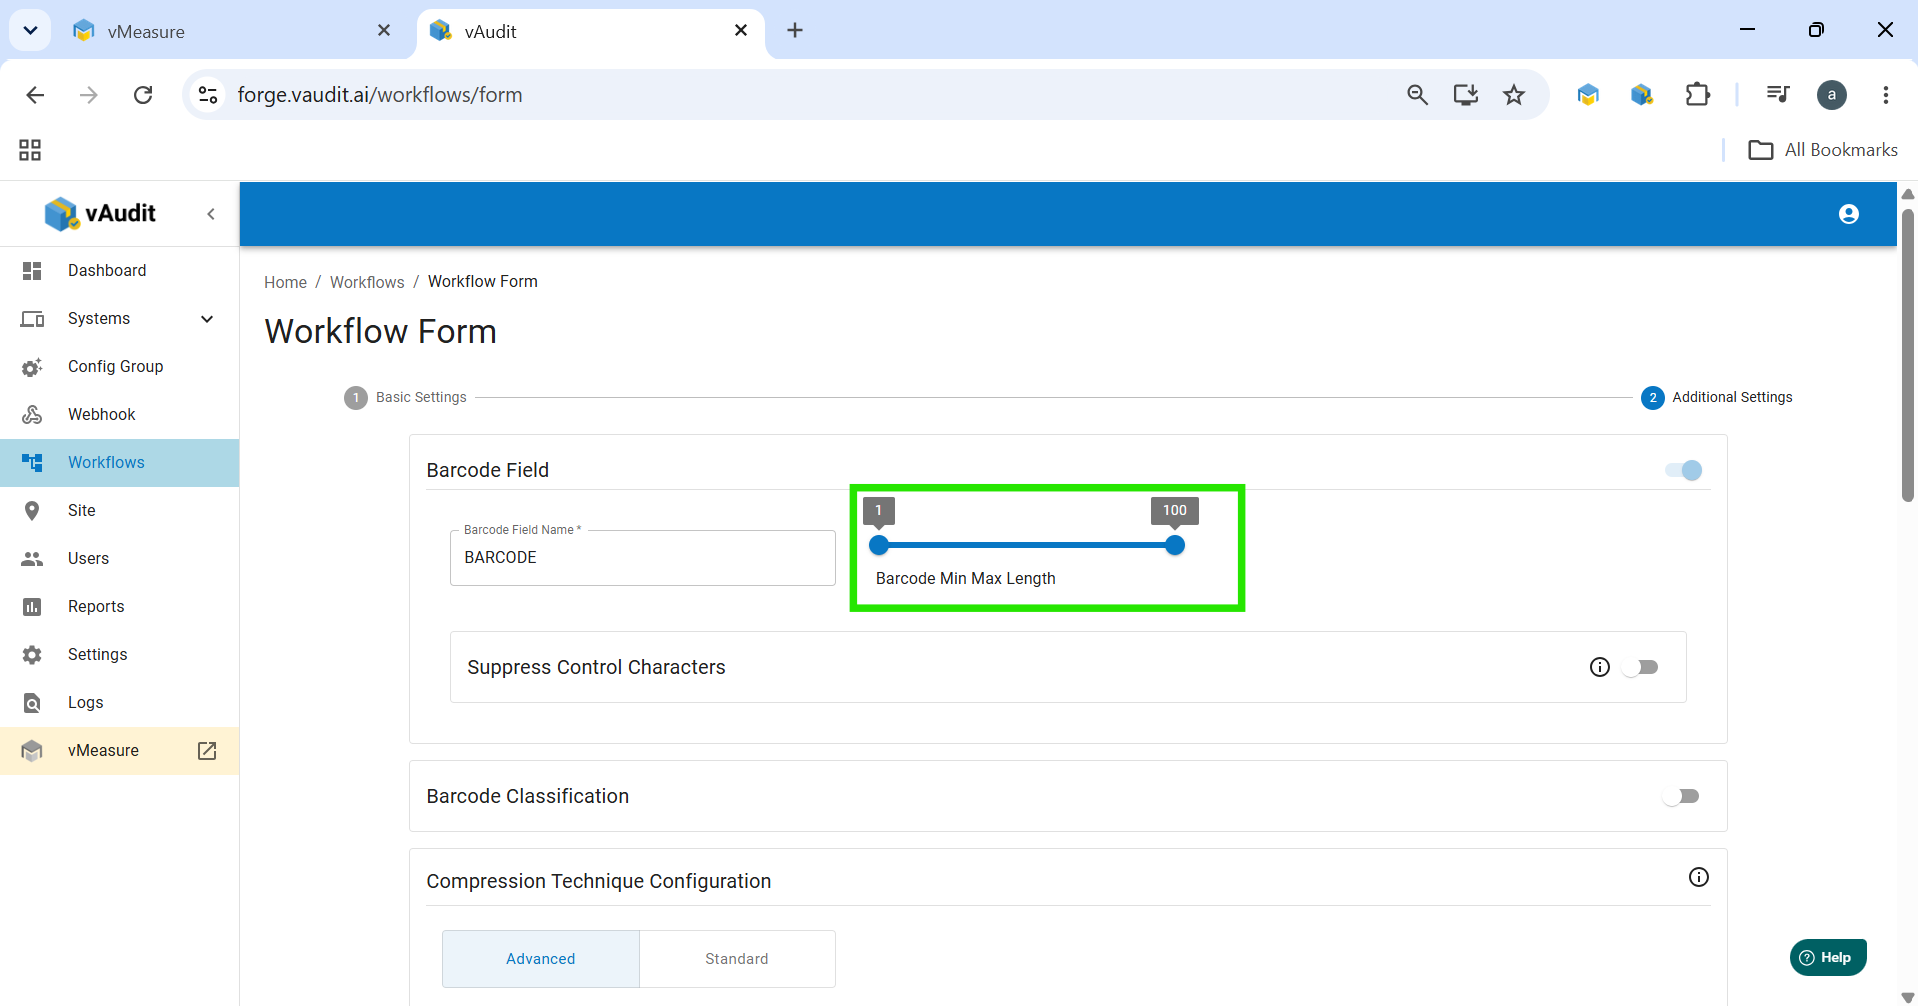
- Enter the Barcode Field Name (for example: Order ID or AWB).
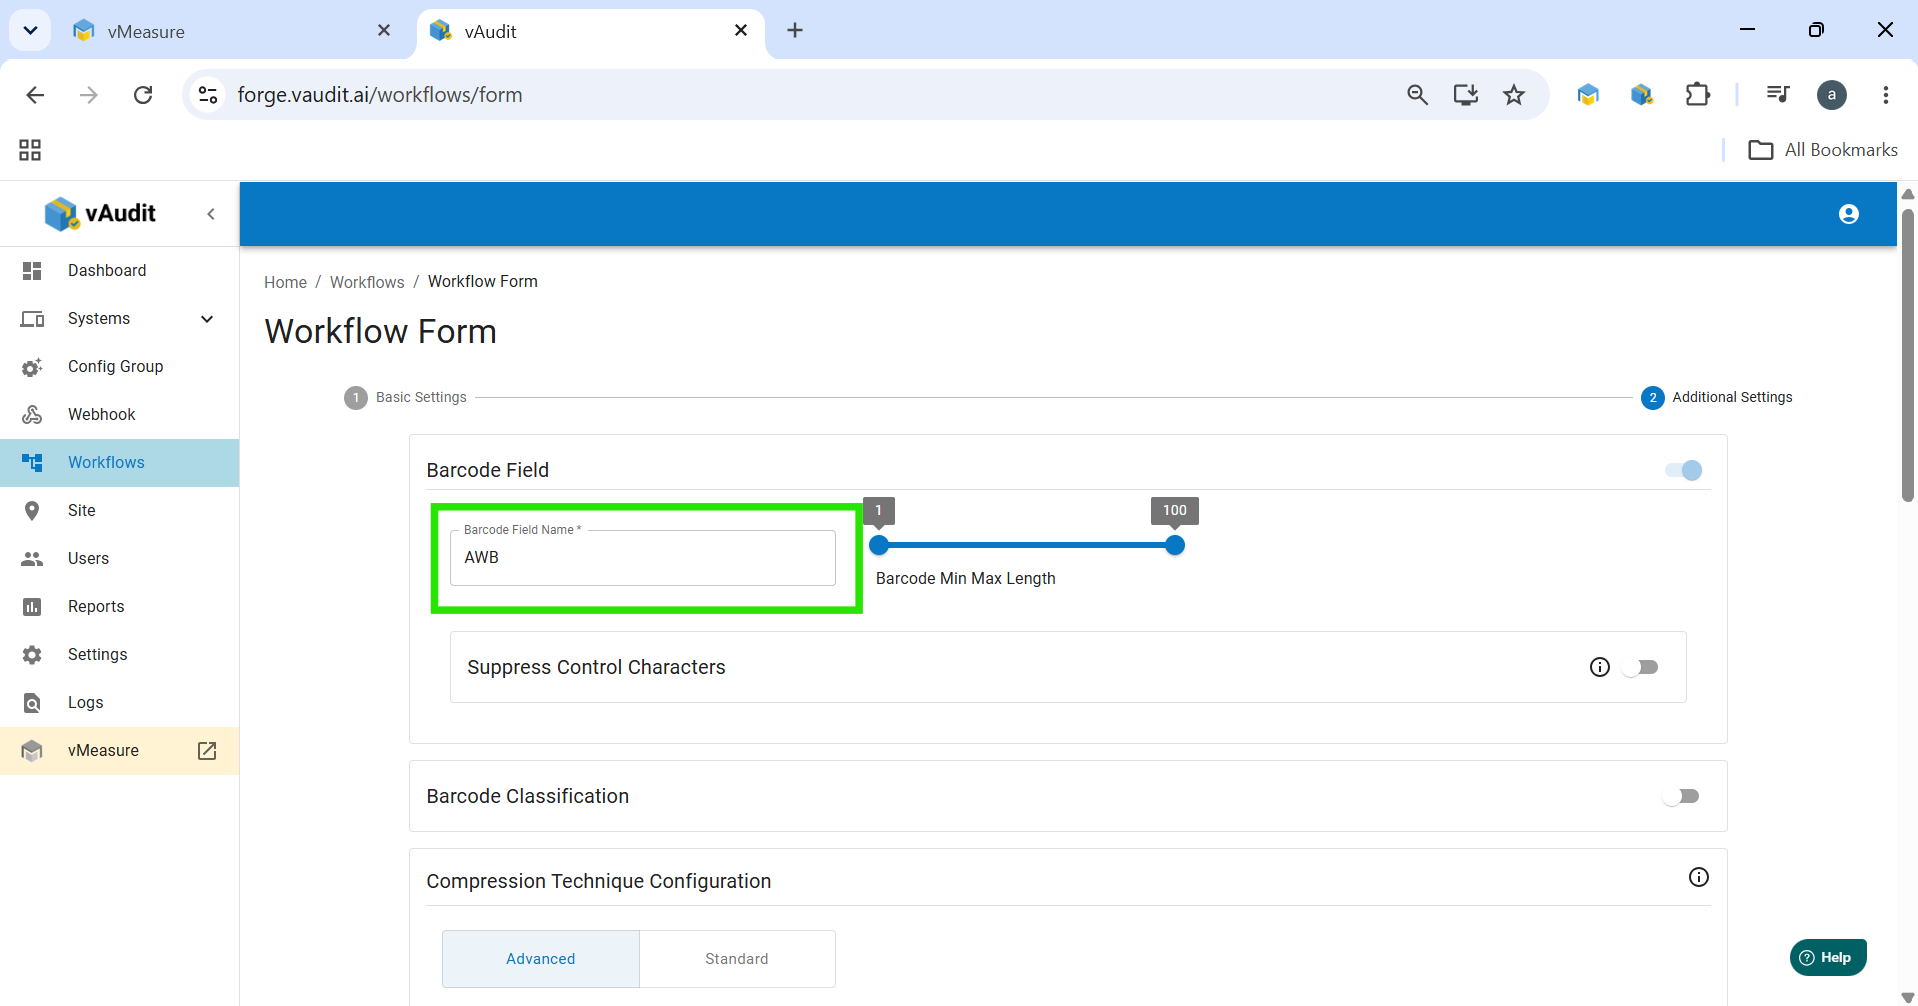
- Set the Barcode Min/Max Length slider to 100.
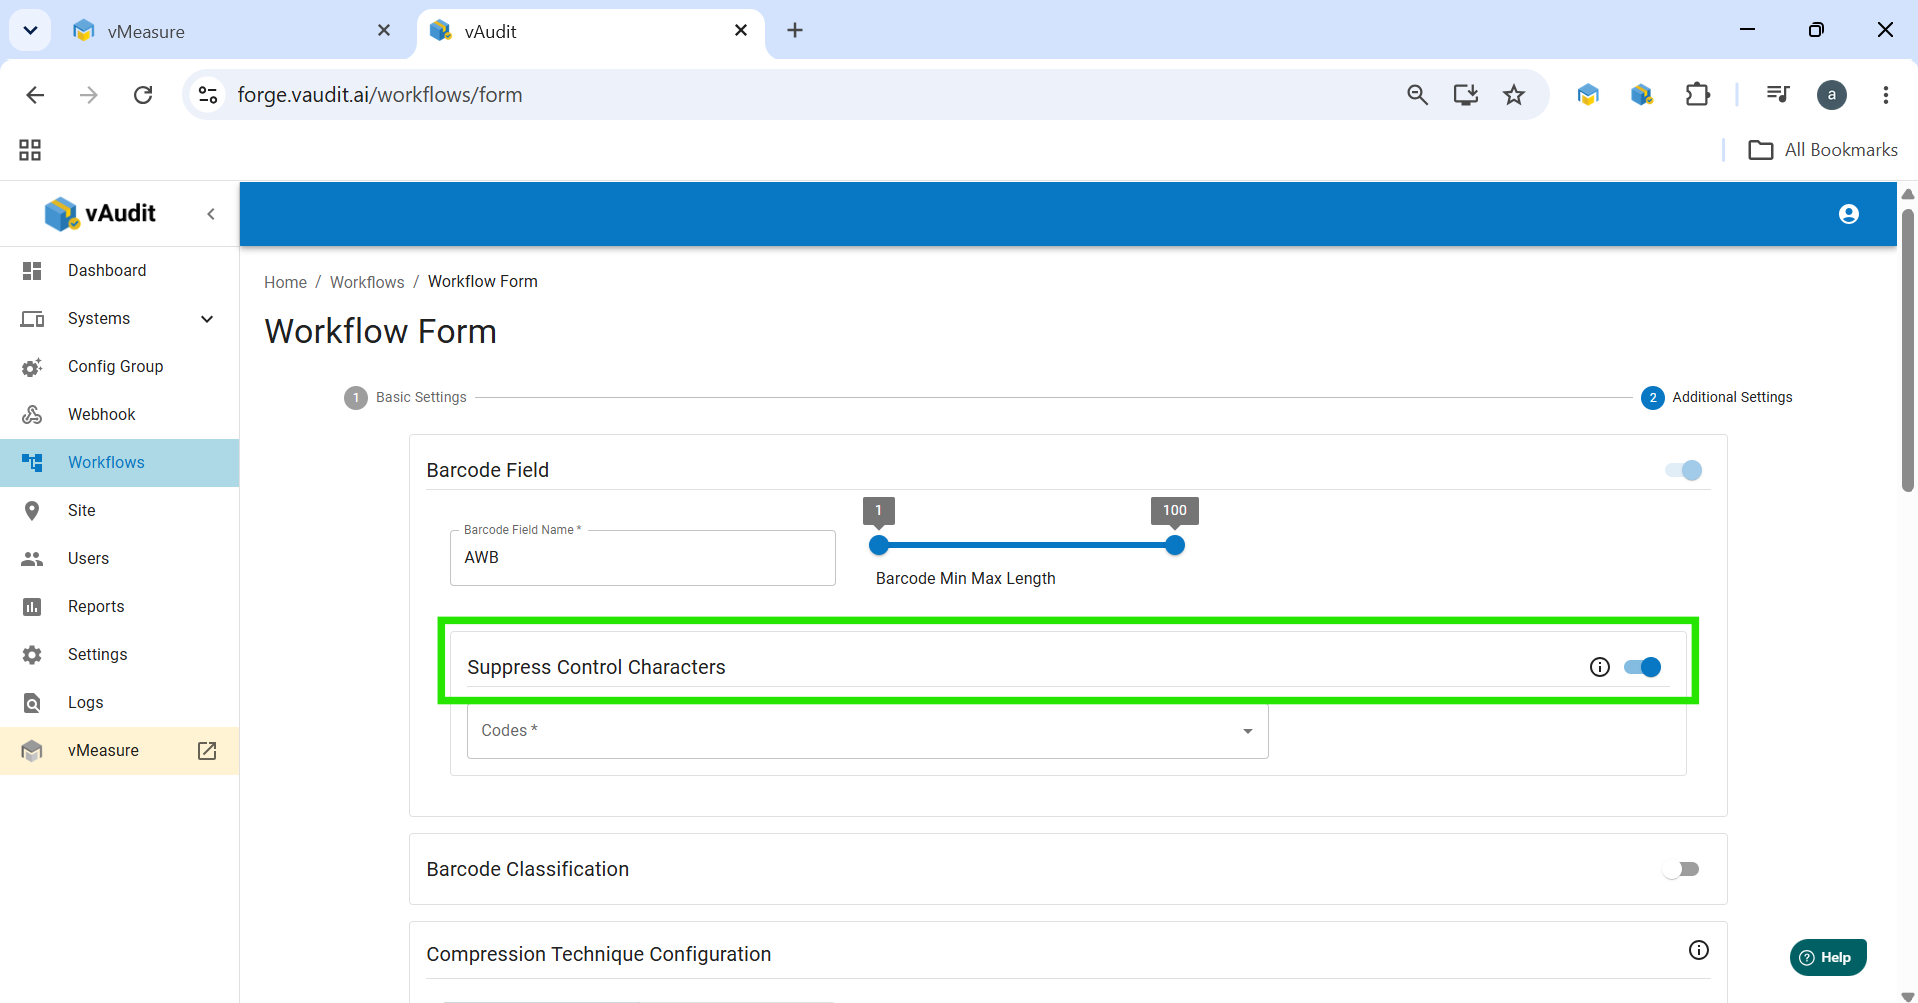
- Enable Suppress Control Characters.
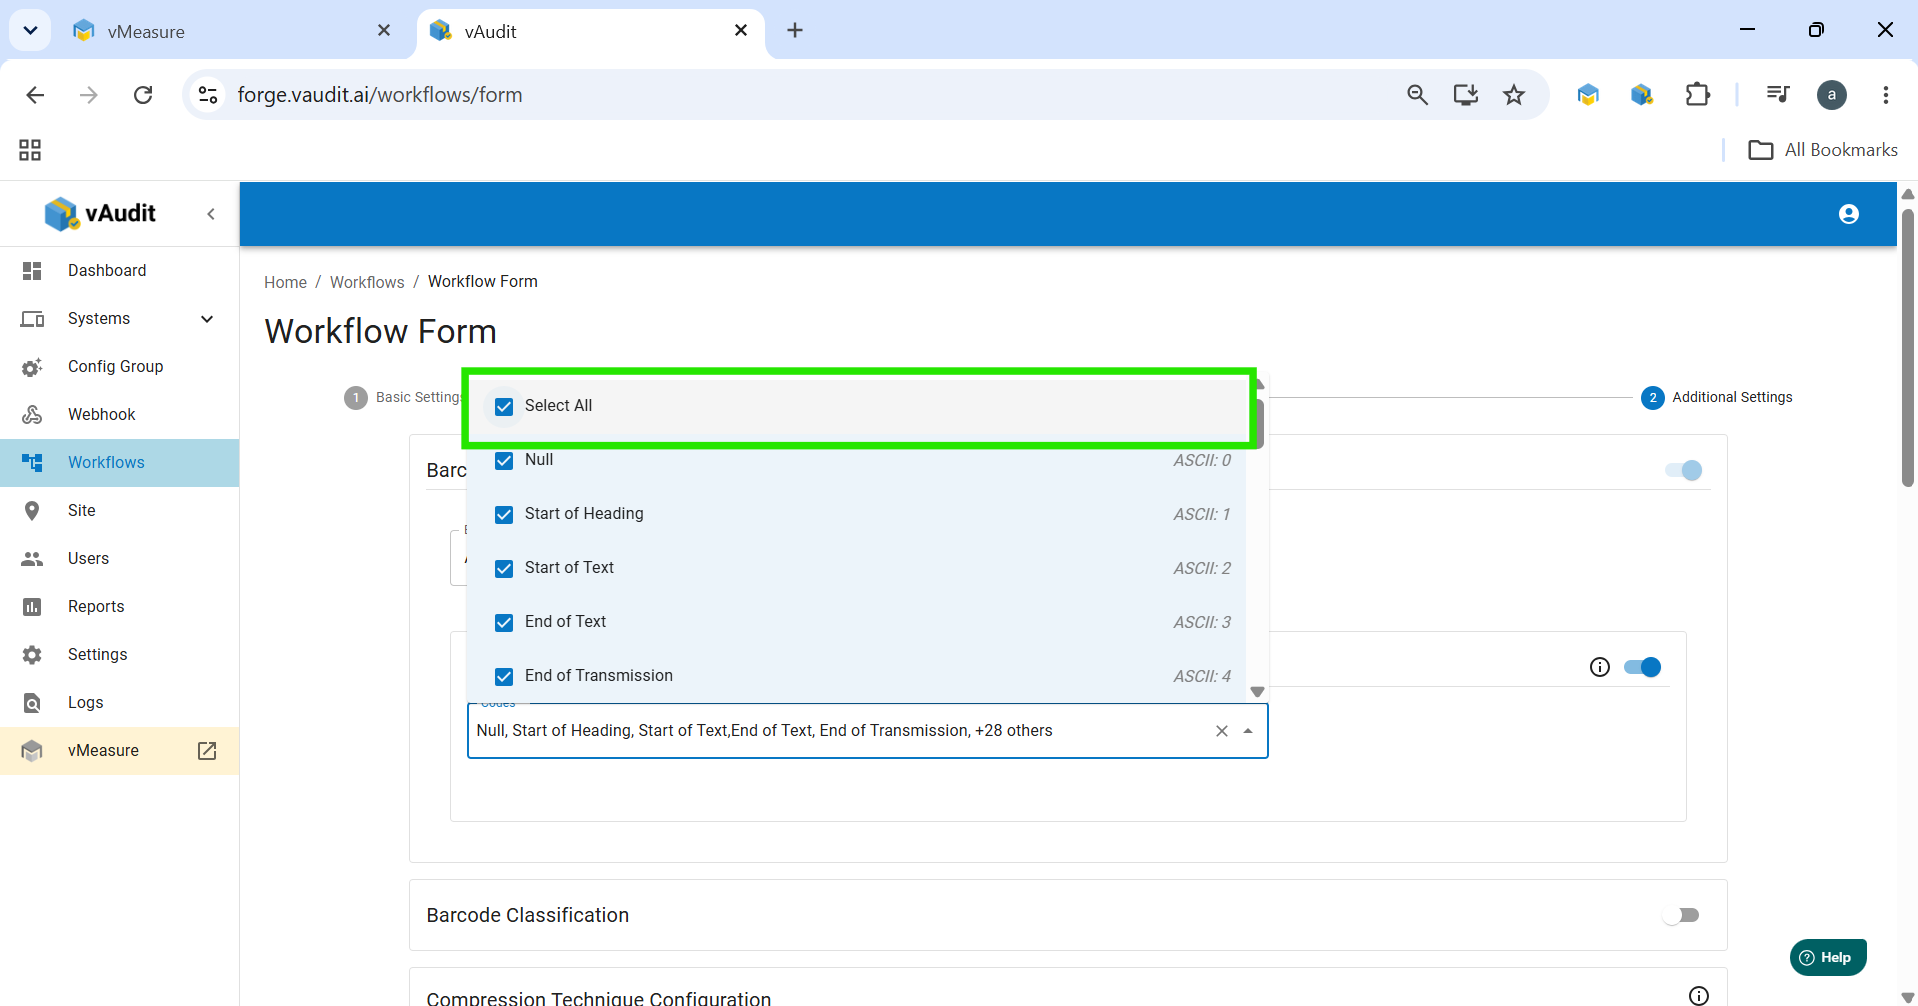
- Click Select All under Barcode Codes.
- Enter the Barcode Field Name (for example: Order ID or AWB).
- Configure Barcode Scan During Event based on your workflow requirement:
- End Event on Same Barcode
- Select this option if the same Order ID or barcode will be scanned to both start and stop the video recording.
- Stop and Start New Event on New Barcode
- Select this option if scanning a new barcode should stop the current recording and automatically start a new recording.
- Stop and Start New Event Always
- Select this option to end the current event whenever a different barcode is scanned.
- End Event on Same Barcode
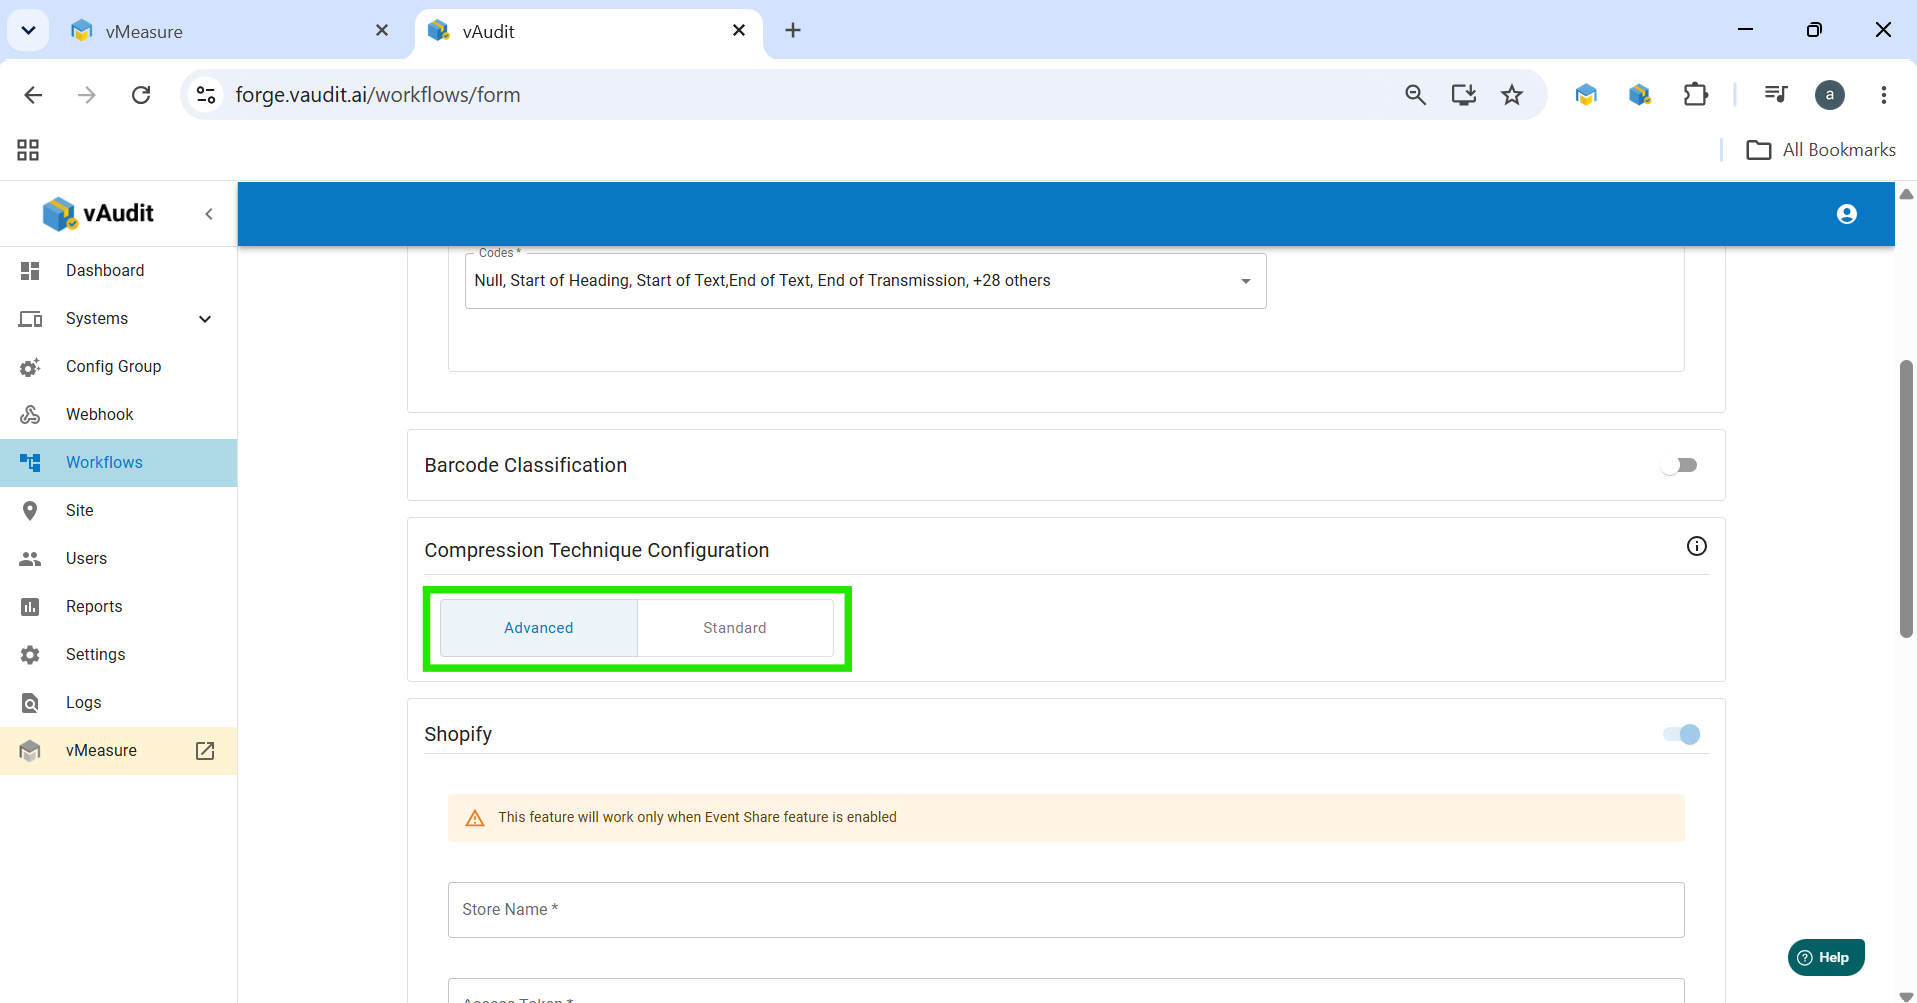
- Select the Compression Technique.
- Advanced Compression
- Provides higher compression, resulting in smaller video file sizes while maintaining video quality.
- Supported by most modern web browsers for seamless playback.
- Standard Compression
- Uses lower compression, resulting in larger file sizes.
- Widely supported across browsers and devices.
- Advanced Compression
Enable Shopify Integration and enter the following details:
- Store Name
- Access Token
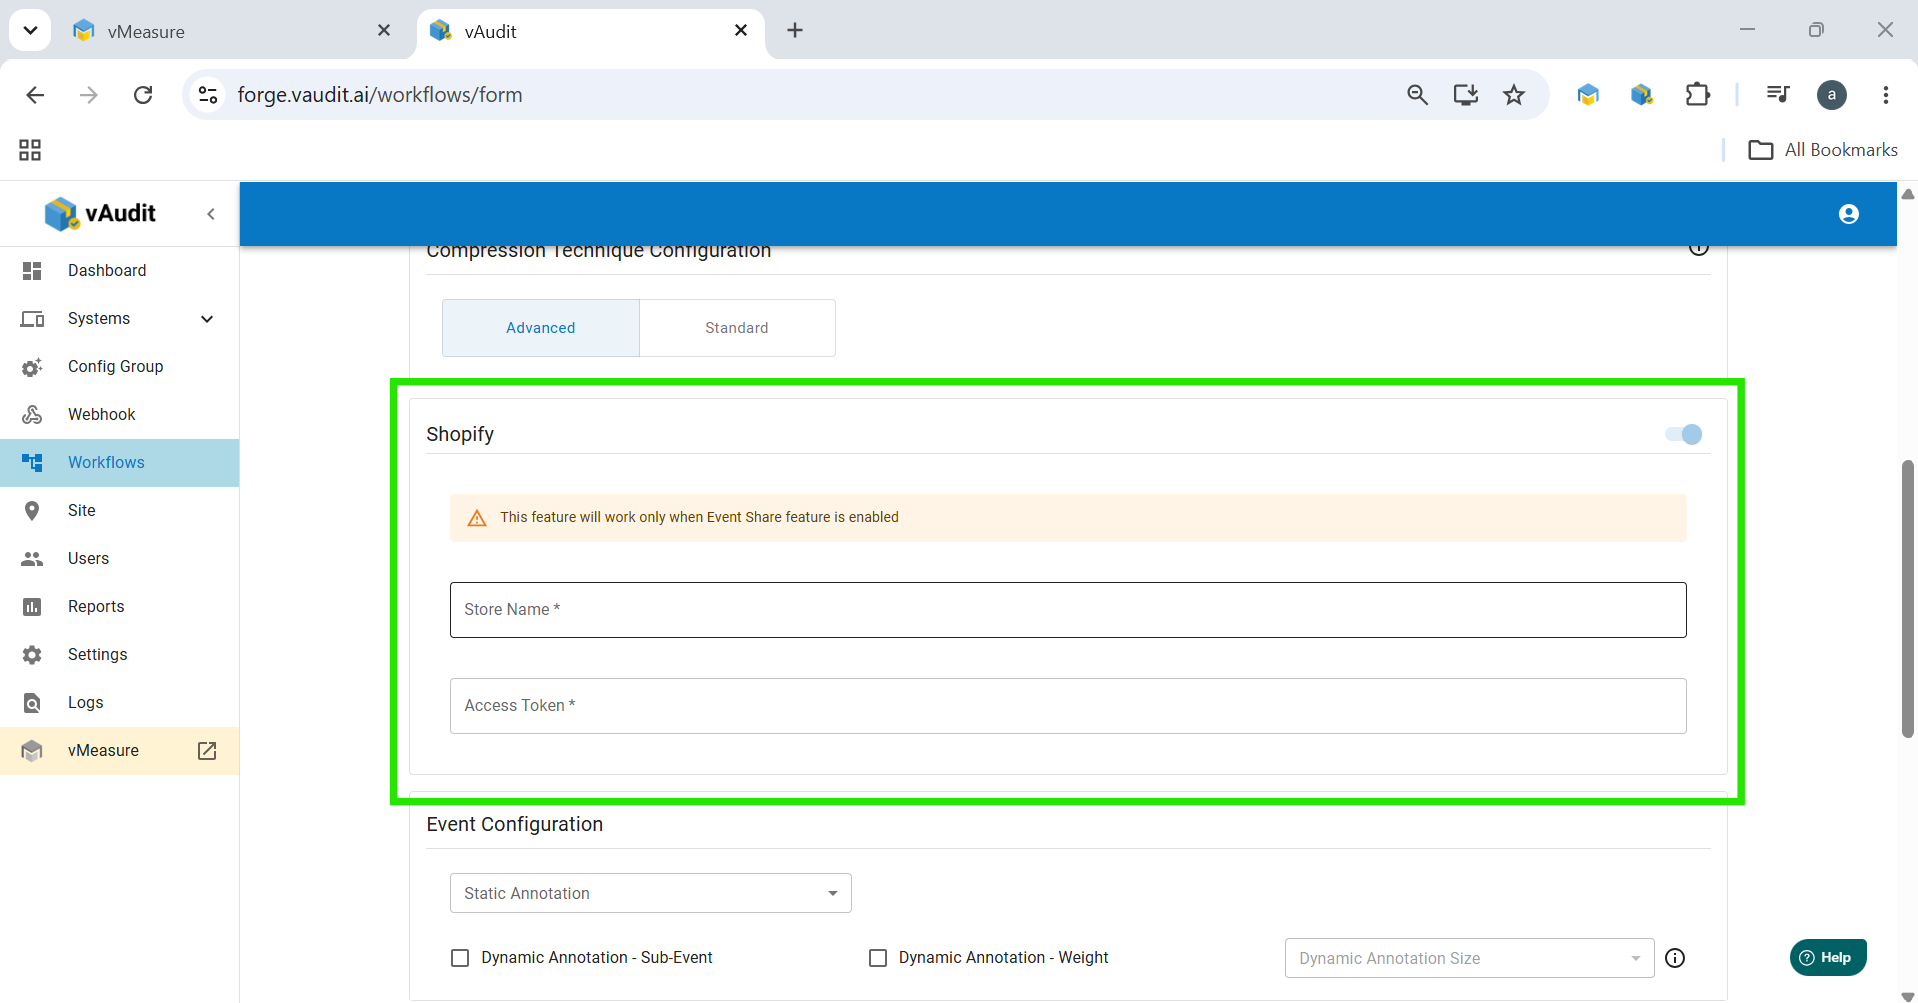
These details can be obtained from your Shopify store.
Note:
- Shopify integration works only when the Event Share feature is enabled.
- Ensure that Event URL Report is enabled under Settings.
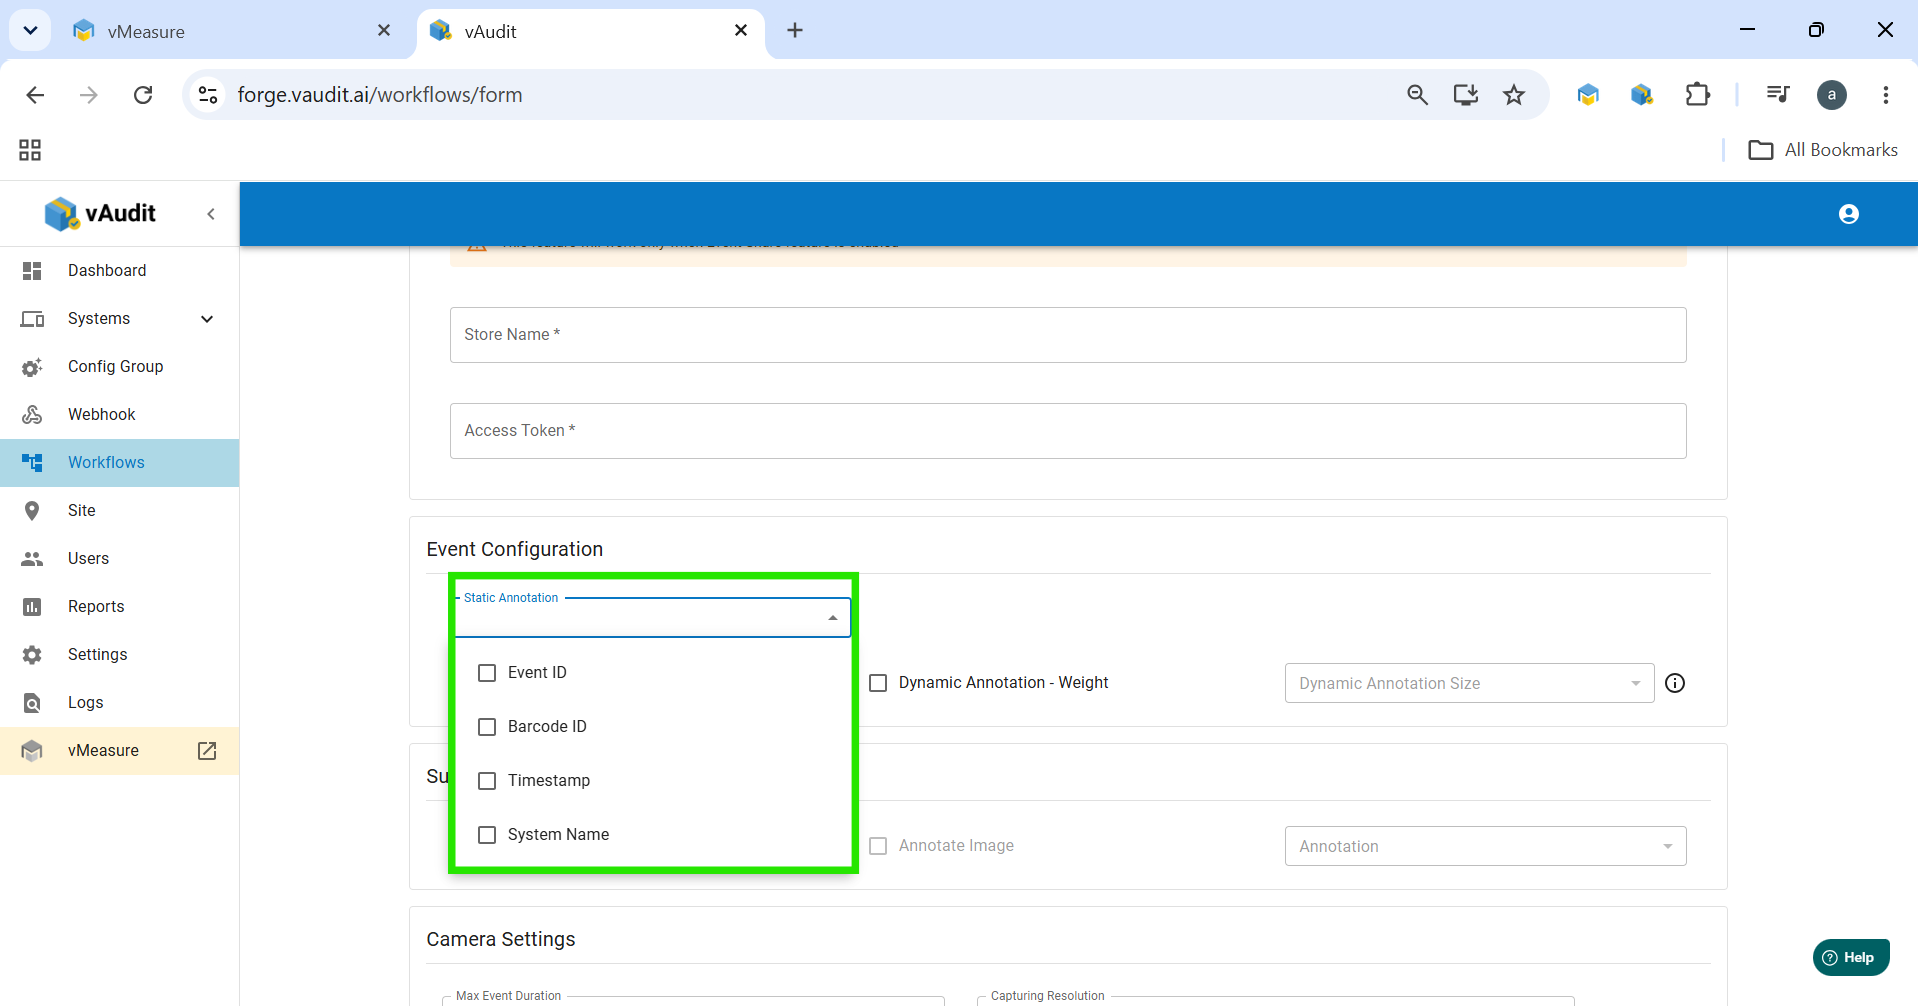
- From the dropdown menu, select the required Event Configuration.
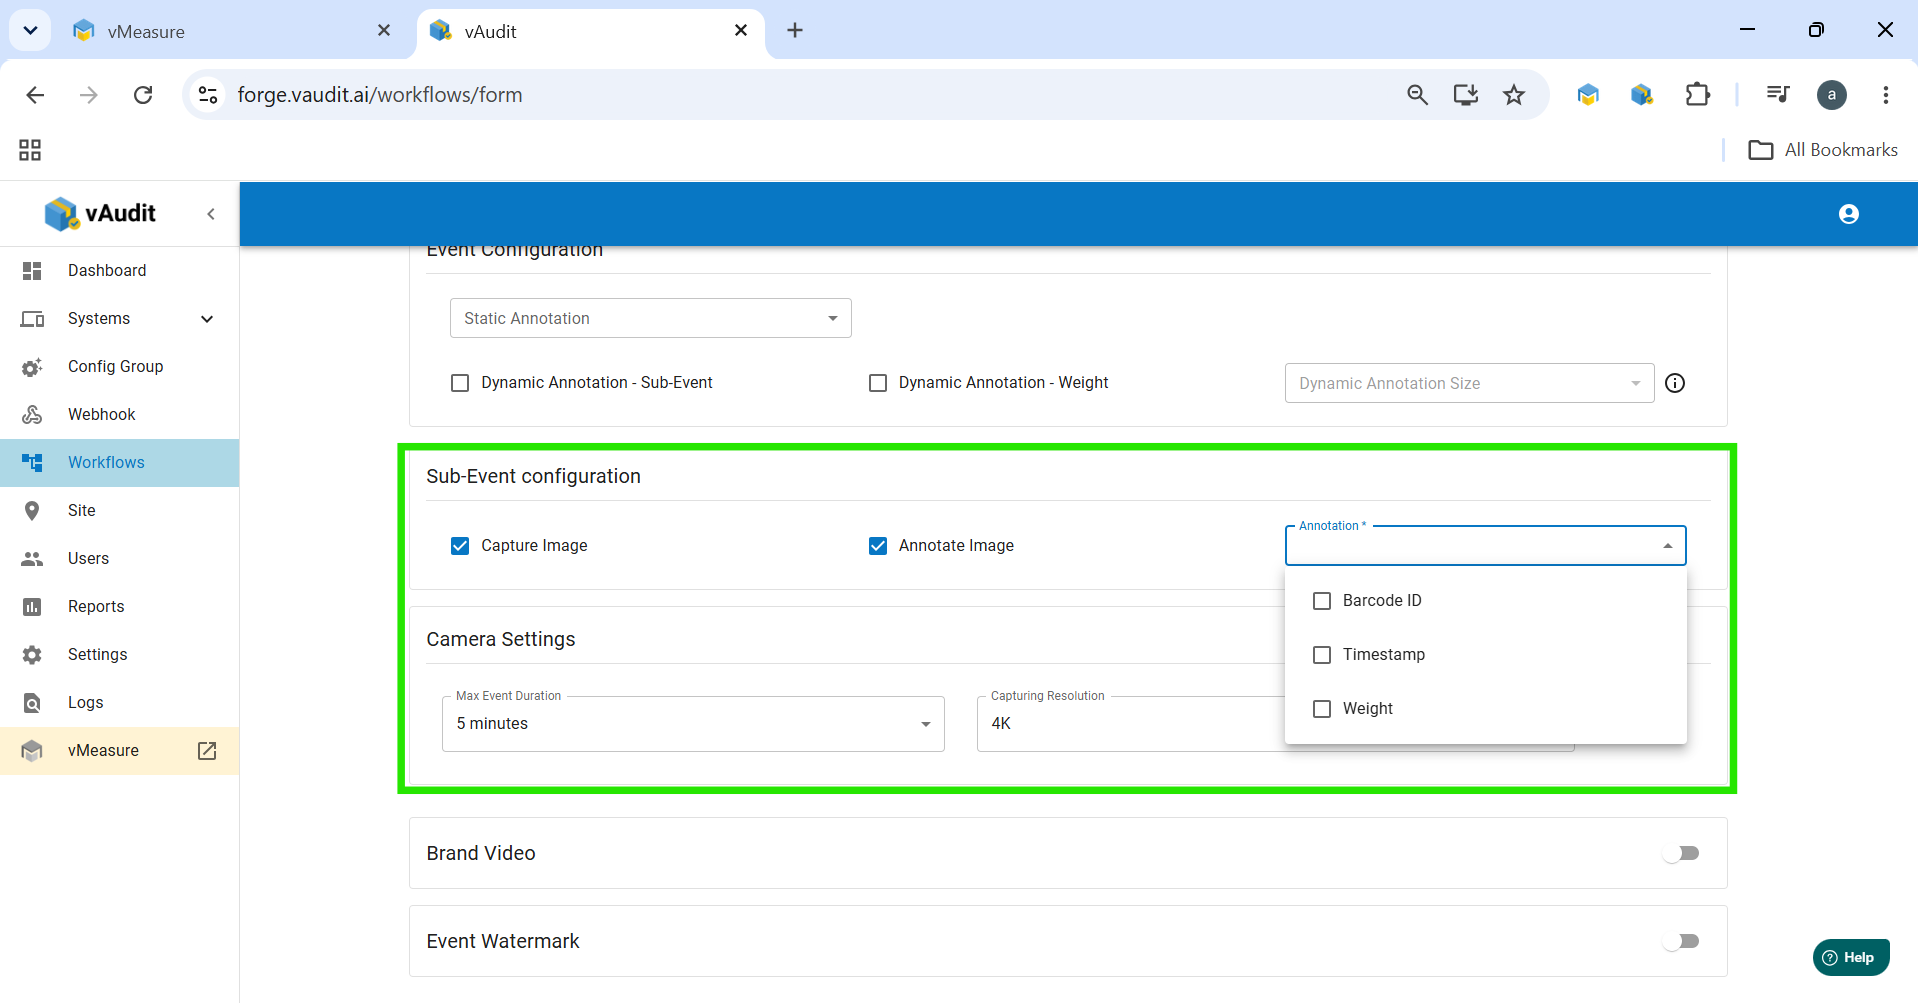
- If additional images are required:
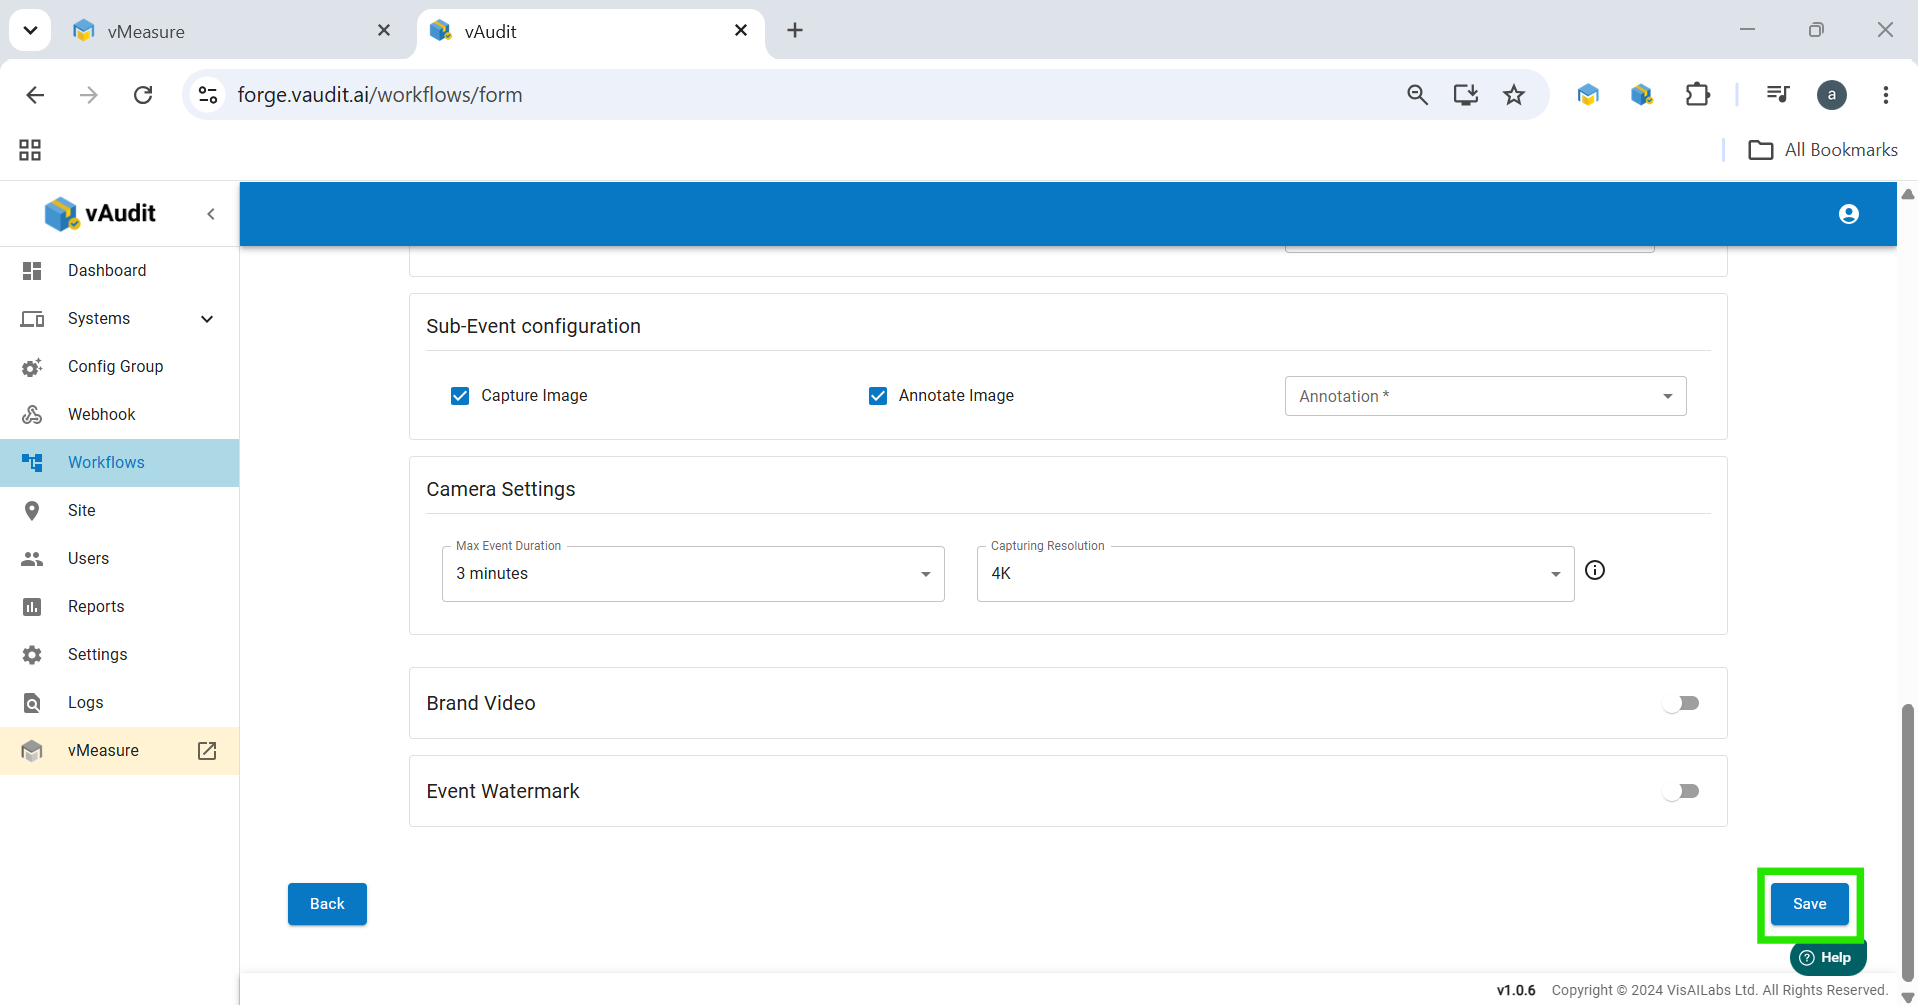
- Enable Sub-Event Configuration.
- Enable Annotate Image.
- Enable Capture Additional Image on New Barcode under Barcode Scan During Event.
- Select the following settings:
- Maximum Event Duration
- Capture Resolution
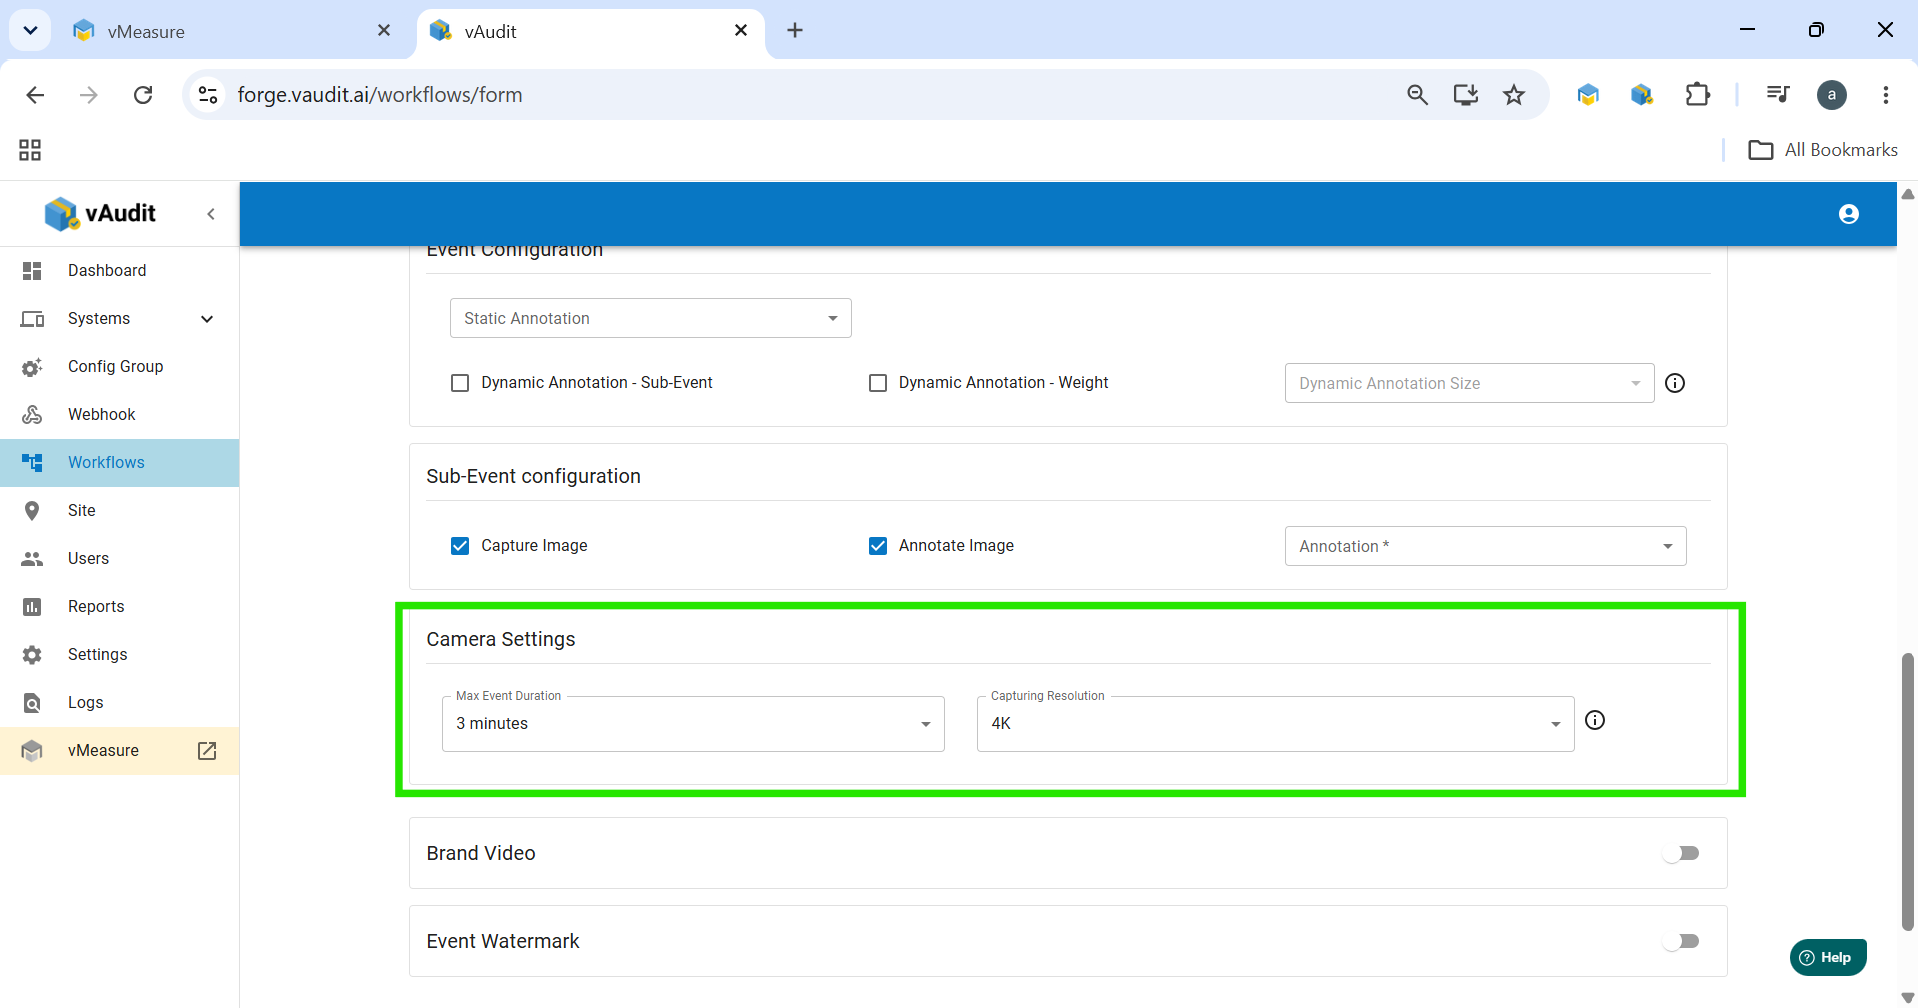
- Click Save to create the workflow.
Notes
- Ensure that the Shopify Store Name and Access Token are entered correctly before saving the workflow.
- Event sharing must be enabled for Shopify integration to function properly.
- Choose the barcode event behavior based on your operational workflow.
- Advanced Compression is recommended when minimizing storage usage while maintaining video quality.
Shopify Video Recording Workflow
Step 1: Log in to Shopify
Log in to your Shopify account using your credentials.
Step 2: Open the Order
Navigate to Orders and open the required order.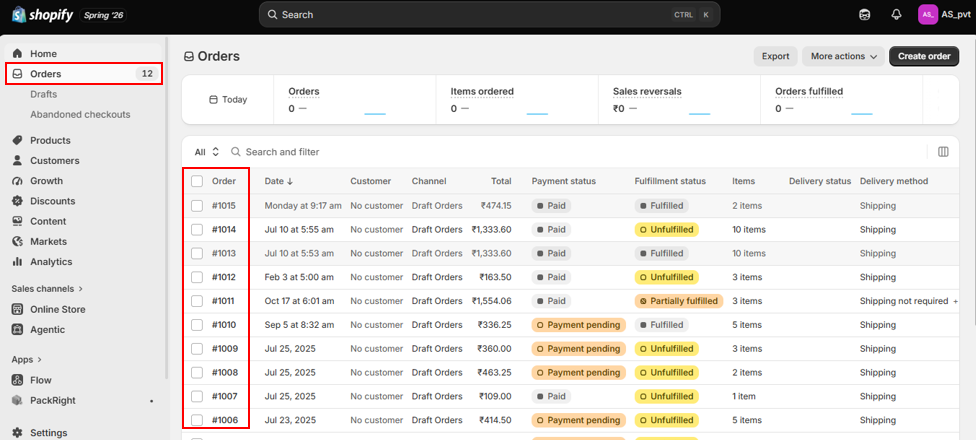
Step 3: Start Video Recording
Scan the Order ID barcode to start video recording.
Note: The Order ID must be available as a barcode. Once the barcode is scanned, video recording will start automatically.
Step 4: Stop Video Recording
After packing all the items, scan the same Order ID barcode again to stop the recording (if the workflow is configured to use the same barcode for both start and stop actions).
Step 5: Verify the Recording
Once the video recording is completed, refresh the Shopify order page. The Event ID and Video URL will be displayed in the order details.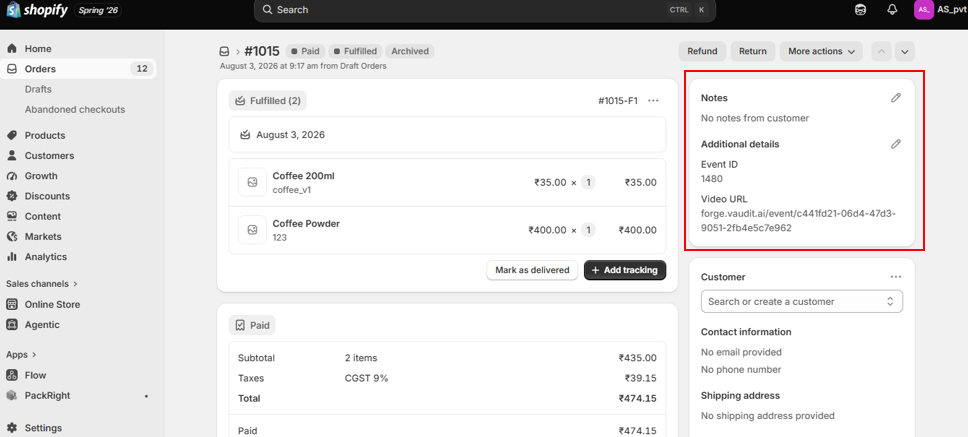
If you need any support , please drop a mail to vmeasure@visailabs.com or Click here to Submit a Ticket.
Was this article helpful?
That’s Great!
Thank you for your feedback
Sorry! We couldn't be helpful
Thank you for your feedback
Feedback sent
We appreciate your effort and will try to fix the article
