Extension Installation
Step 1: Open the Chrome Extension Link - Use the below link to open the vAudit Desktop Extension in Google Chrome.
Link: https://chromewebstore.google.com/detail/vaudit-desktop-extension/bkoeejdgfeecielmccnbijcfmaplcomk
Step 2: Install the Extension - Click “Add to Chrome.”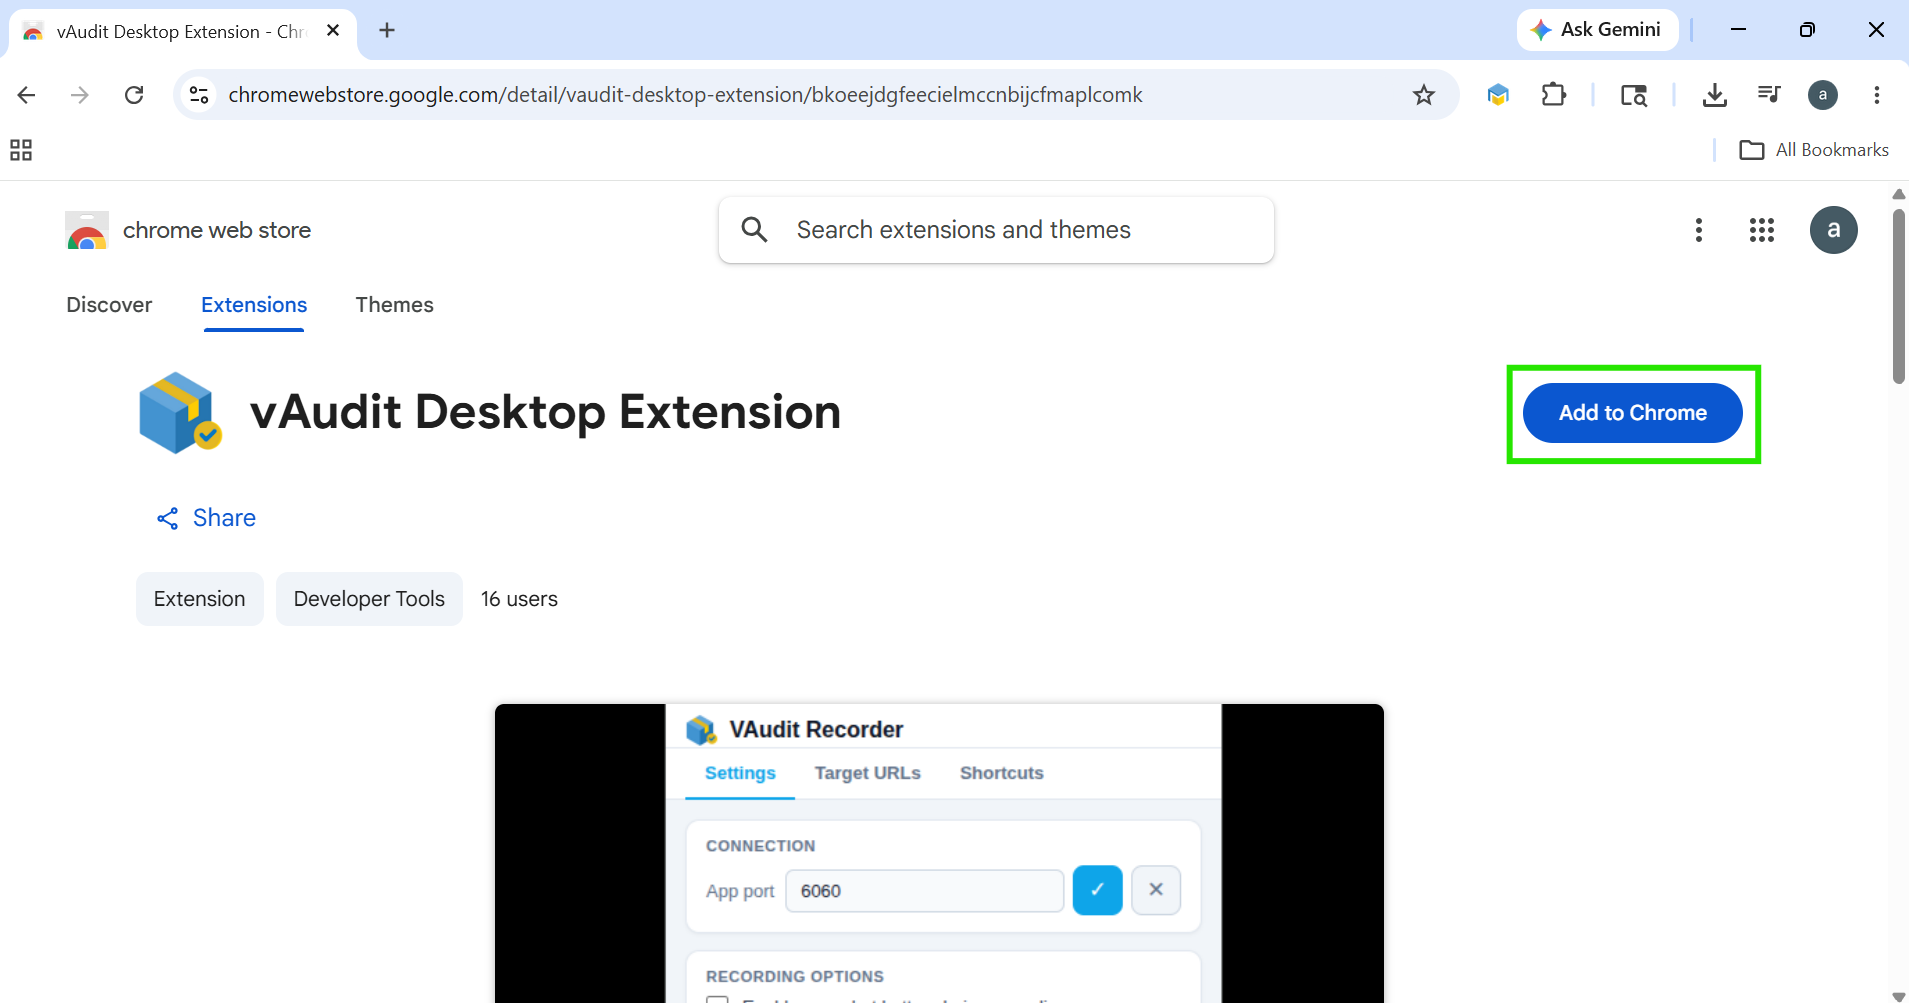
A confirmation pop-up will appear. Click “Add Extension” to proceed with the installation.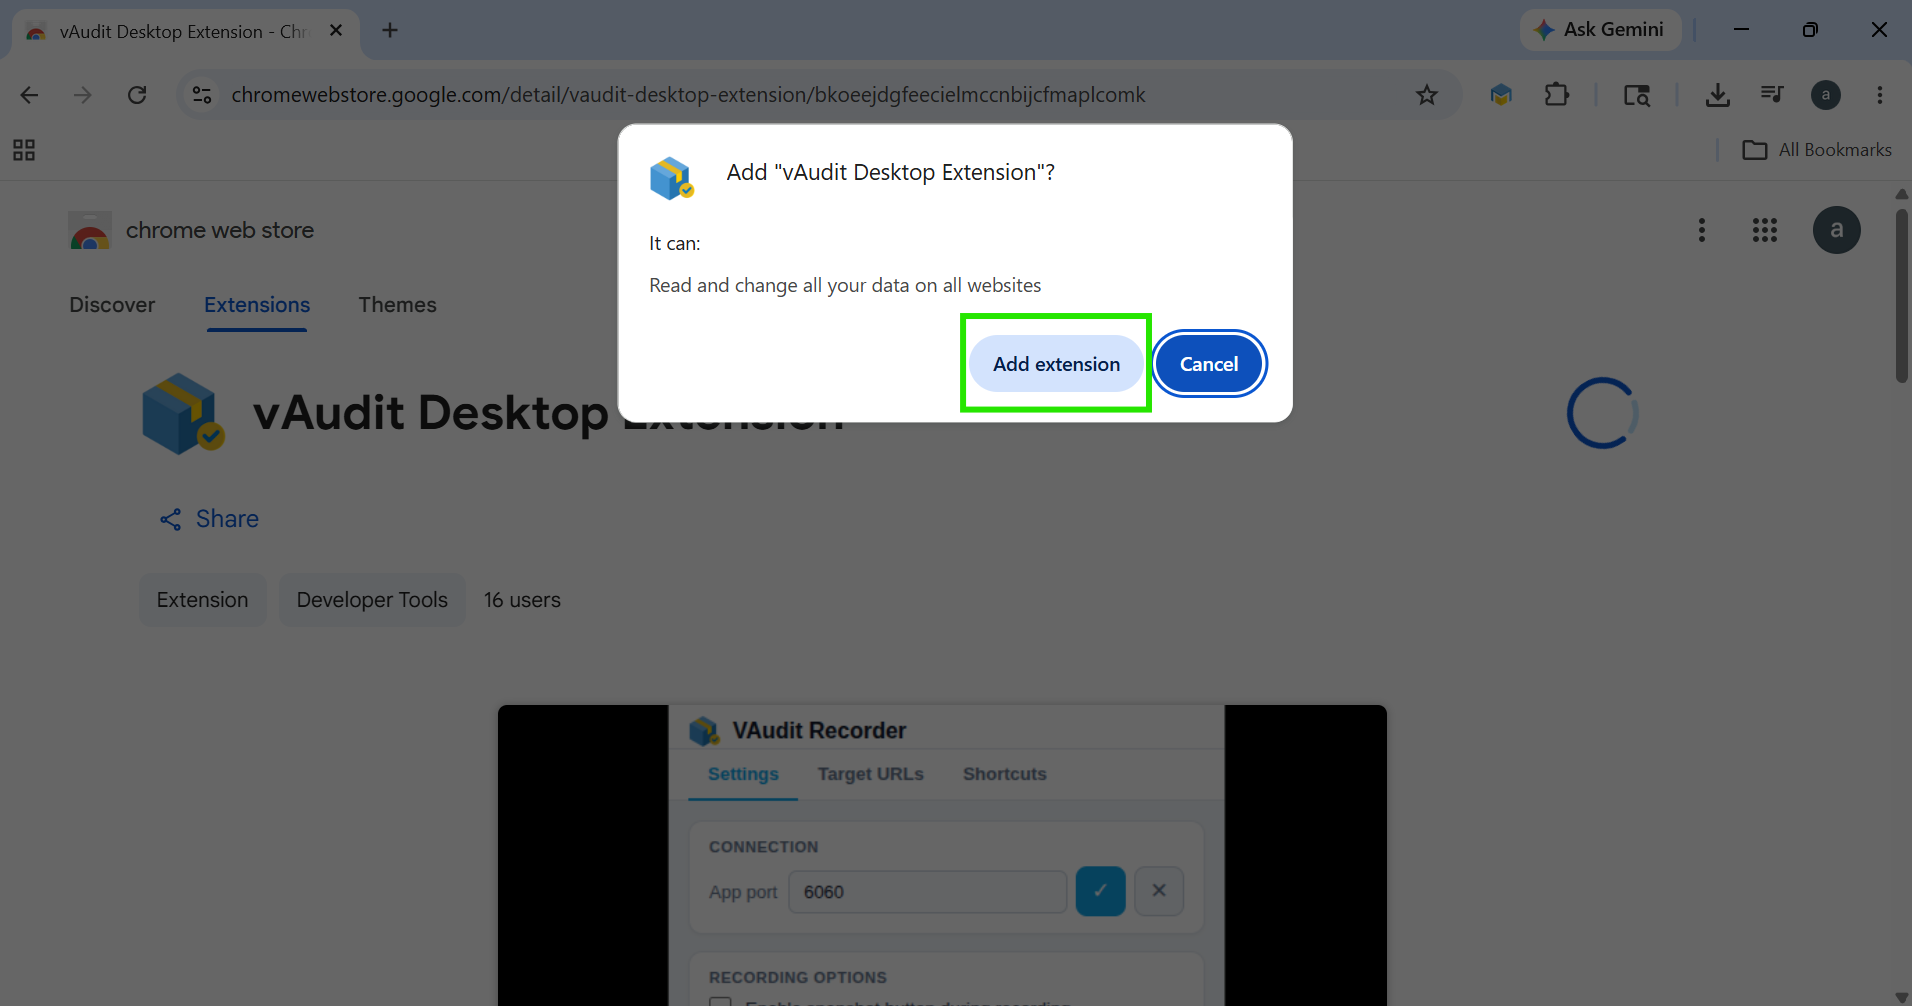
Step 3: Pin the Extension - After installation, click the Extensions icon located at the top-right corner of the Chrome browser.
Locate the vAudit Desktop Extension and click the Pin icon to pin the extension to the toolbar for quick access.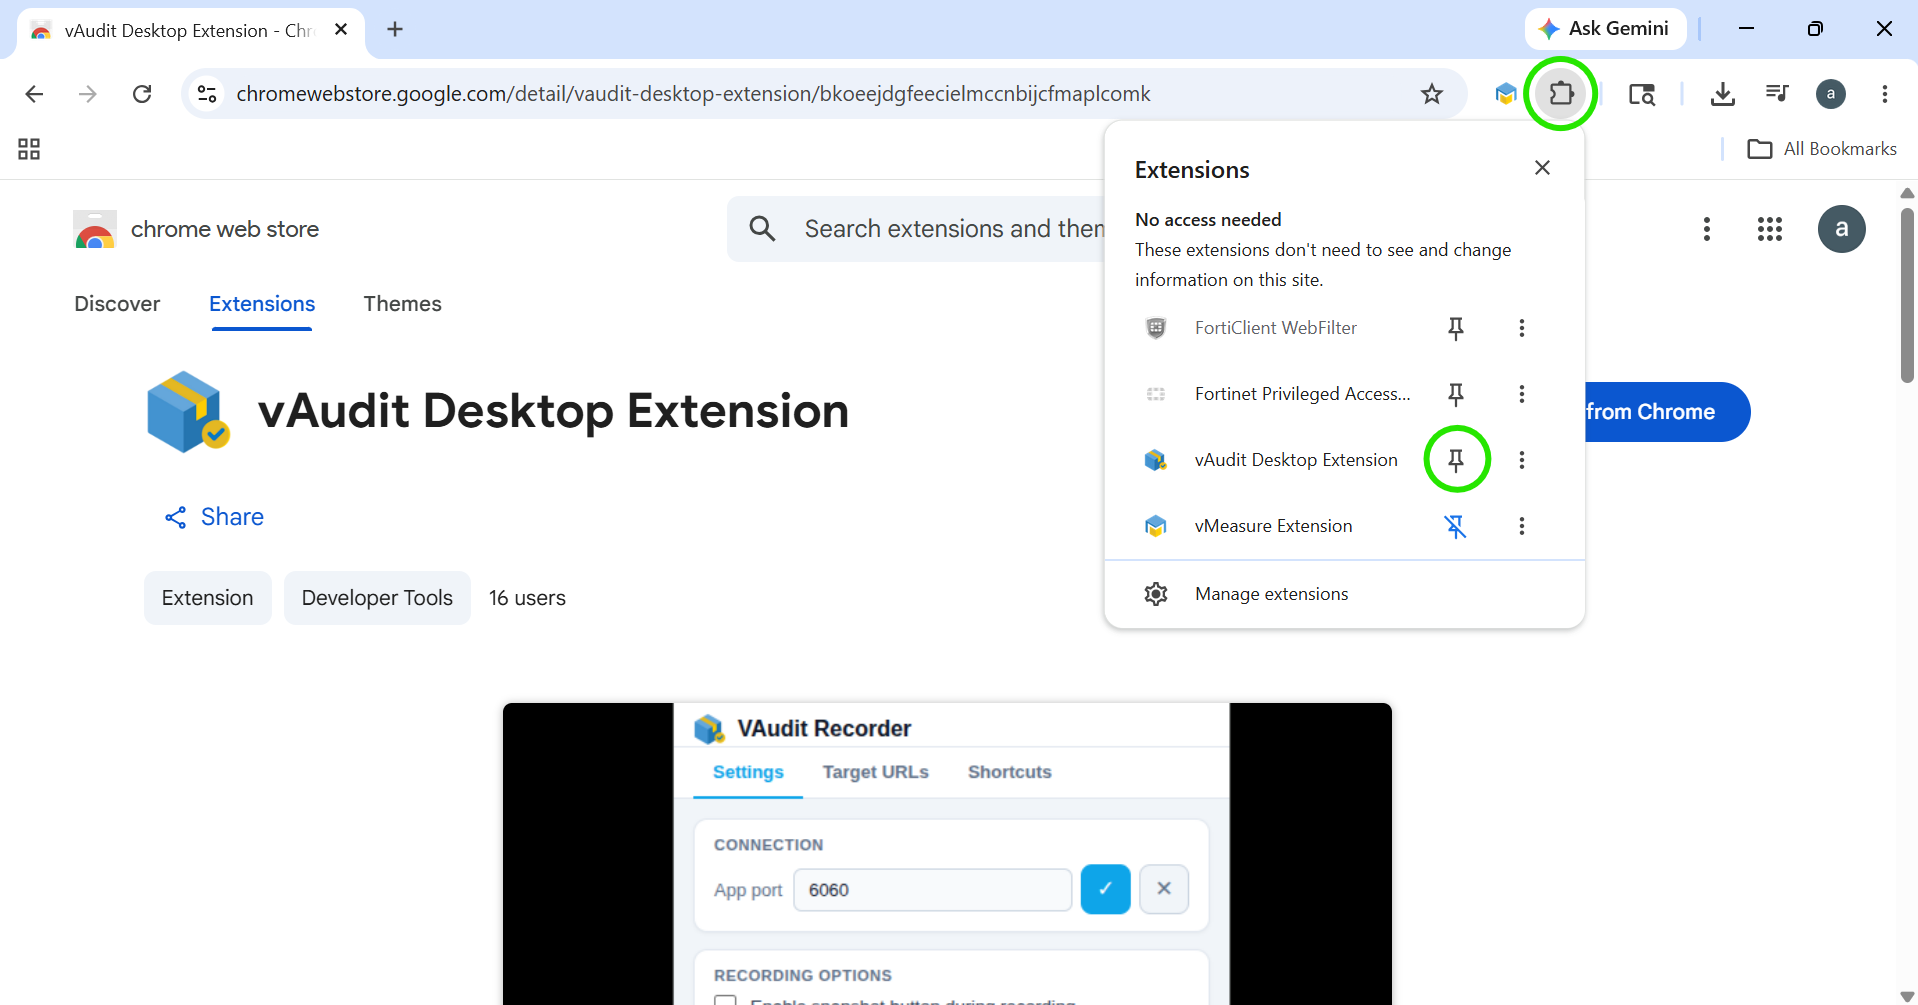
The installation process is now complete.
vAudit Desktop Extension Configuration
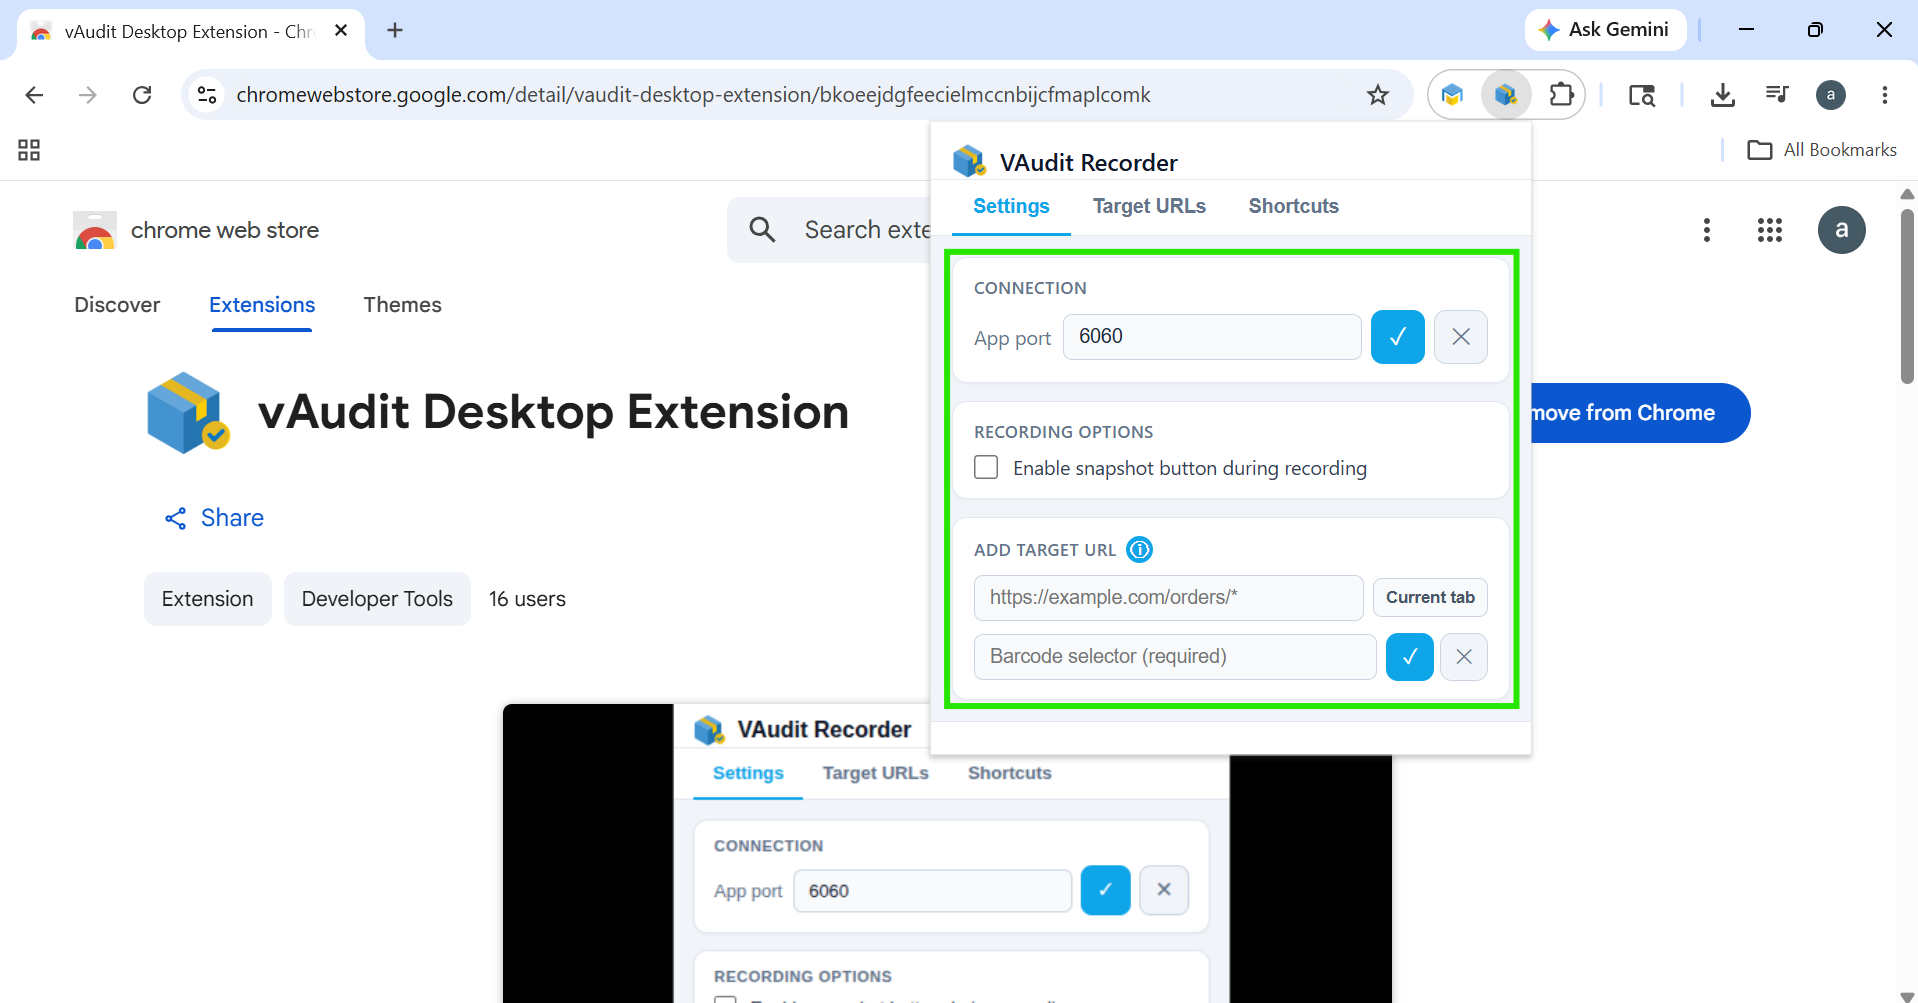
Step 1: Open the Extension - Click the vAudit Desktop Extension icon from the Chrome toolbar.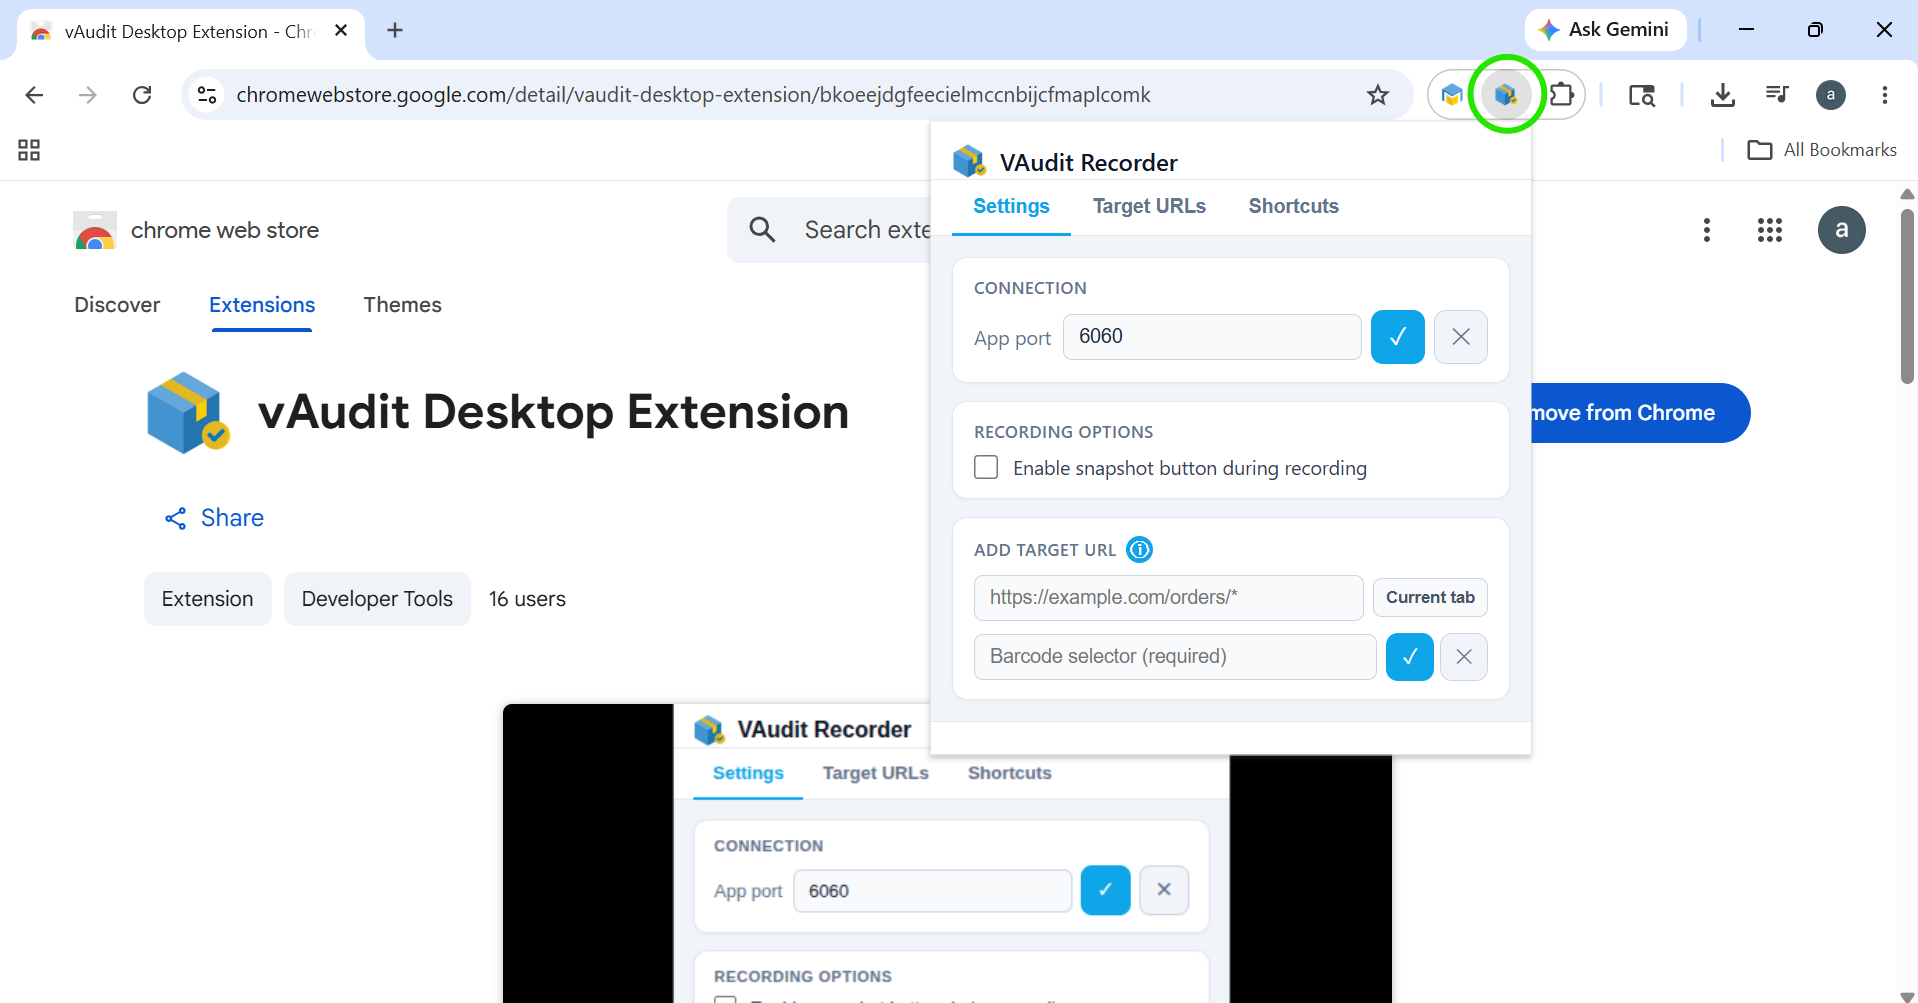
Step 2: Configure the Extension Settings -Under the settings section, you will find the following options:
- Connection
- Recording Options
- Add Target URL
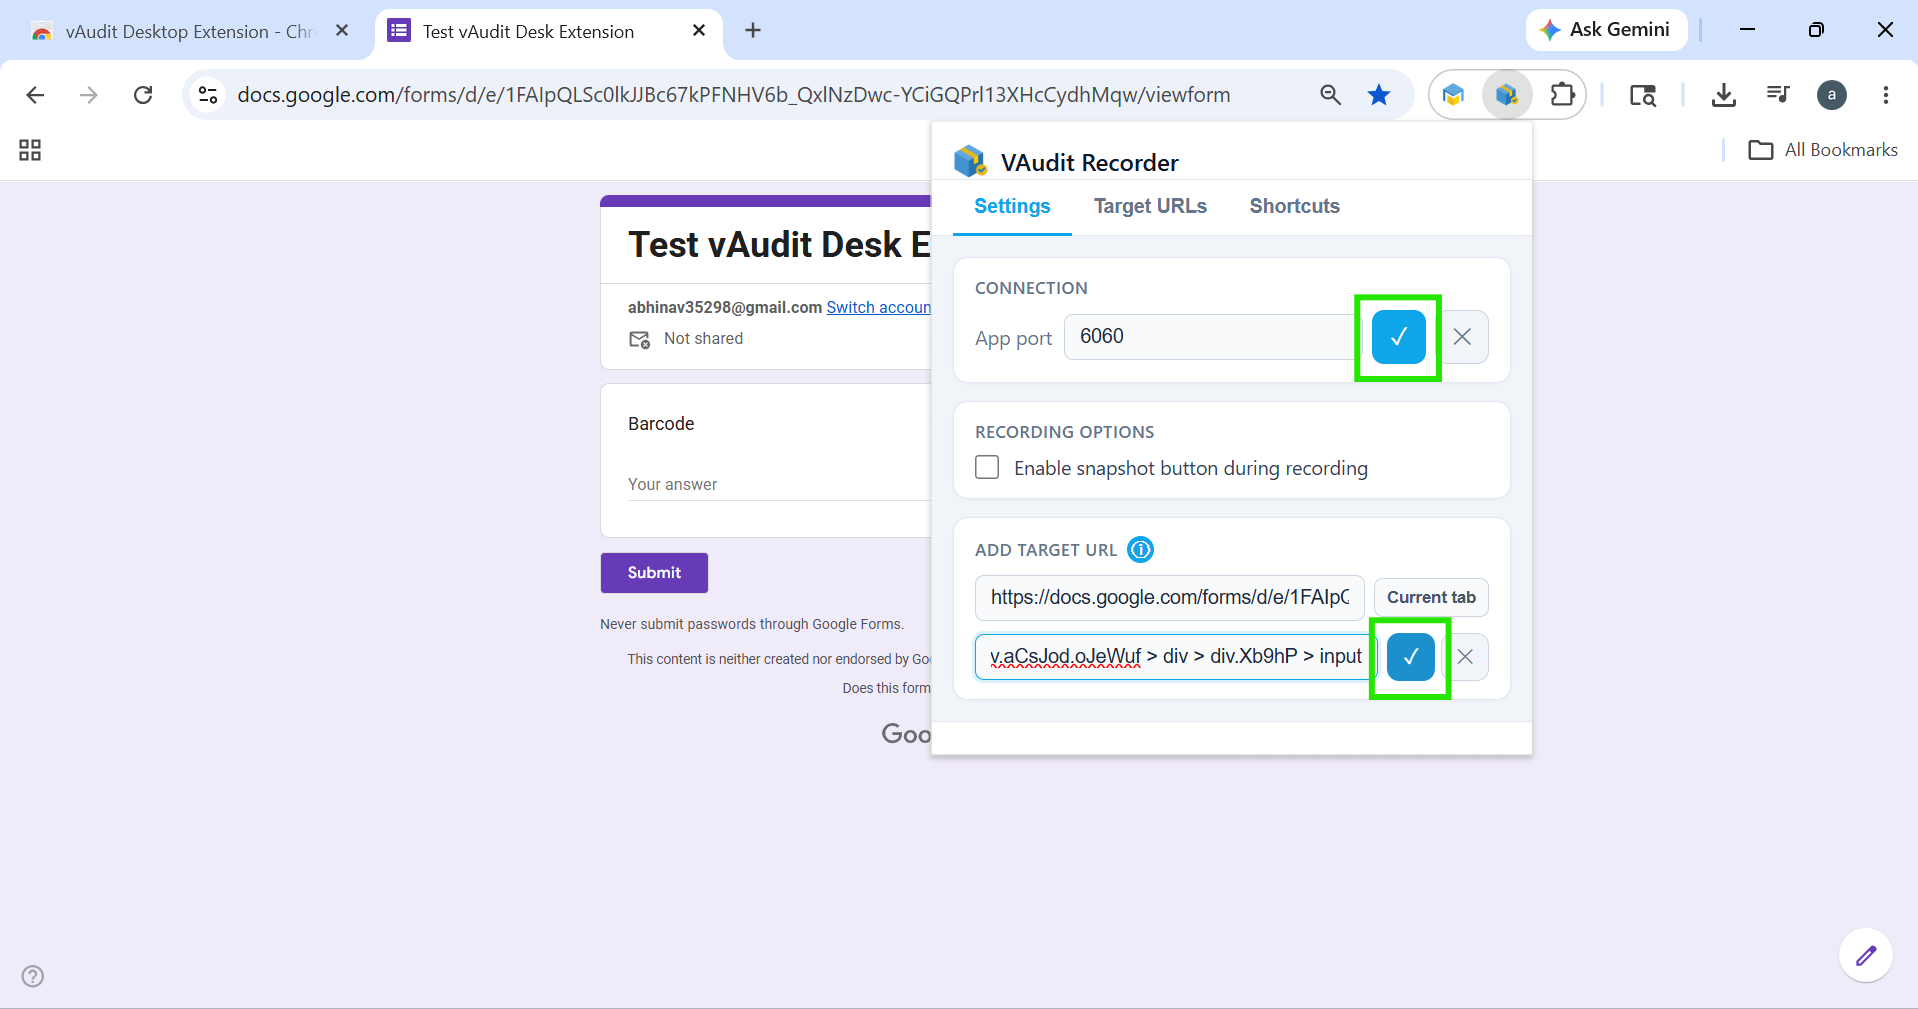
Connection Settings
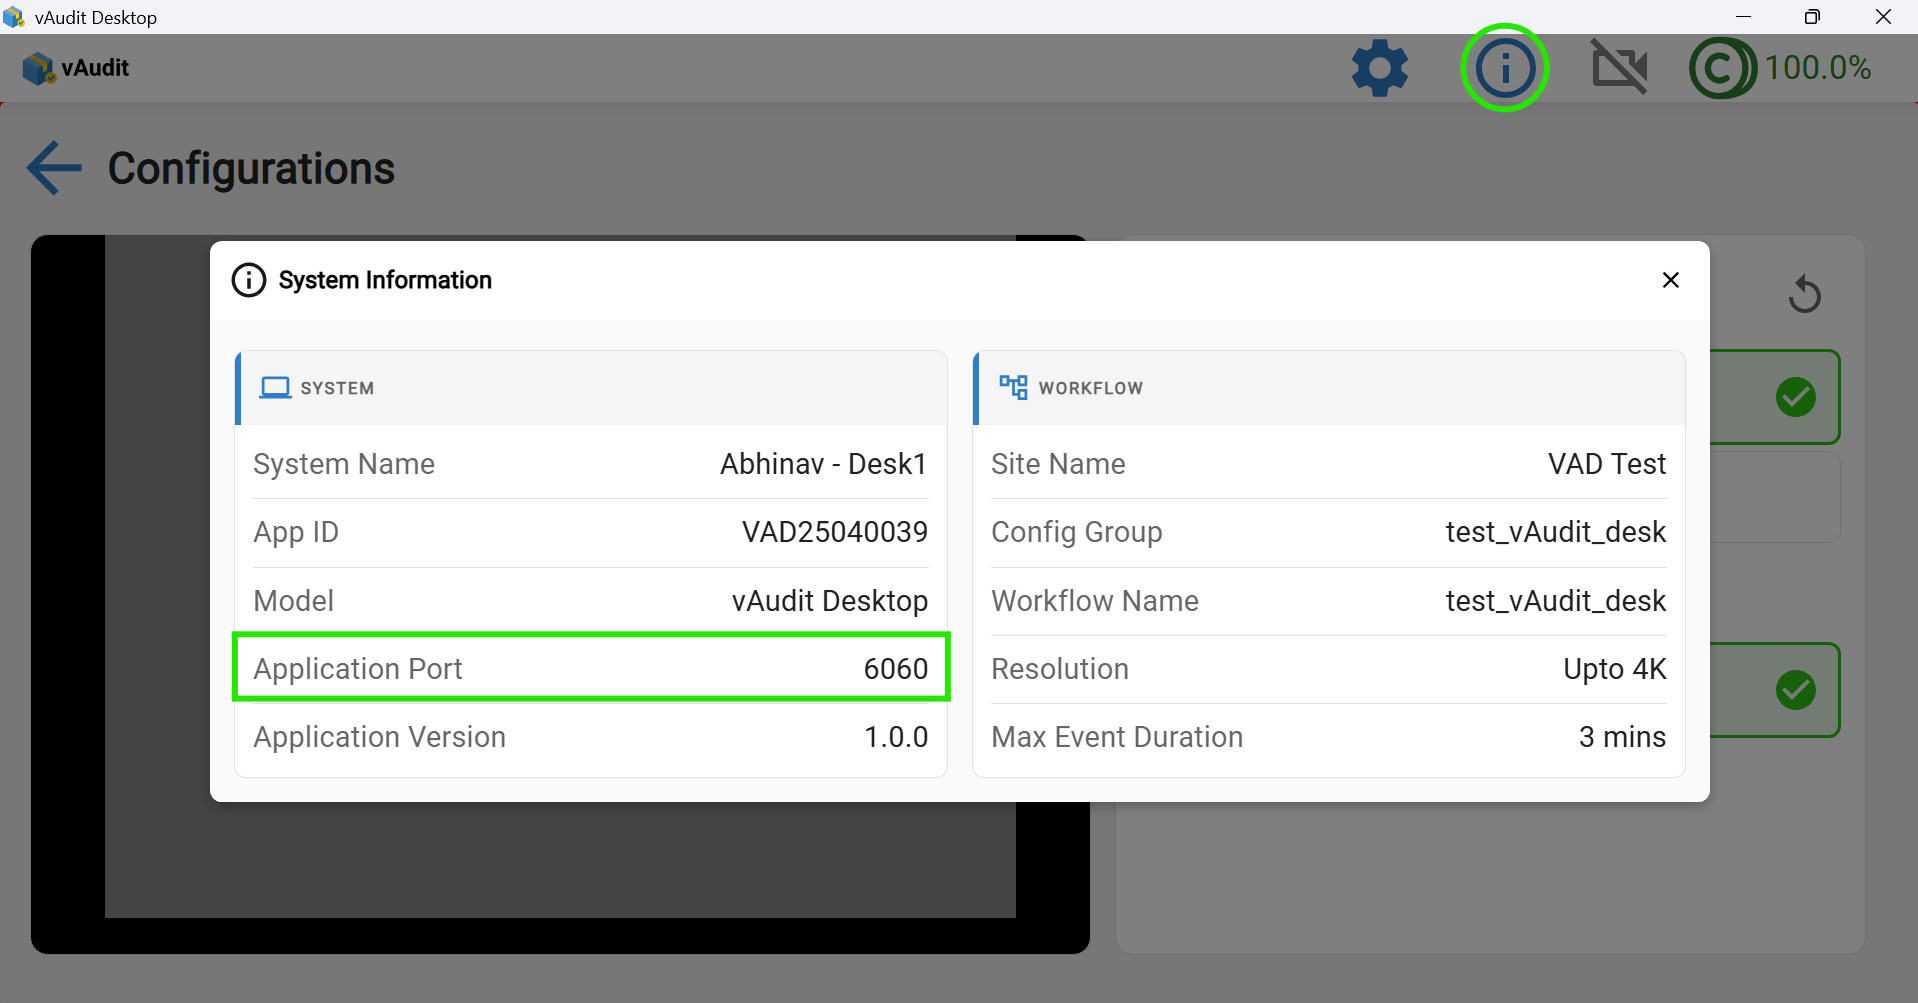
In the Connection section, enter the App Port.
The App Port value can be found on the vAudit Desktop Application Info Page.
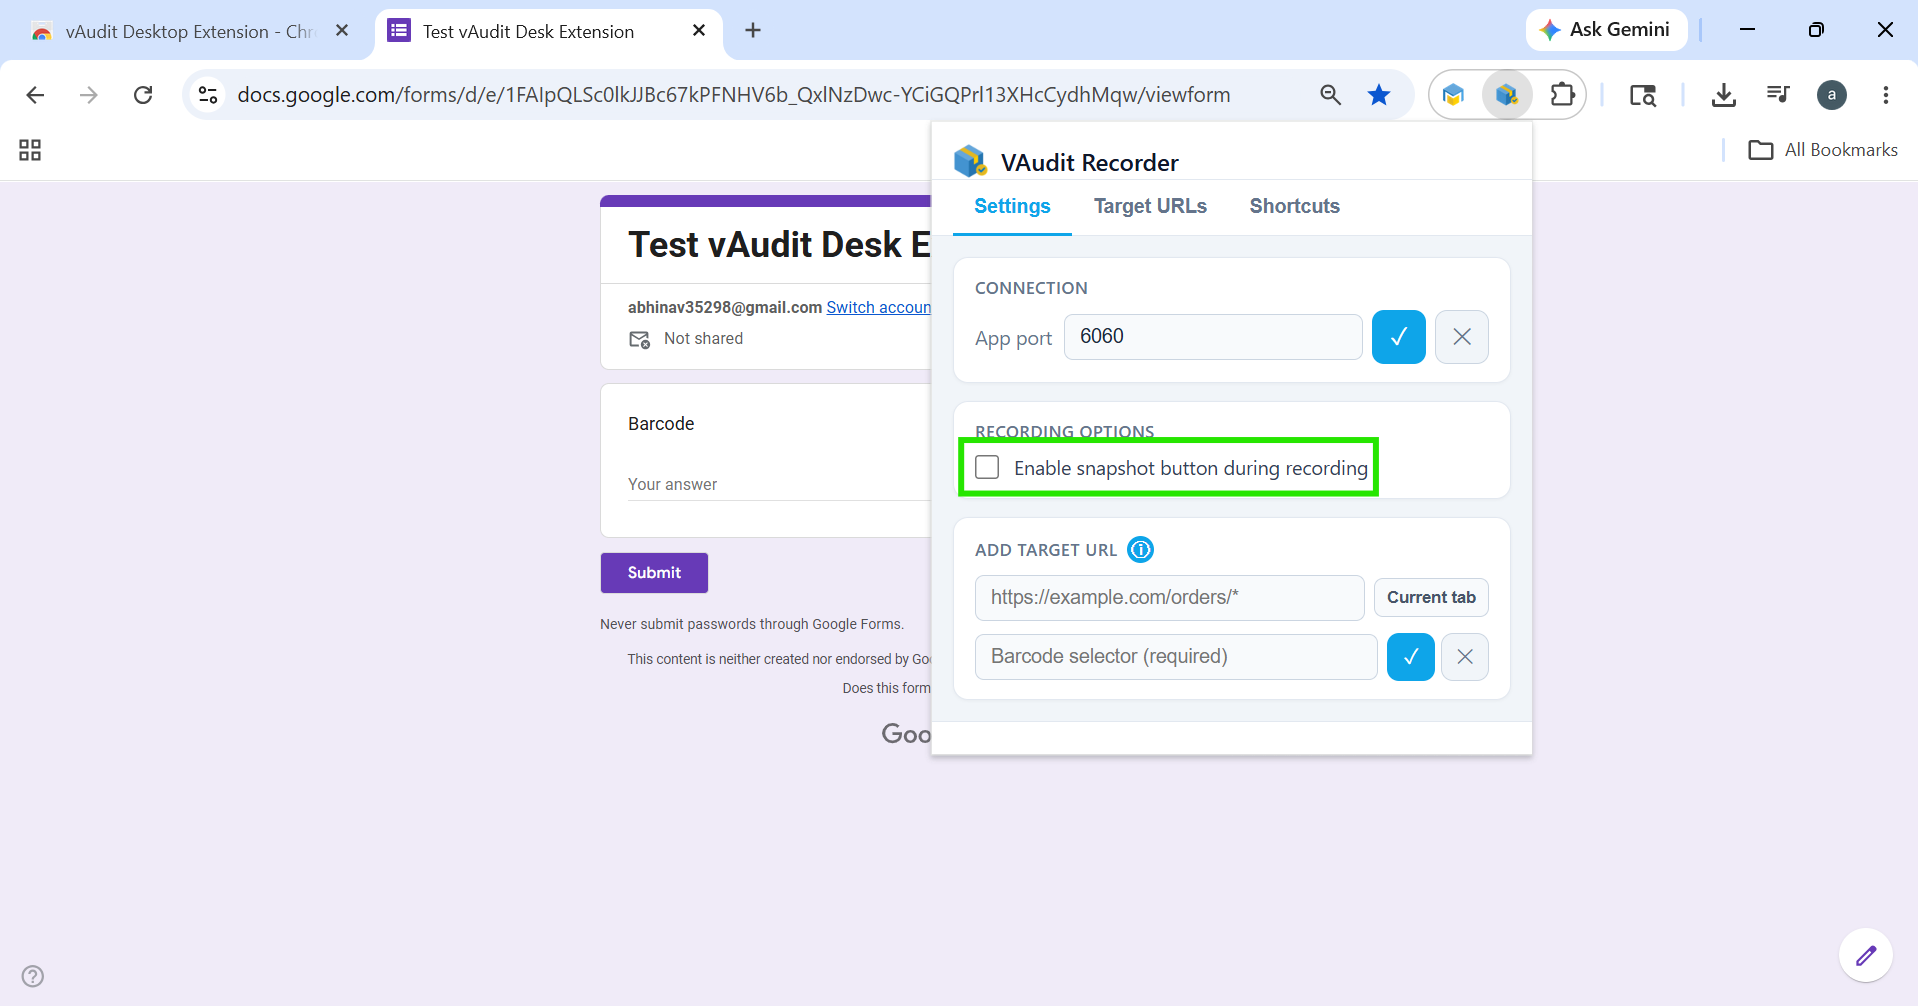
Recording Options
You will see an option called: “Enable Snapshot Button During Recording”
Enable this checkbox if you want to capture Sub Events during the audit process.
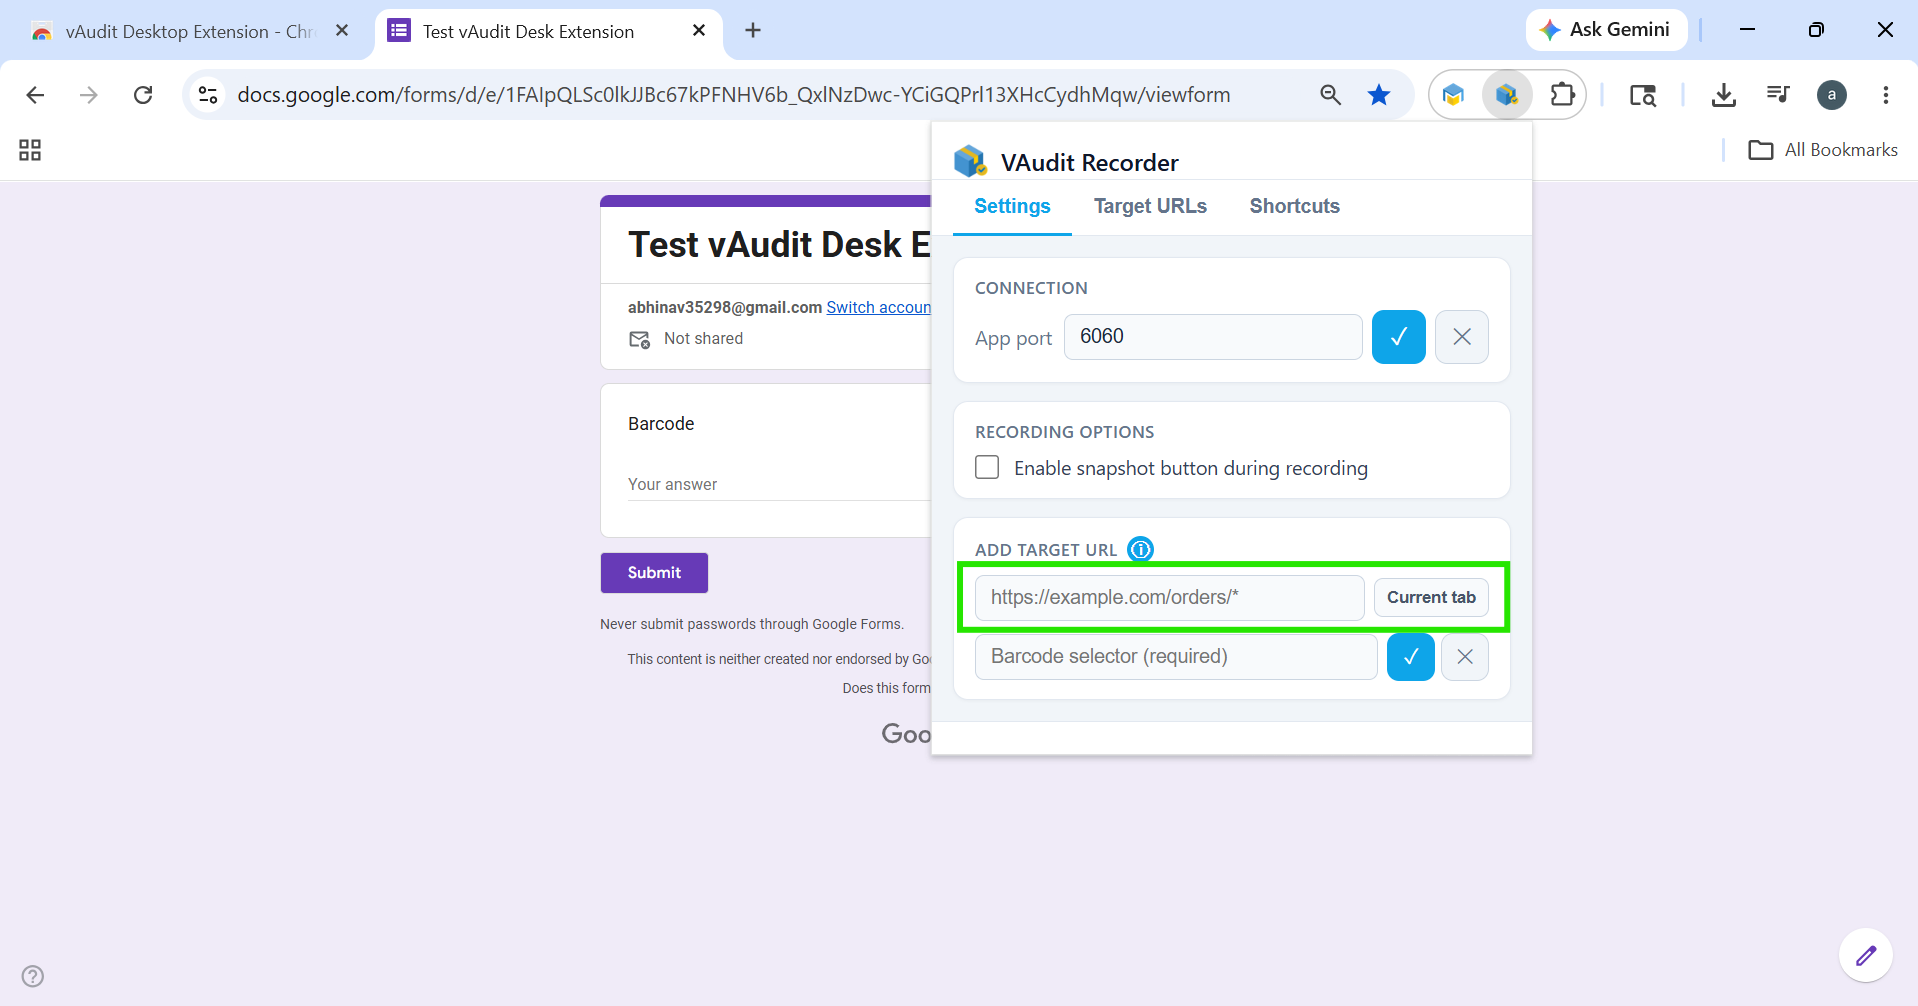
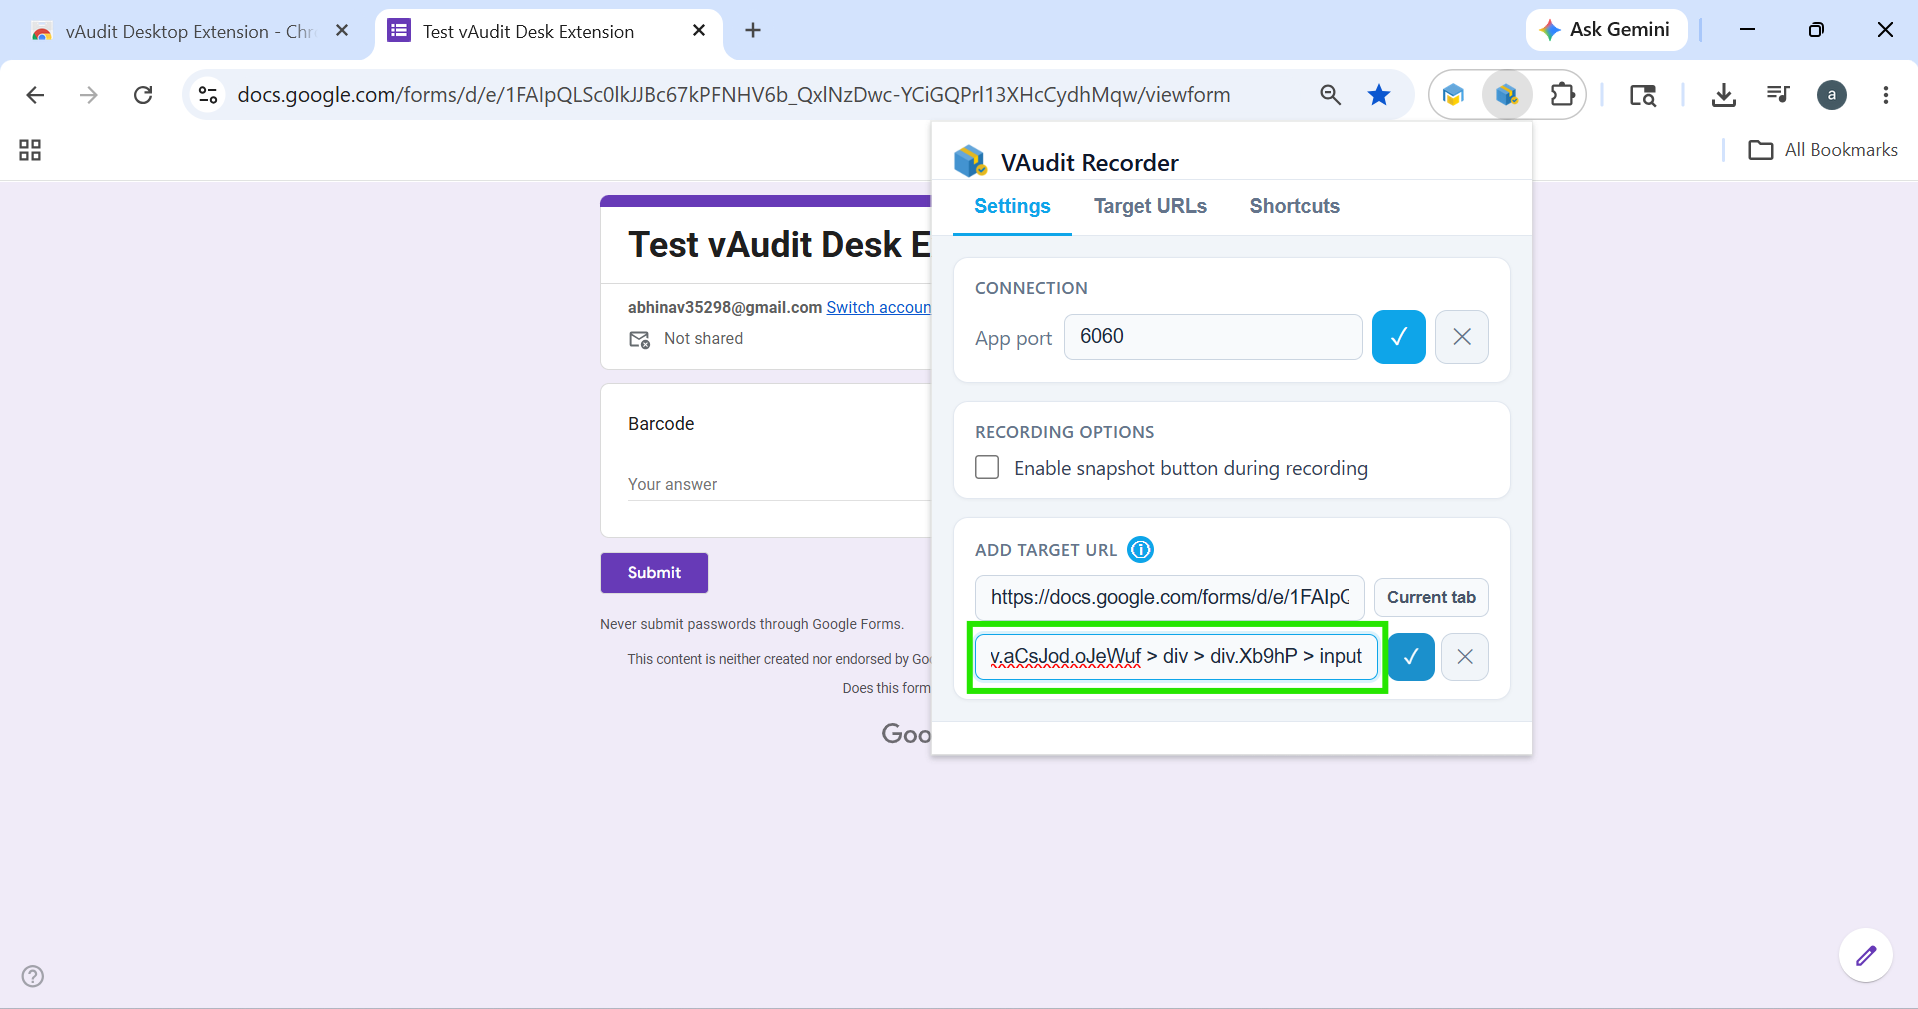
Add Target URL Configuration
1. URL -In the URL field, enter the webpage URL where the barcode field is available.
Alternatively, you can click the “Current Tab” button to automatically populate the URL of the currently opened webpage.
2. Barcode Selector -In the Barcode Selector field, enter the selector of the barcode input field.
Steps to Get the Barcode Selector
- Open the target webpage.
- Right-click on the barcode input field.
- Select “Inspect.”

- In the Developer Tools window, click the Inspect Element arrow icon.
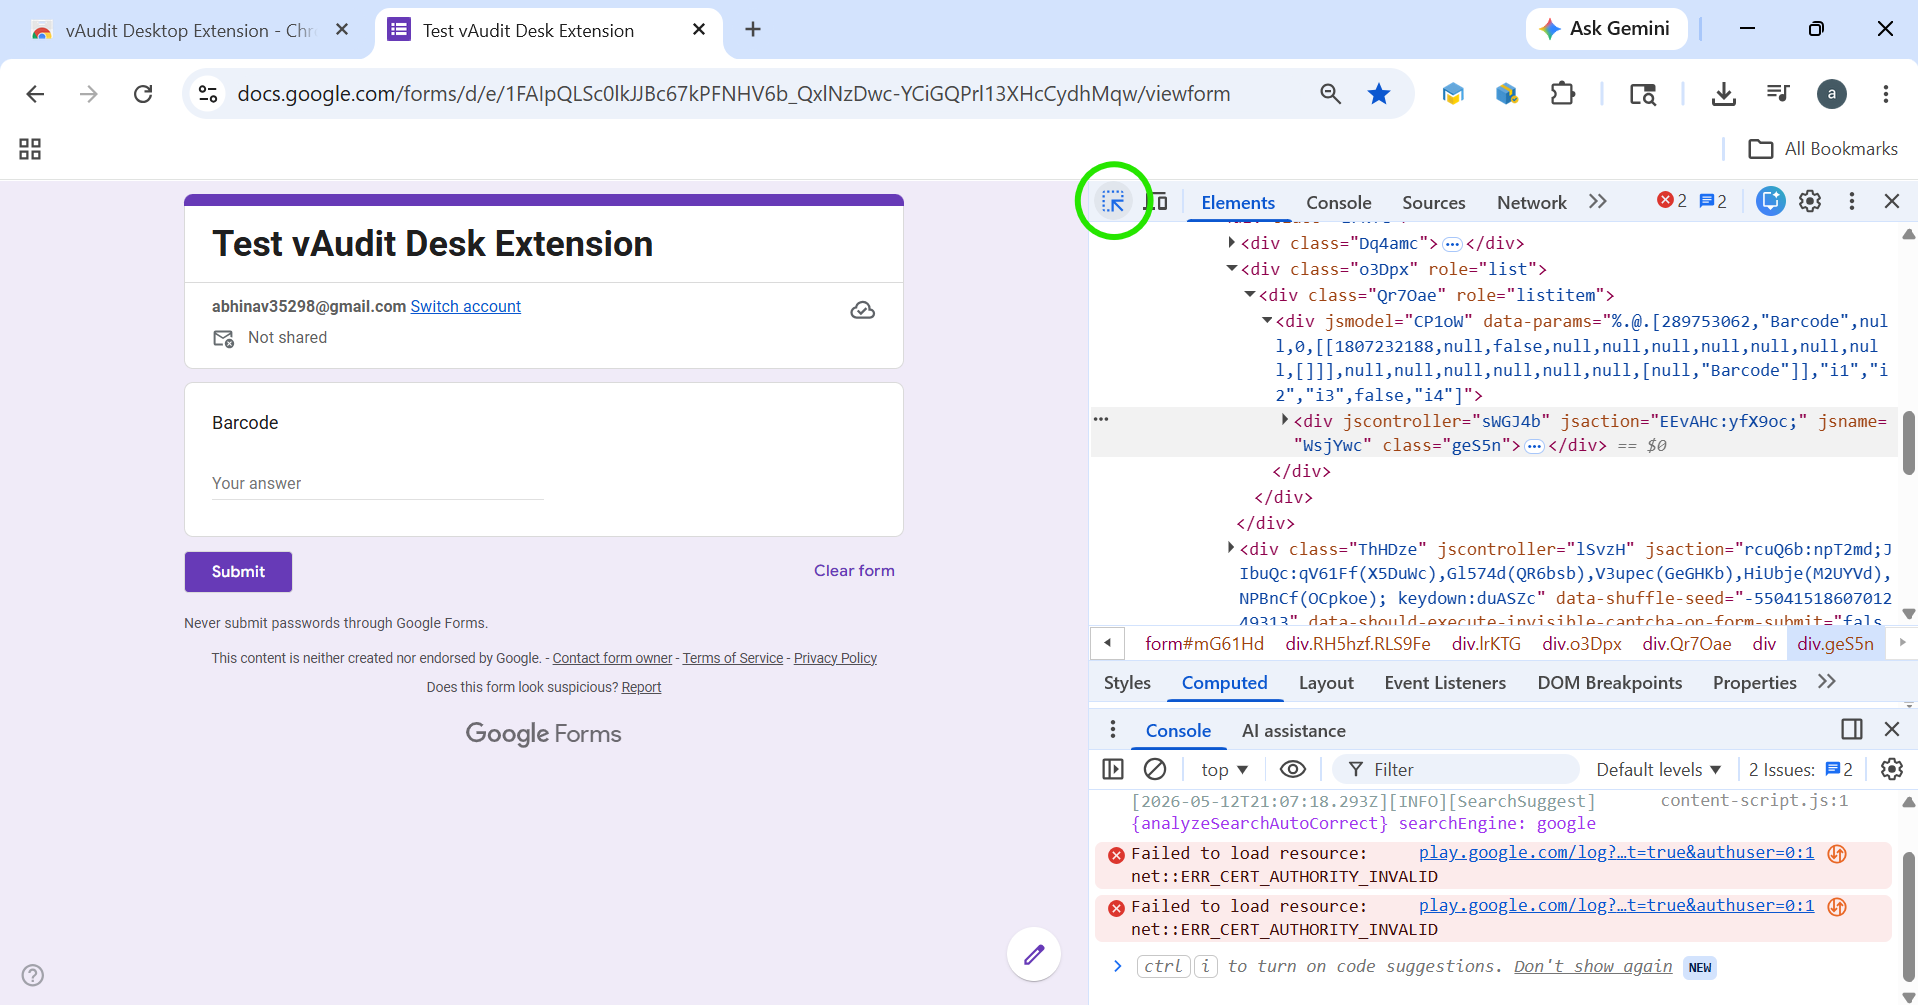
- Move the cursor to the barcode field and left-click on it.
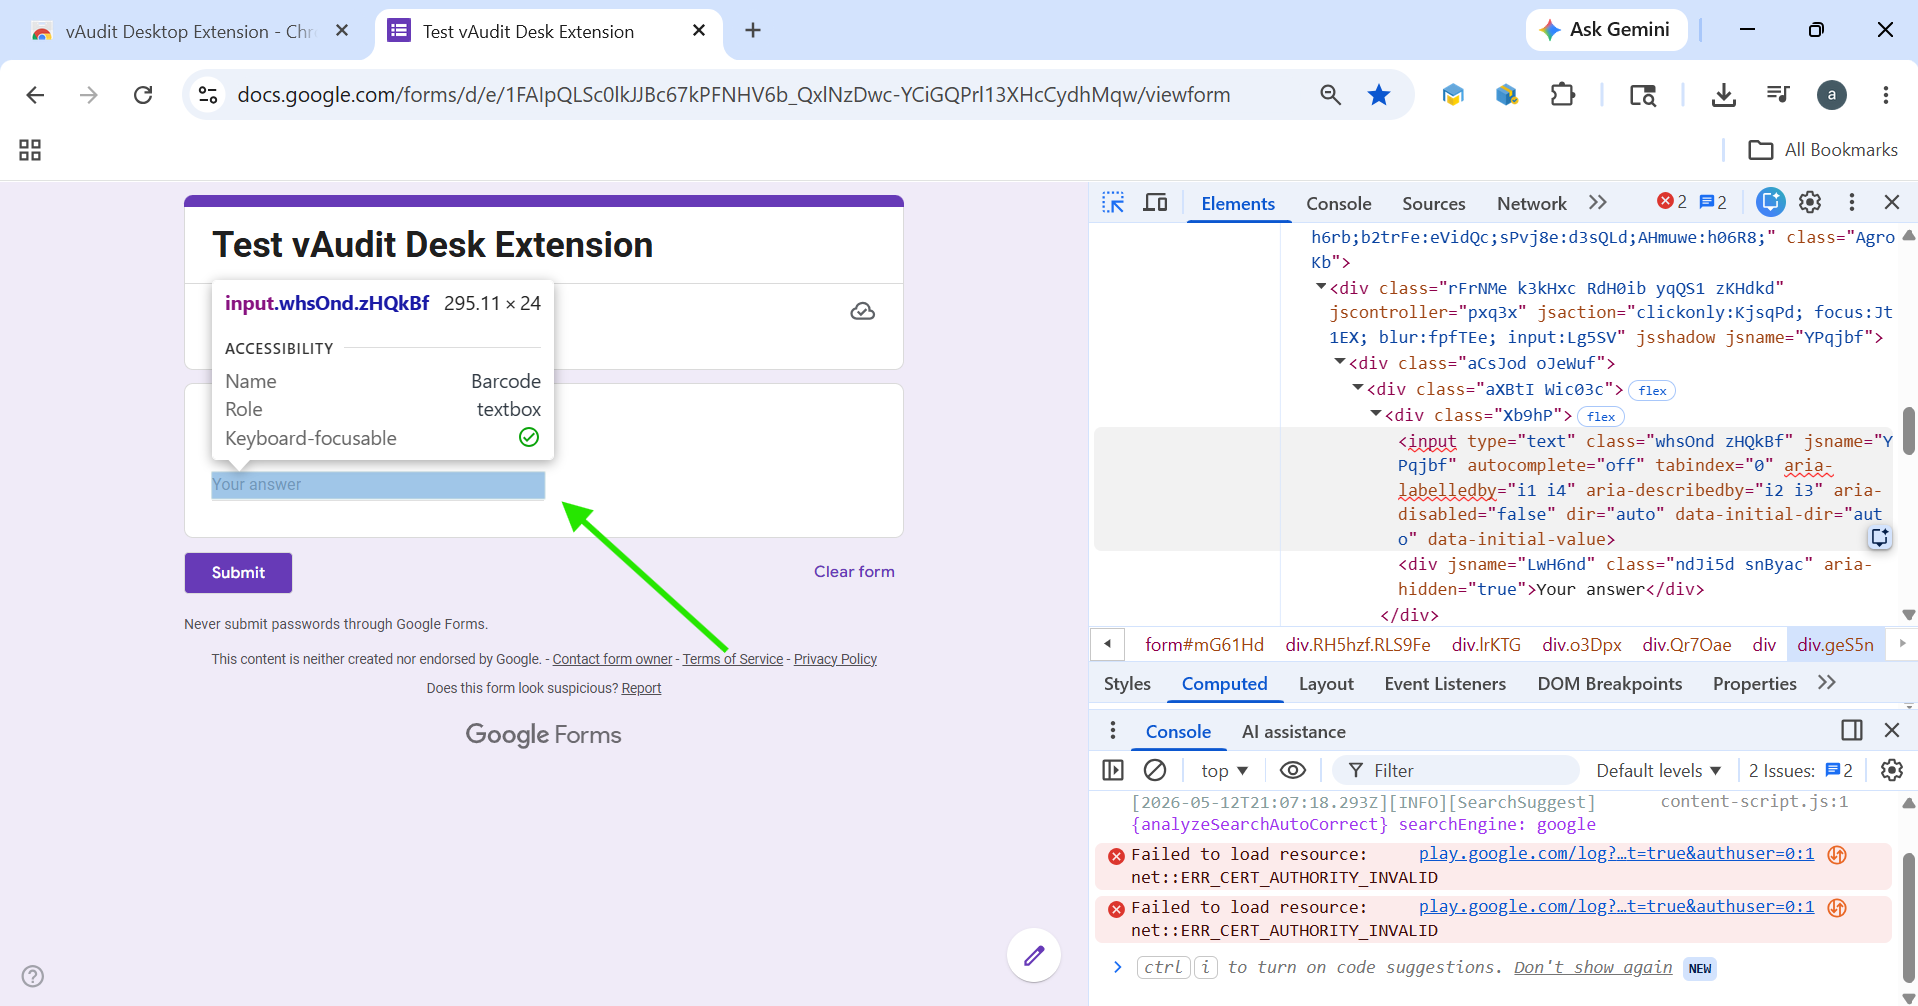
- The corresponding HTML element will be highlighted.
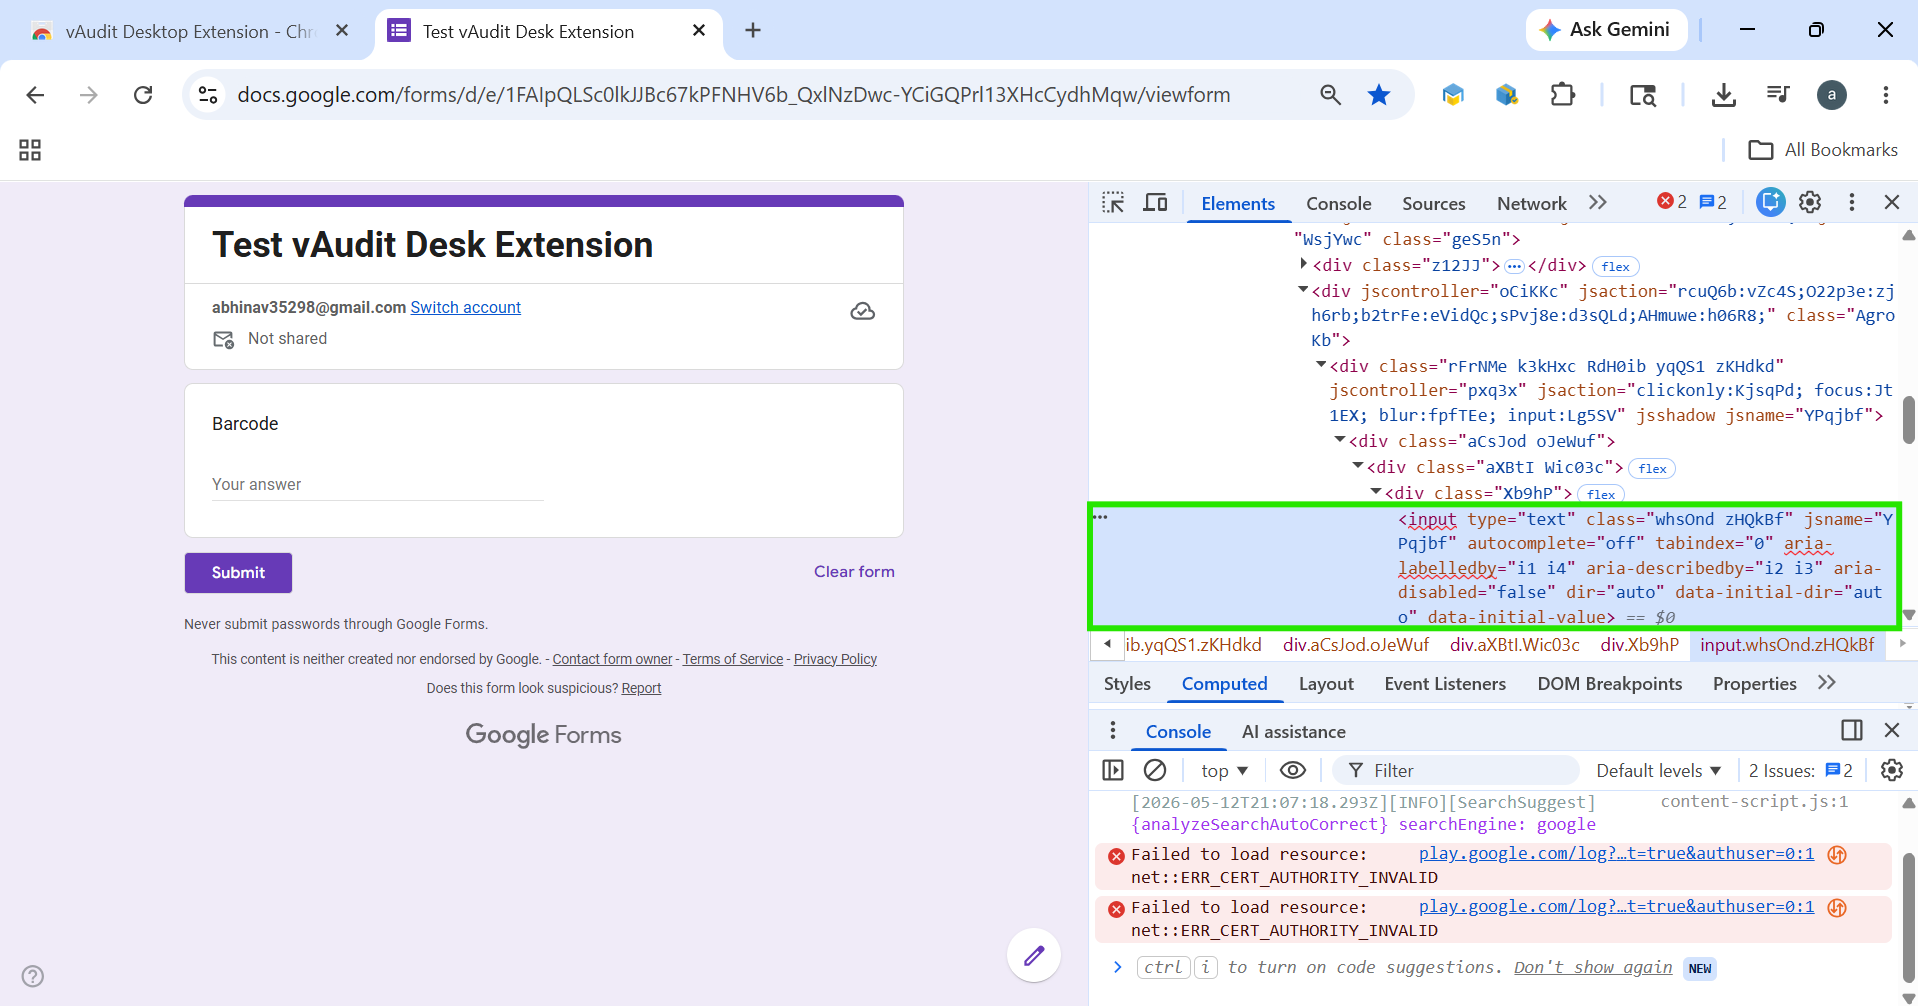
- Right-click the highlighted element.
- Select Copy → Copy Selector.
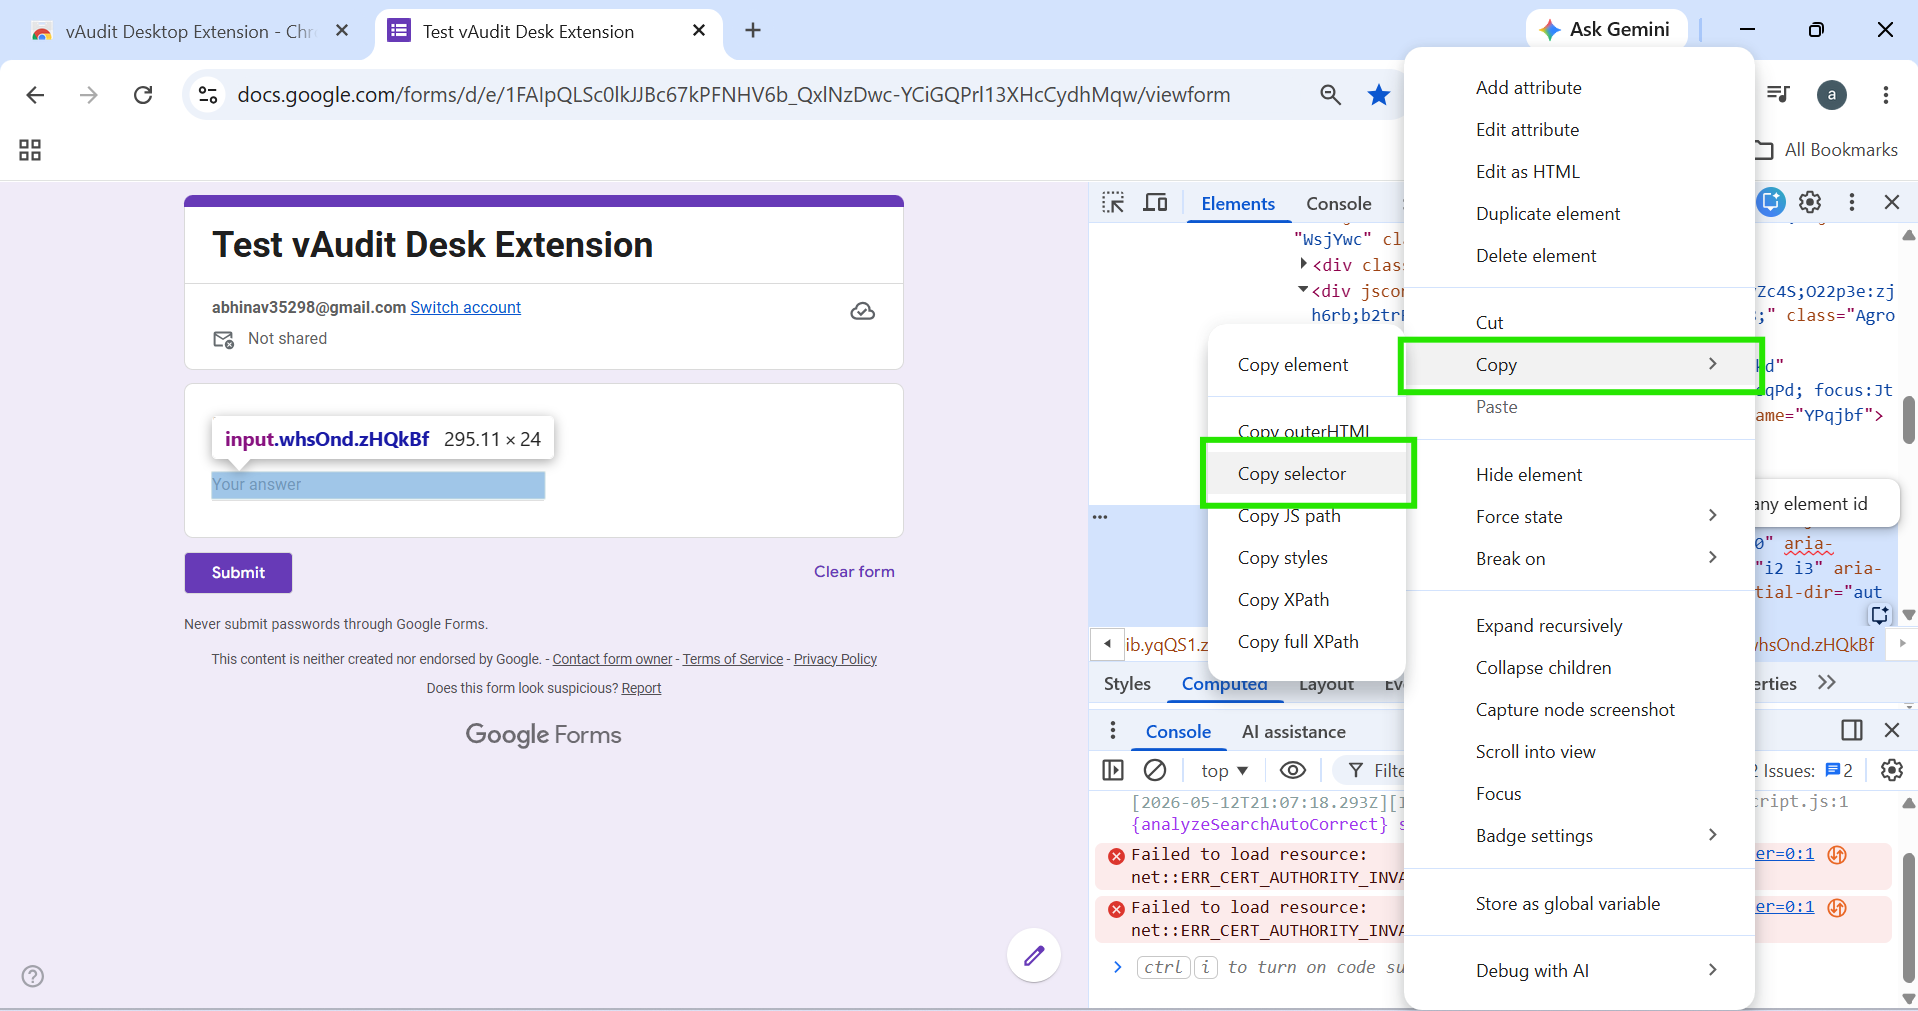
- Paste the copied selector into the Barcode Selector field.
Step 3: Save the Configuration - After entering all the required details, click the Tick icon to save the configuration.
Once configured successfully, the vAudit Overlay will appear on the webpage.
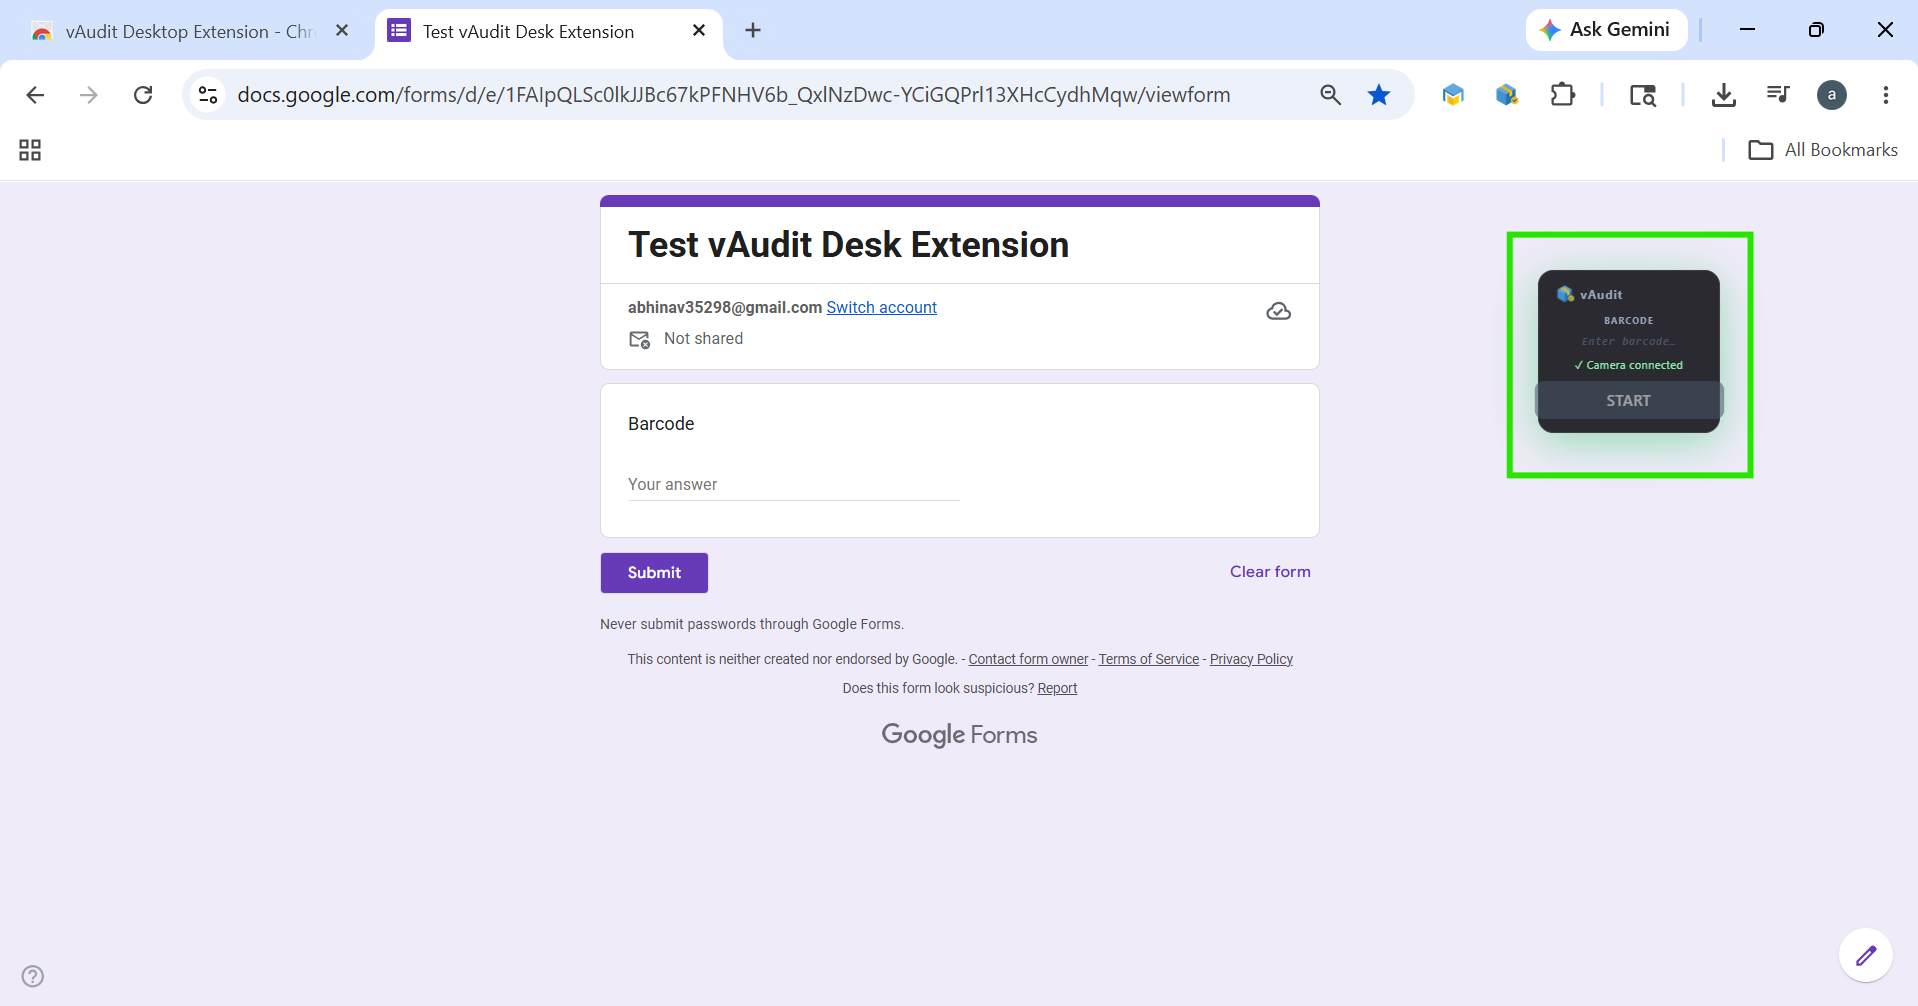
Using the vAudit Desktop Extension
- Enter the barcode into the barcode field.
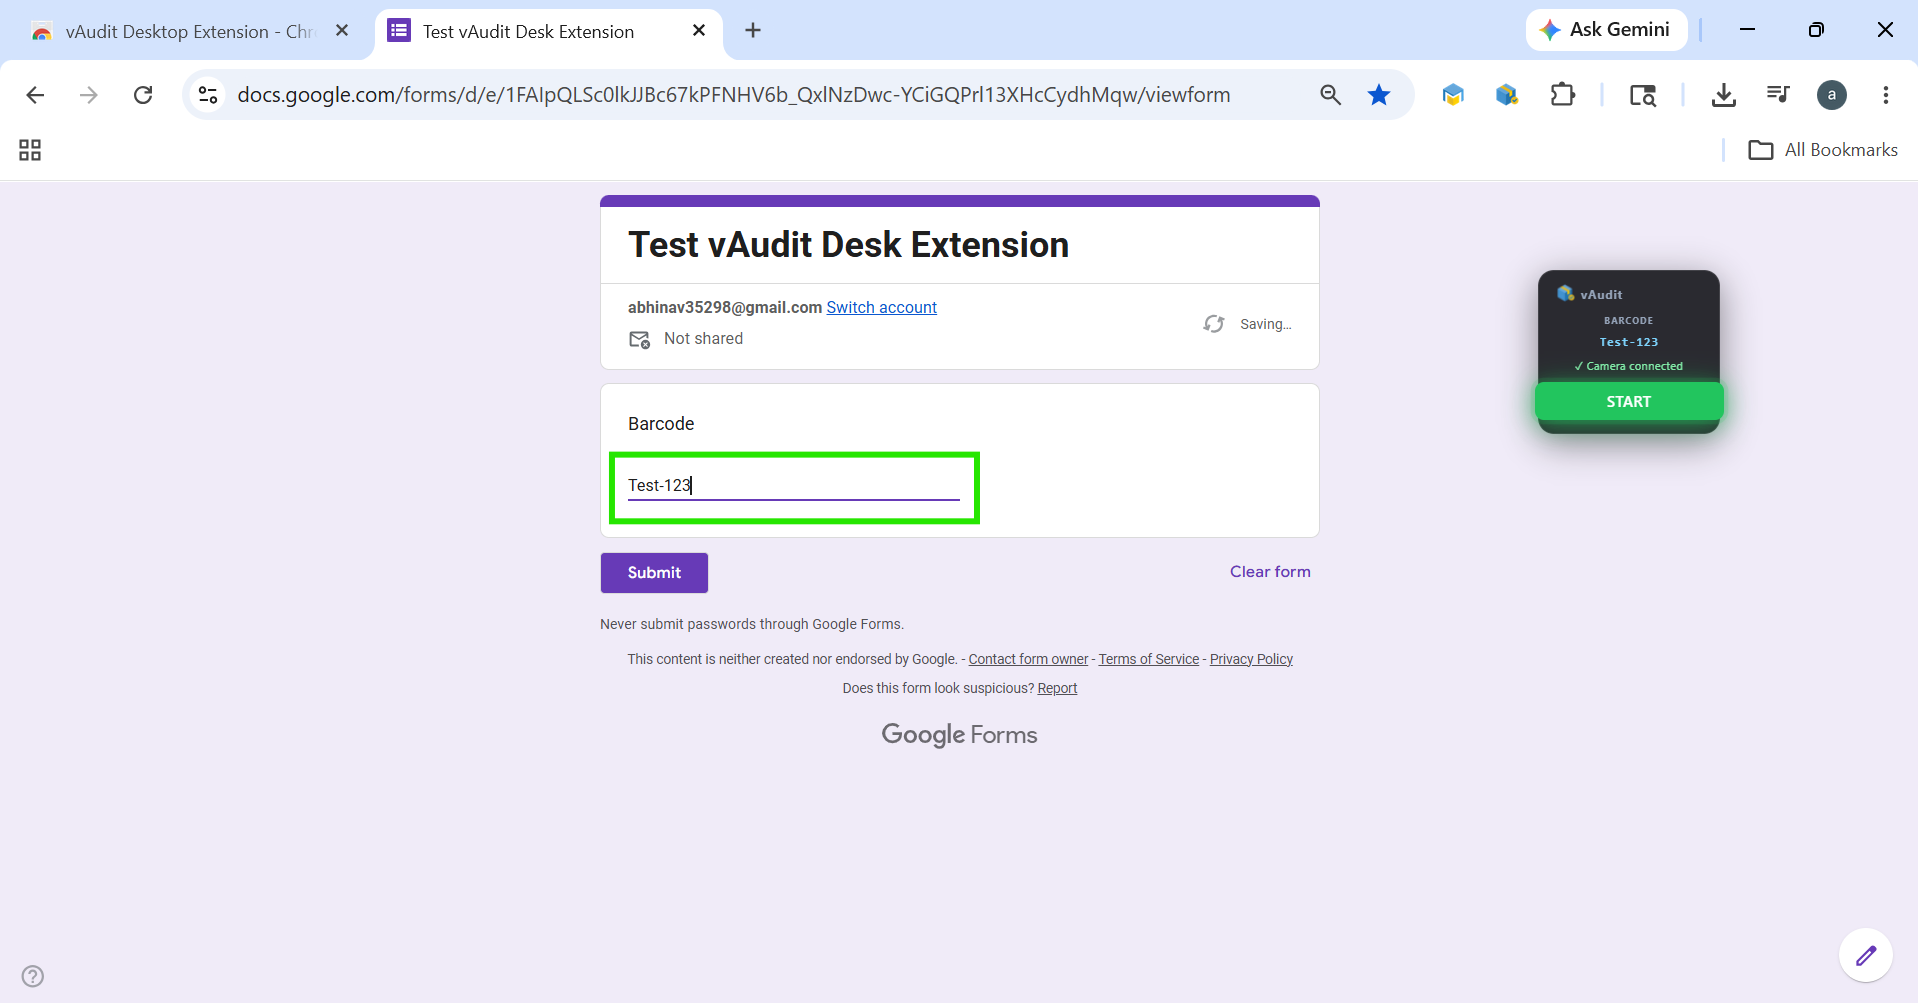
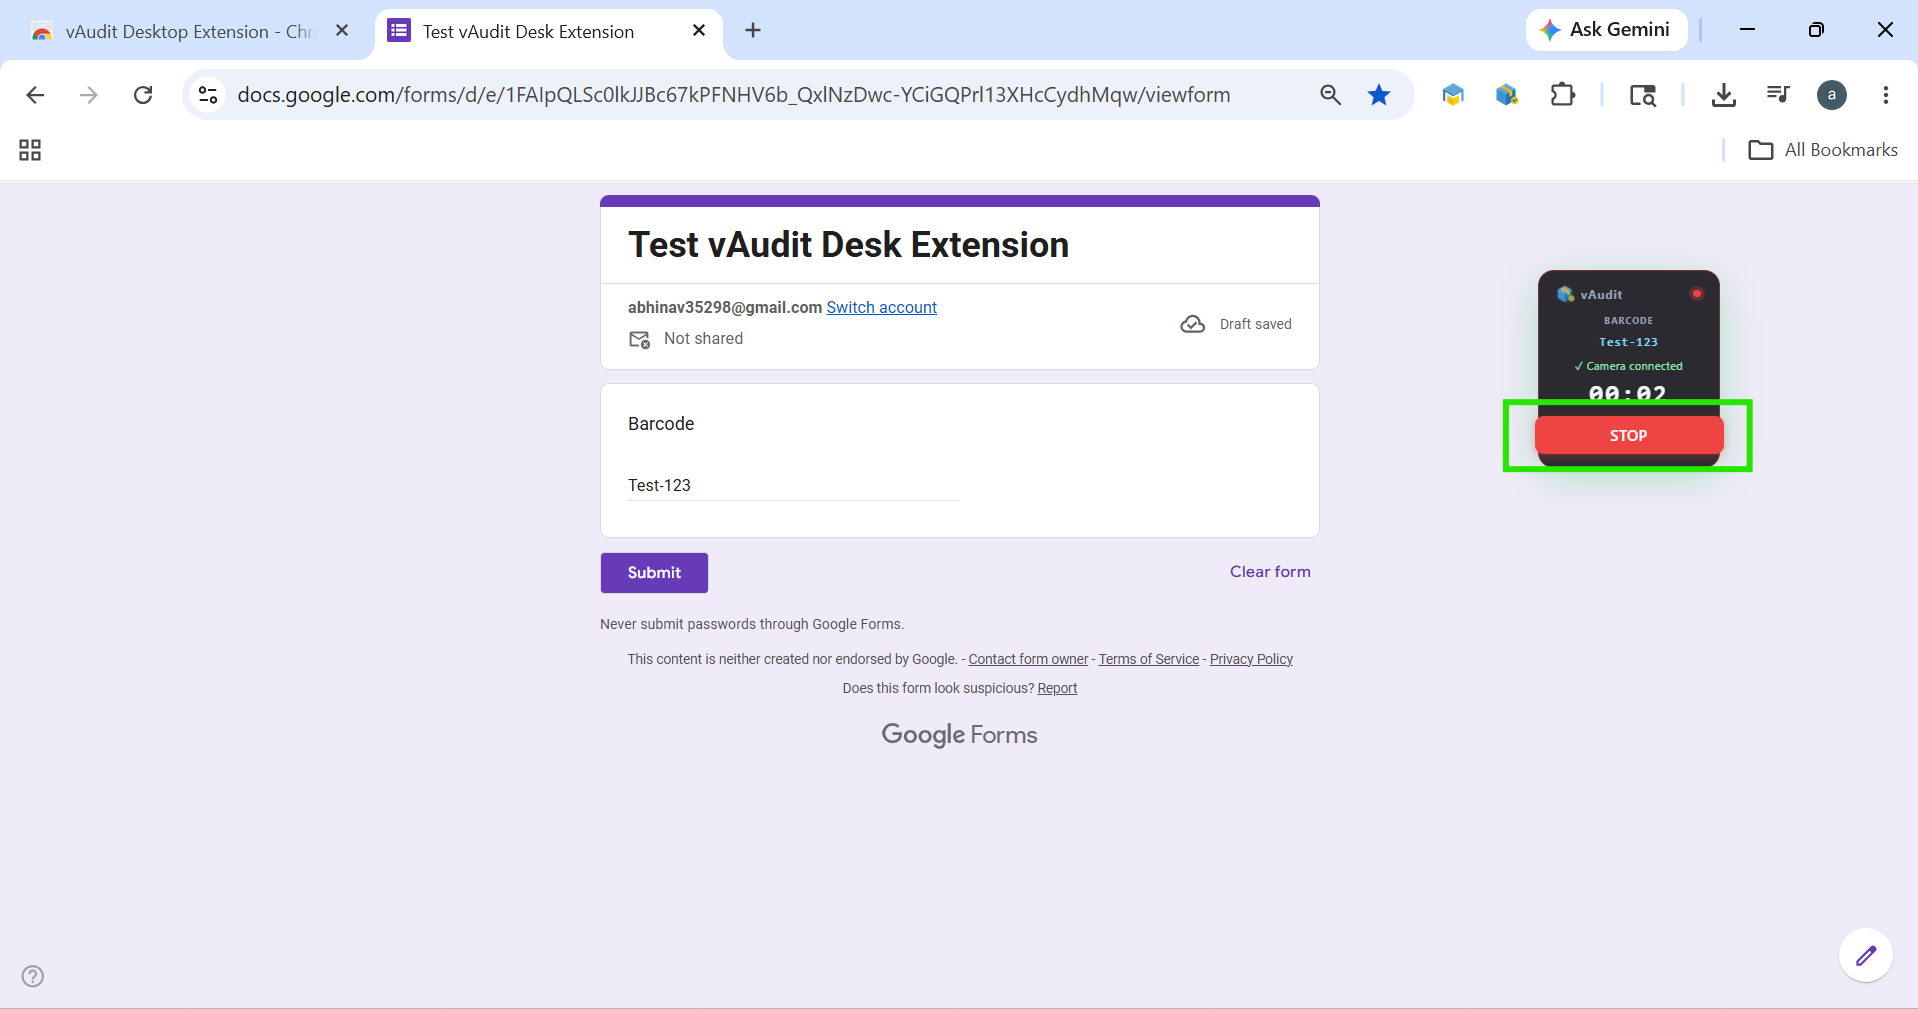
- Click the Start button to begin the audit.

- Click the Stop button to end the audit.
If the Enable Snapshot Button During Recording option is enabled, the Take Snap button will also be available during the audit process to capture Sub Events.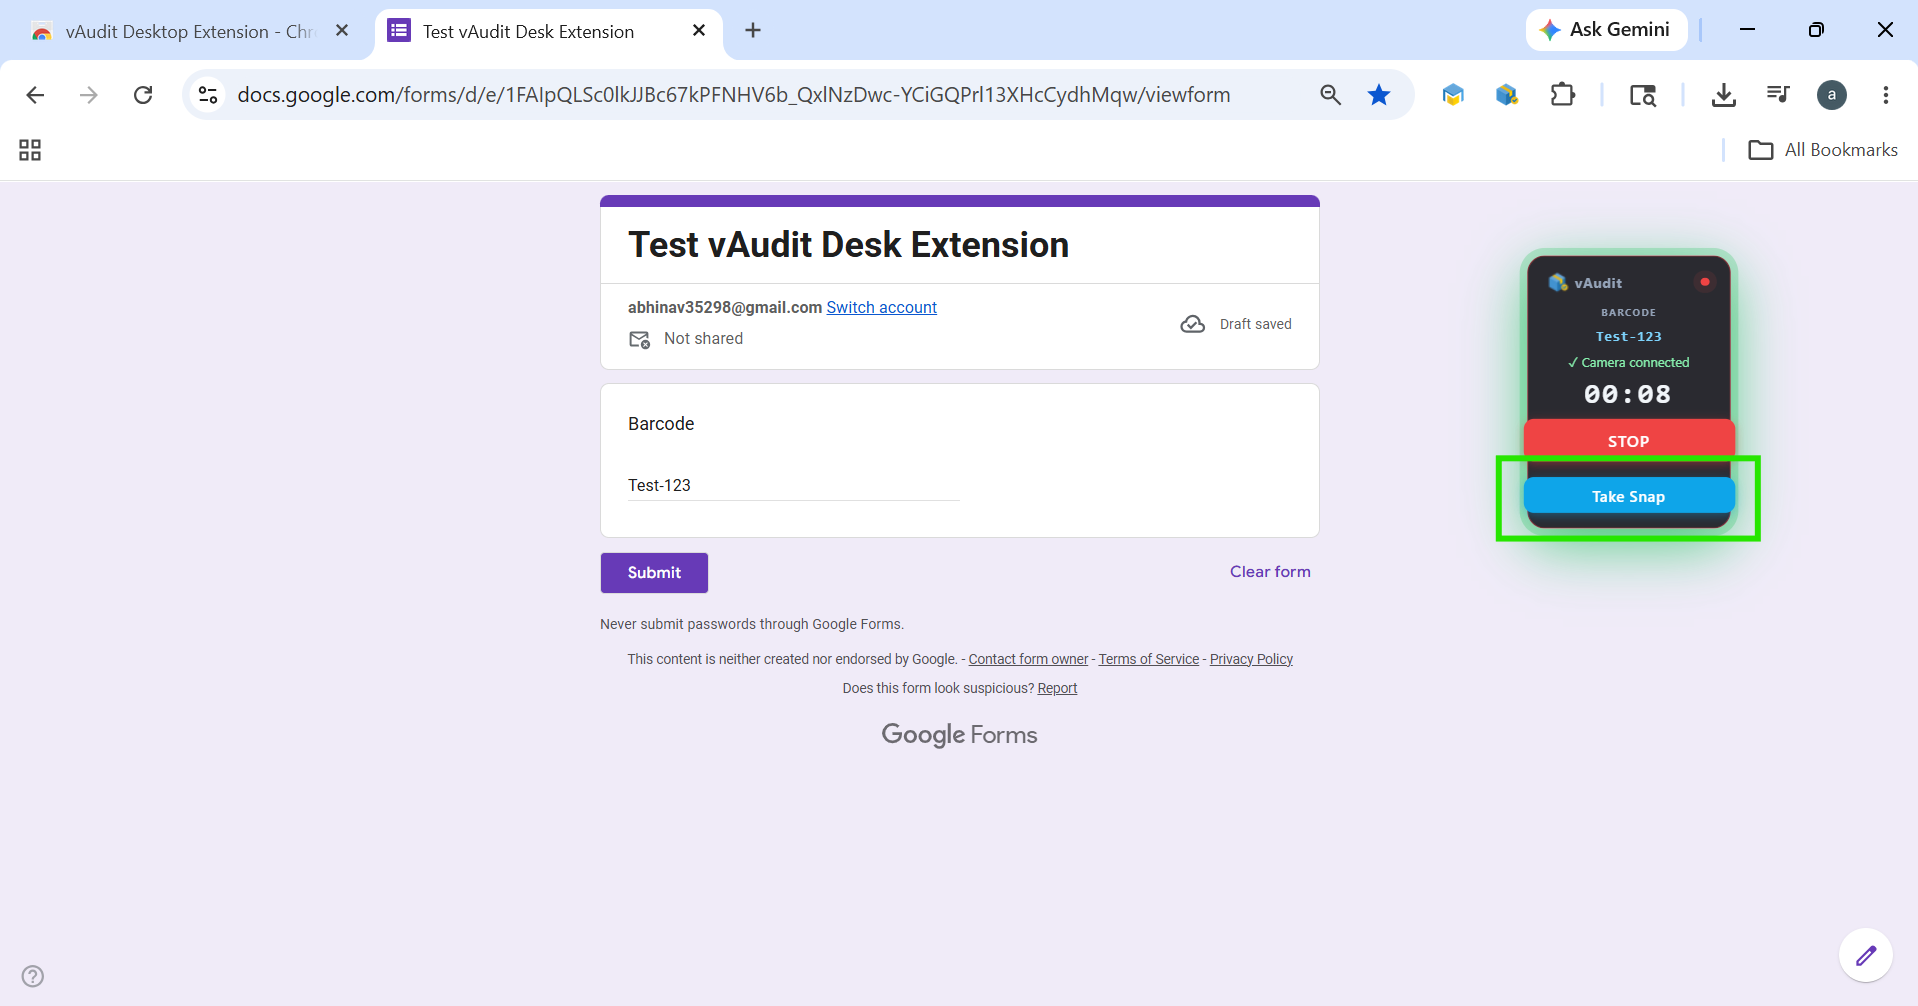
If you need any support , please drop a mail to vmeasure@visailabs.com or Click here to Submit a Ticket.
Was this article helpful?
That’s Great!
Thank you for your feedback
Sorry! We couldn't be helpful
Thank you for your feedback
Feedback sent
We appreciate your effort and will try to fix the article