Camera Configuration in vAudit Desktop
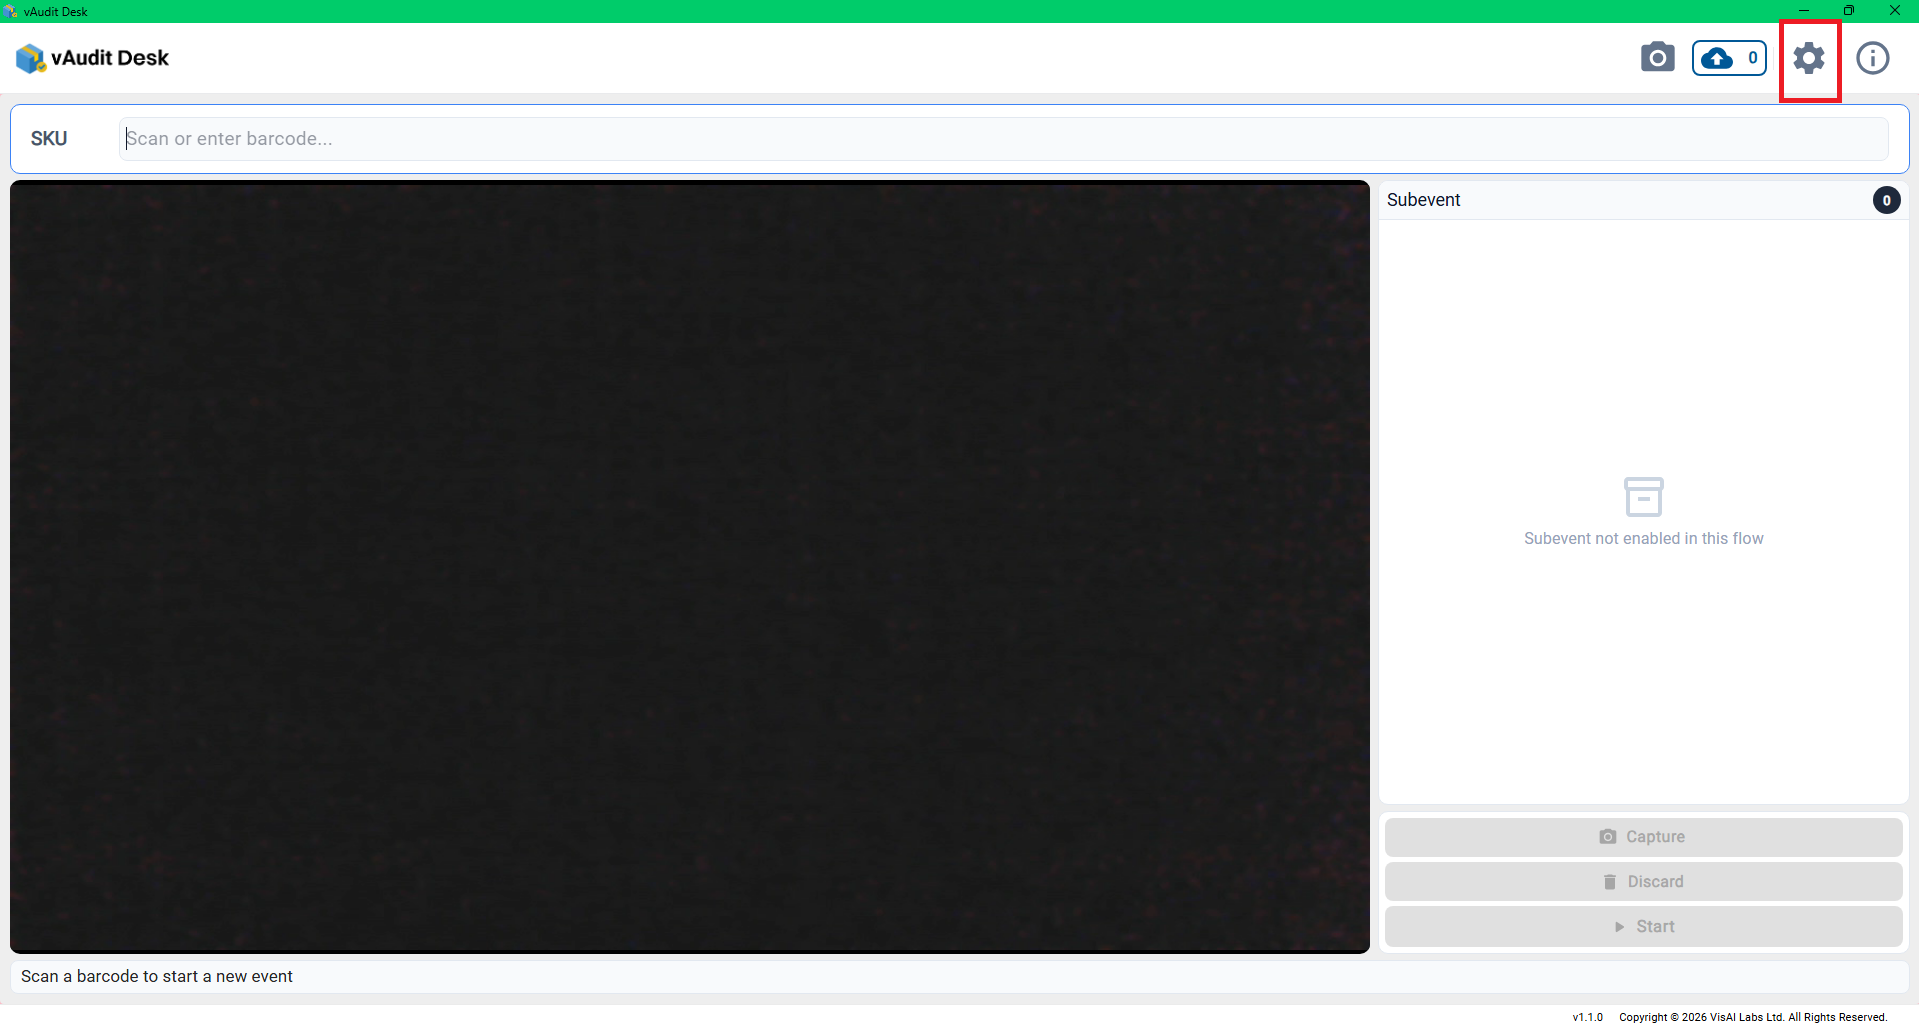
Step 1: Open the vAudit Desktop Application on your PC.
Step 2: Navigate to the “Settings” page.
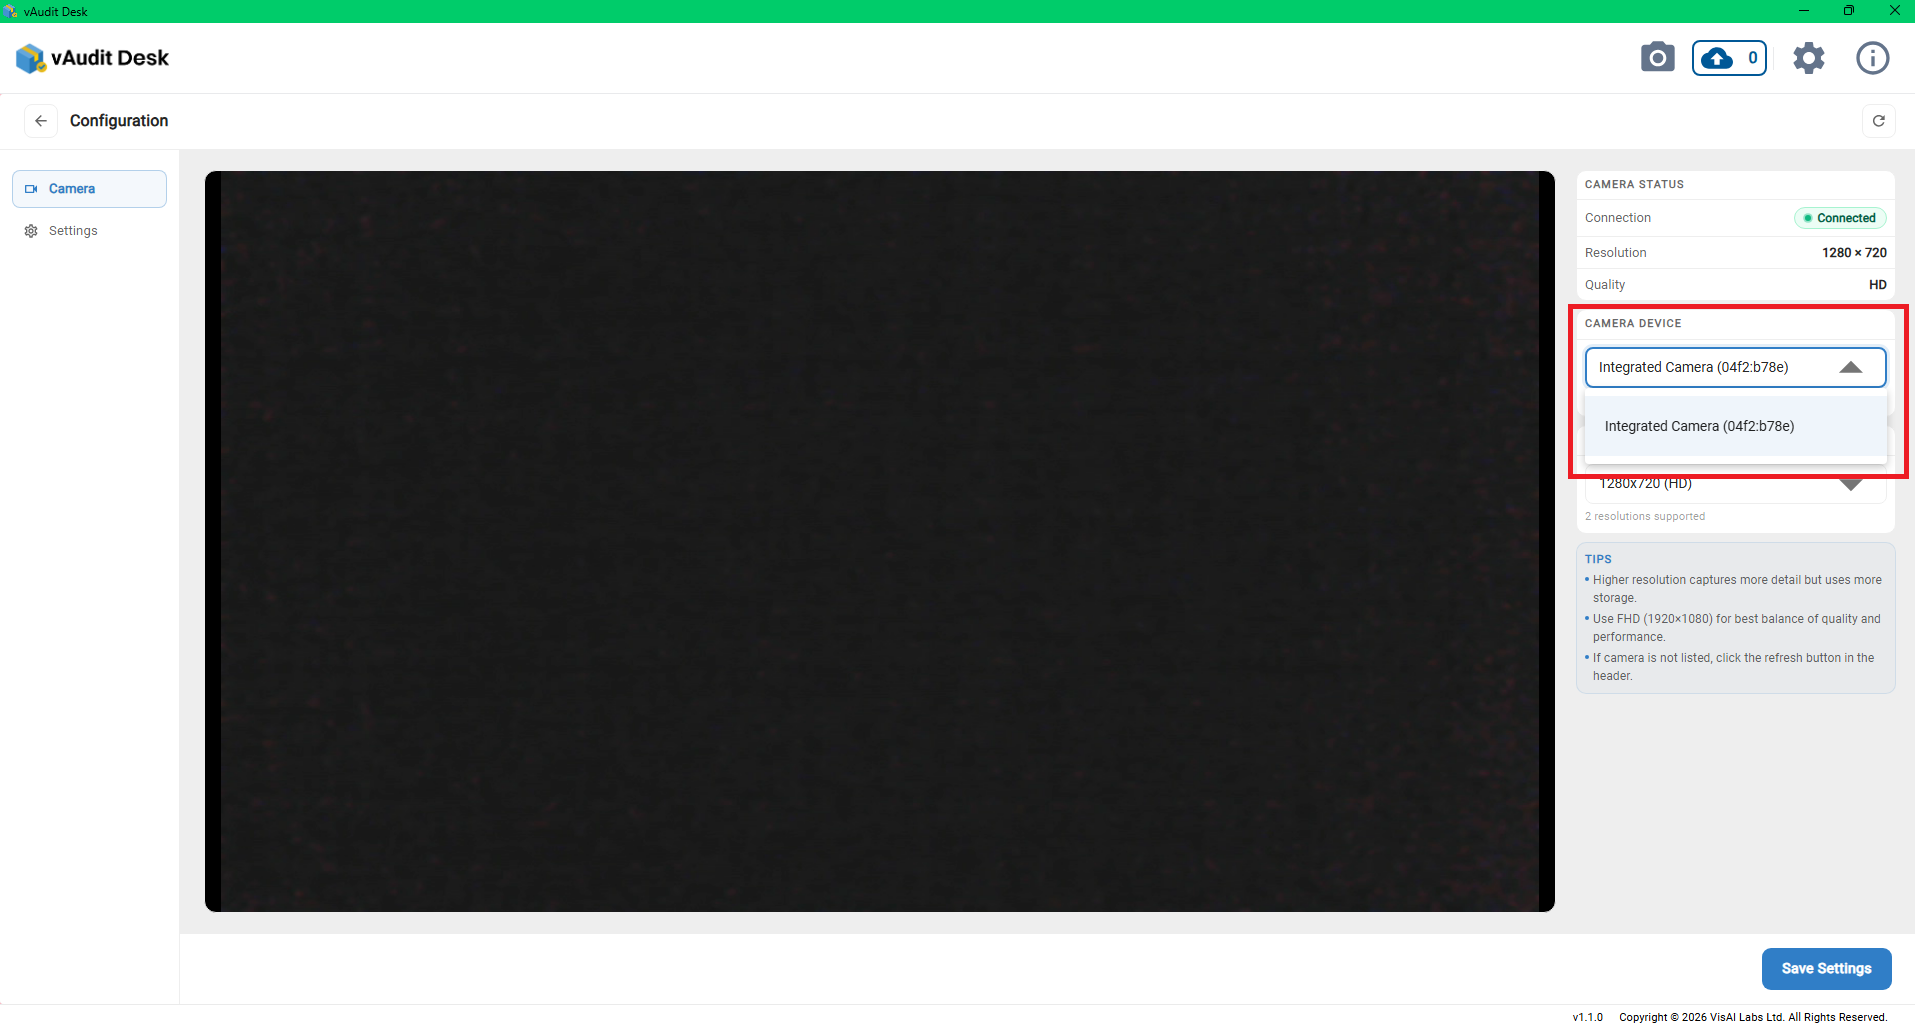
Note: Ensure that the external camera is properly connected to the PC.
Step 3: In the “Camera Settings” section, select the required camera from the list.
Step 4: Choose the desired “Resolution Setting” from the dropdown menu.
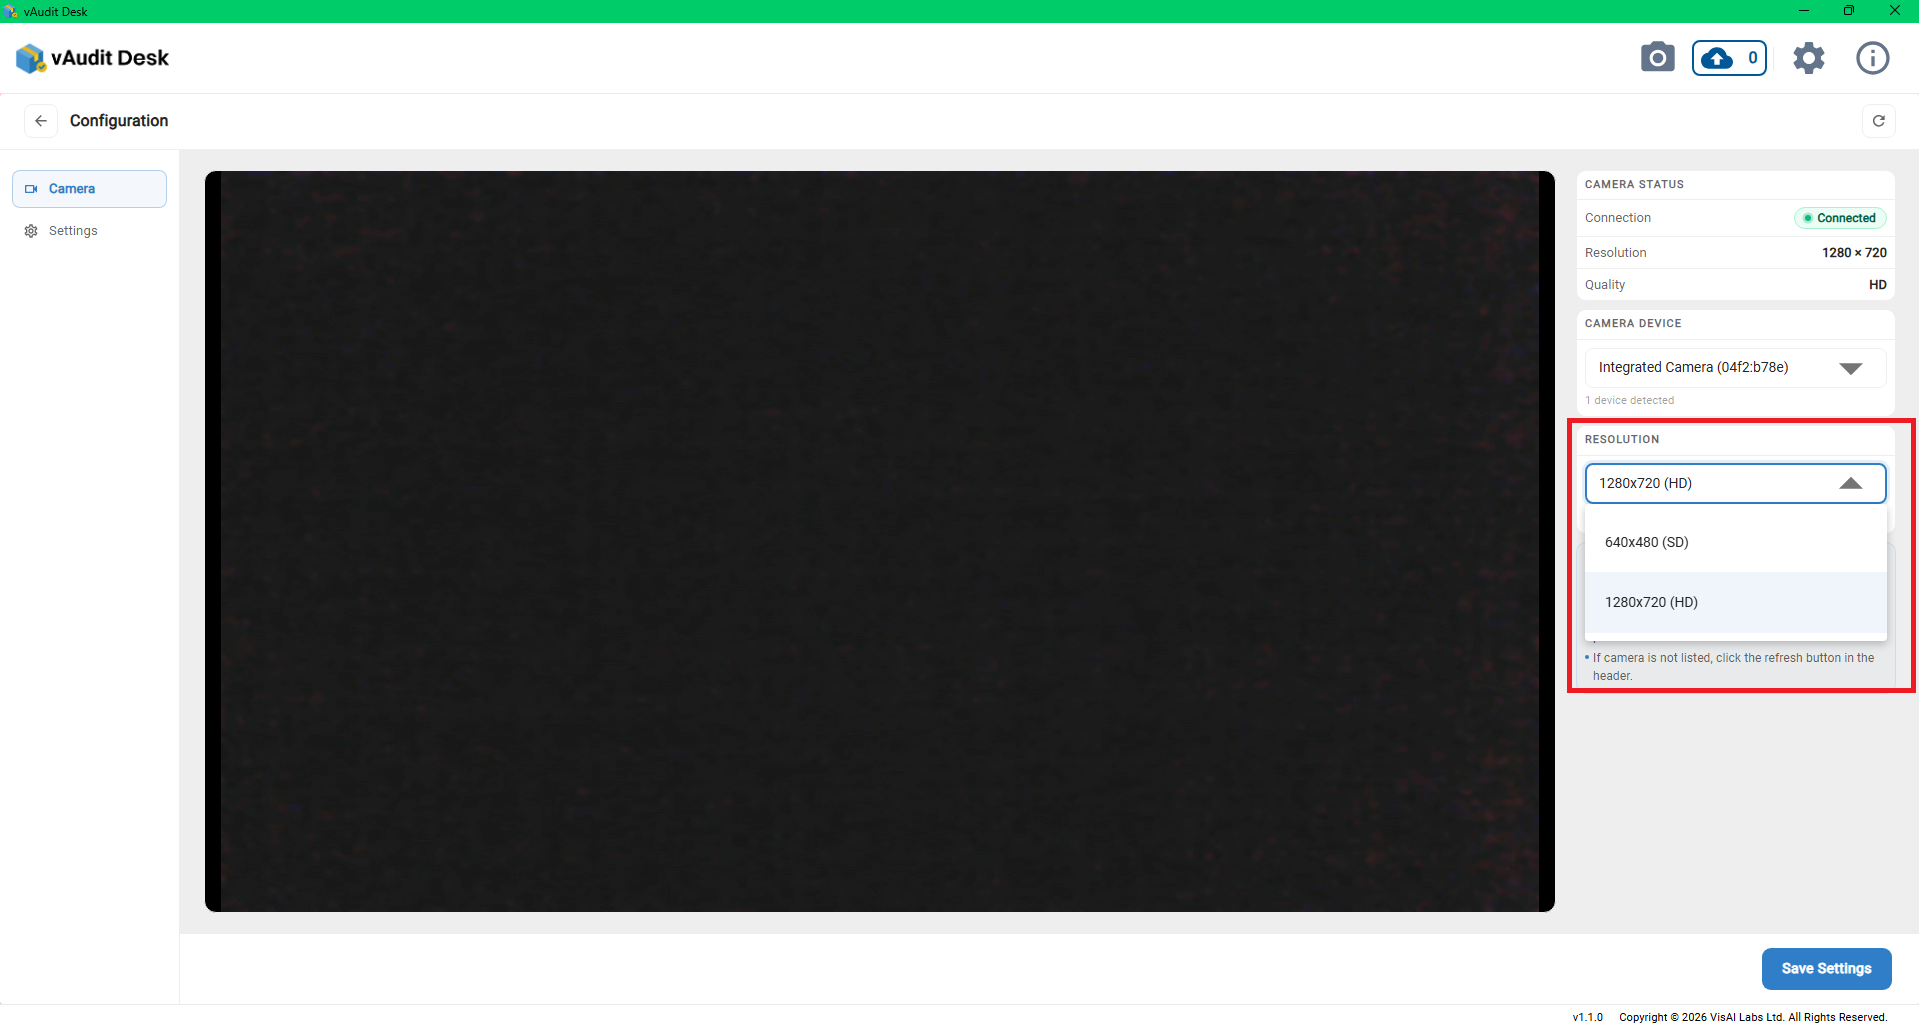
Available Resolution Options:
- 640 × 480 (SD)
- 1280 × 720 (HD)
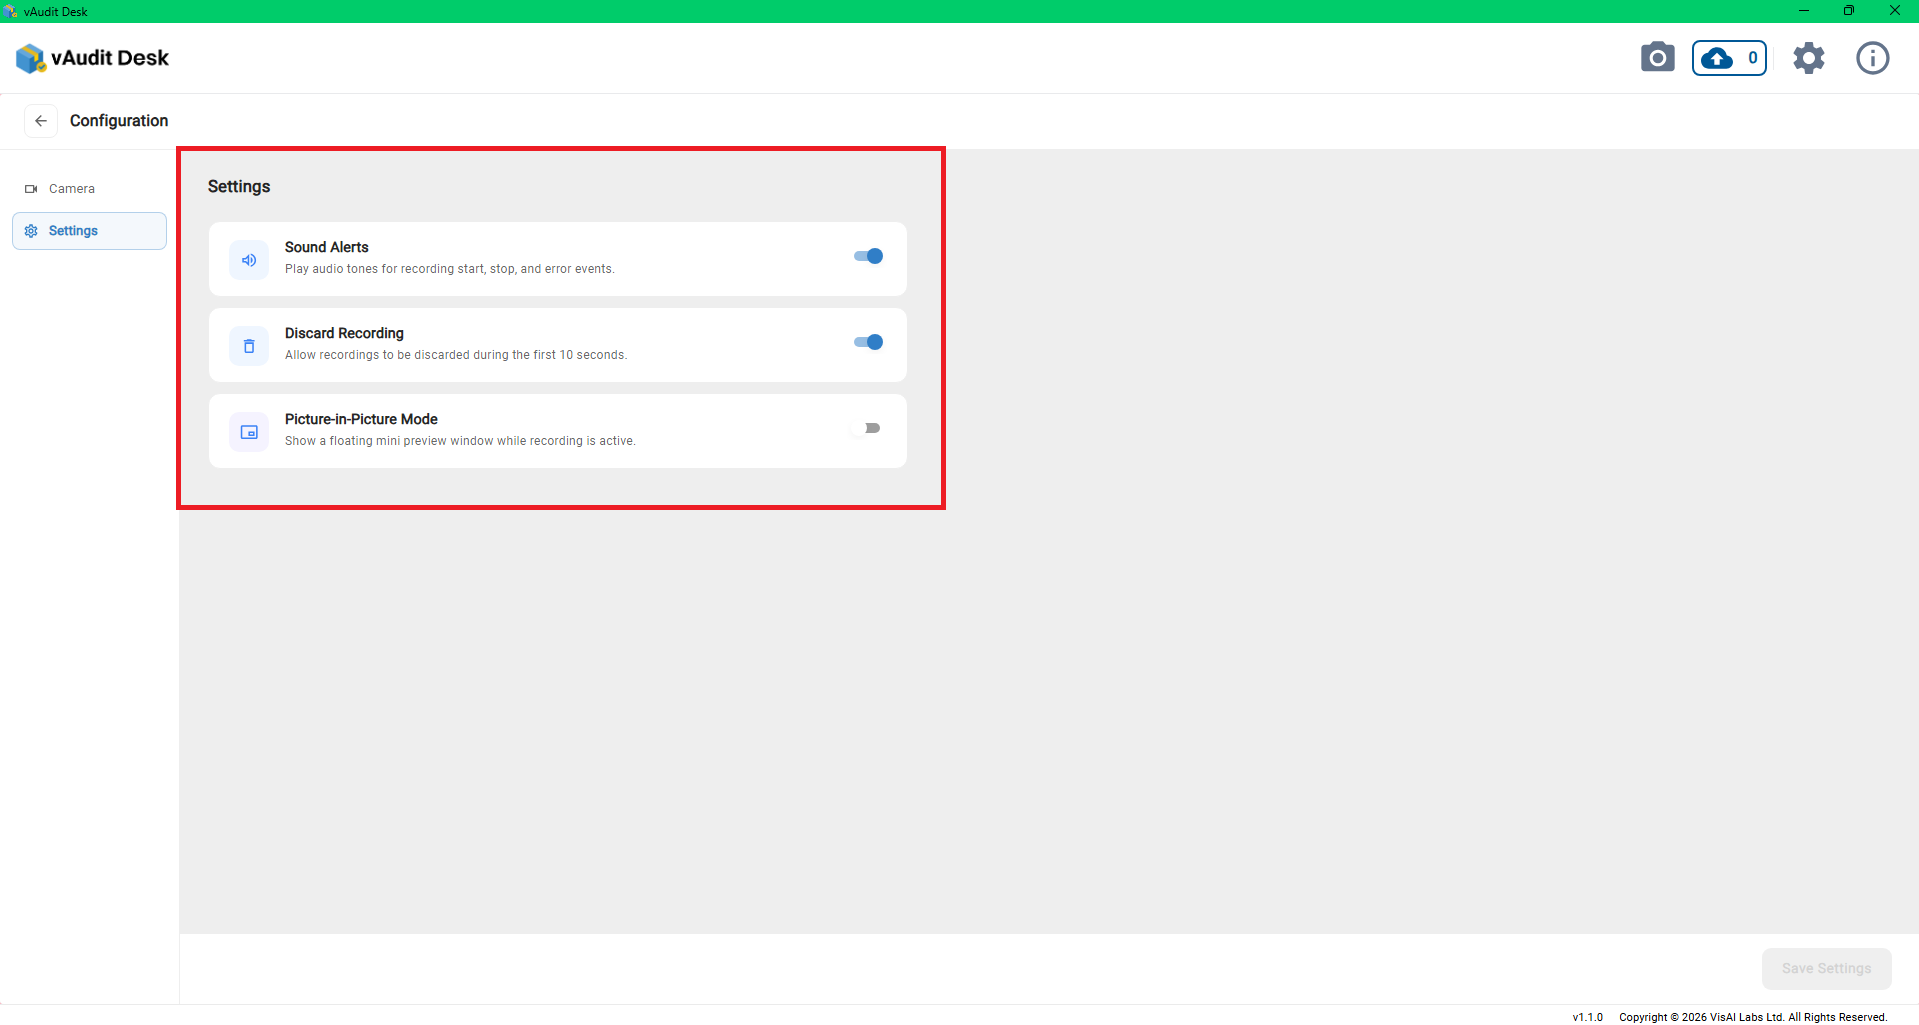
Additionally, you can set the sound alerts, recording timeout and picture-in-picture mode in the Configuration --> Settings.
Was this article helpful?
That’s Great!
Thank you for your feedback
Sorry! We couldn't be helpful
Thank you for your feedback
Feedback sent
We appreciate your effort and will try to fix the article