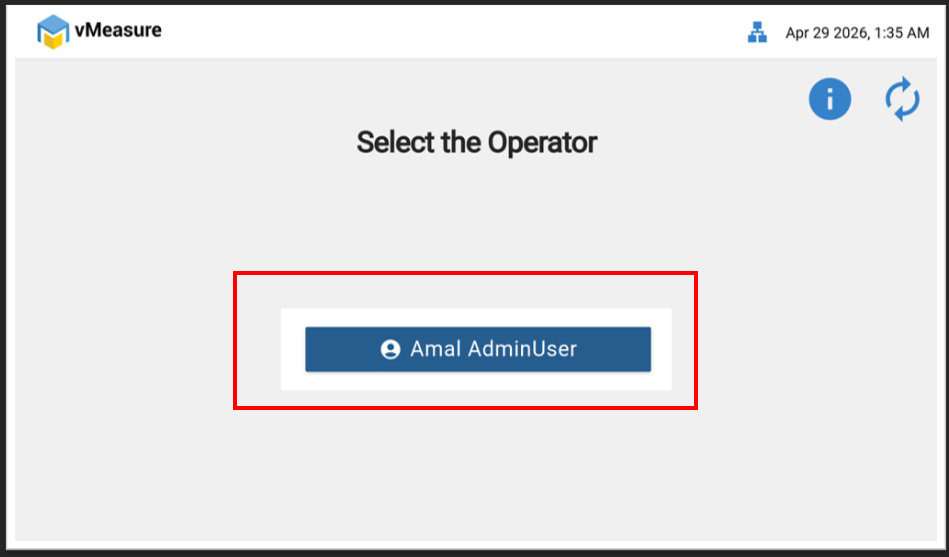
Step 1: Log in to the vMeasure device.
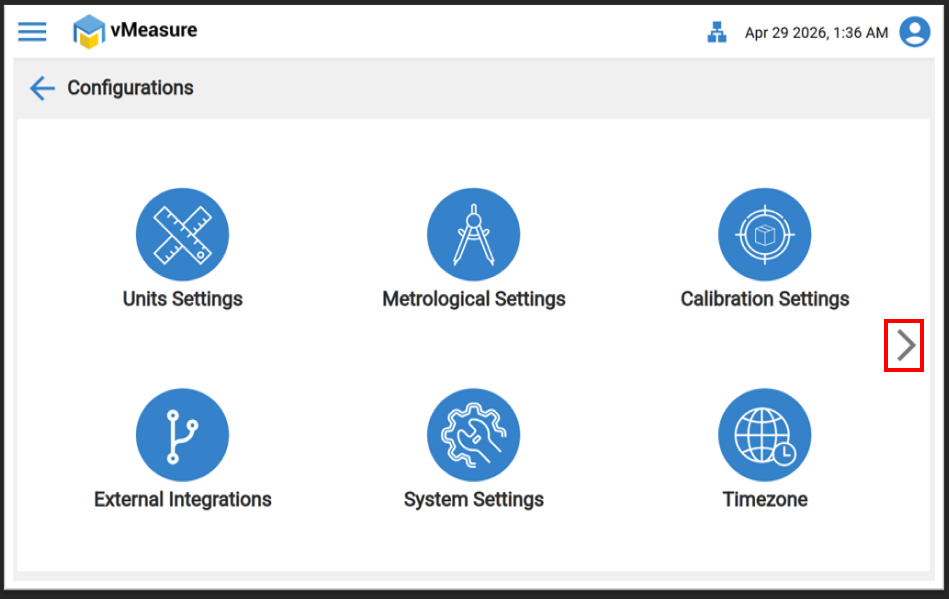
Step 2: Click on “Configuration” and navigate to the next page.
Image-1 :
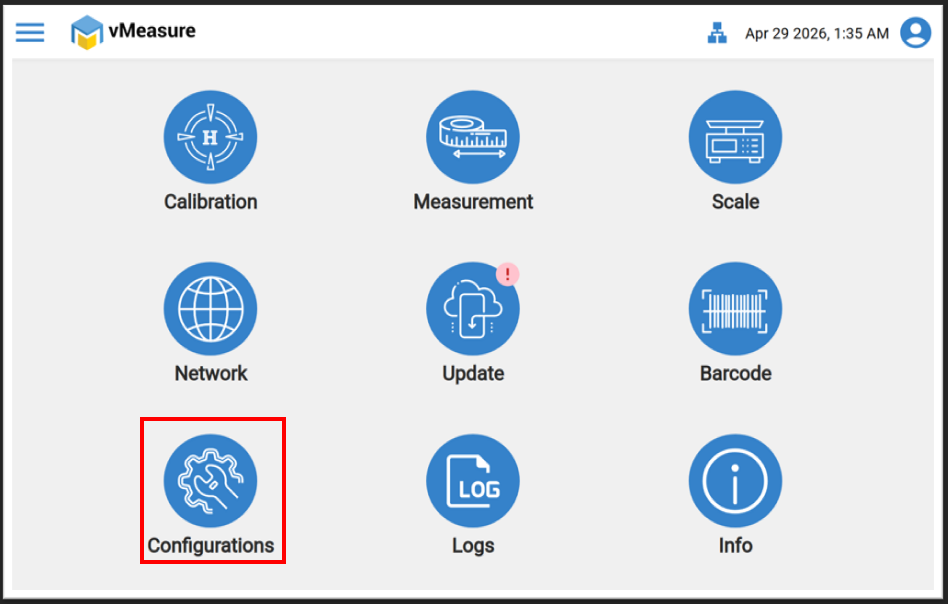
Image-2 :
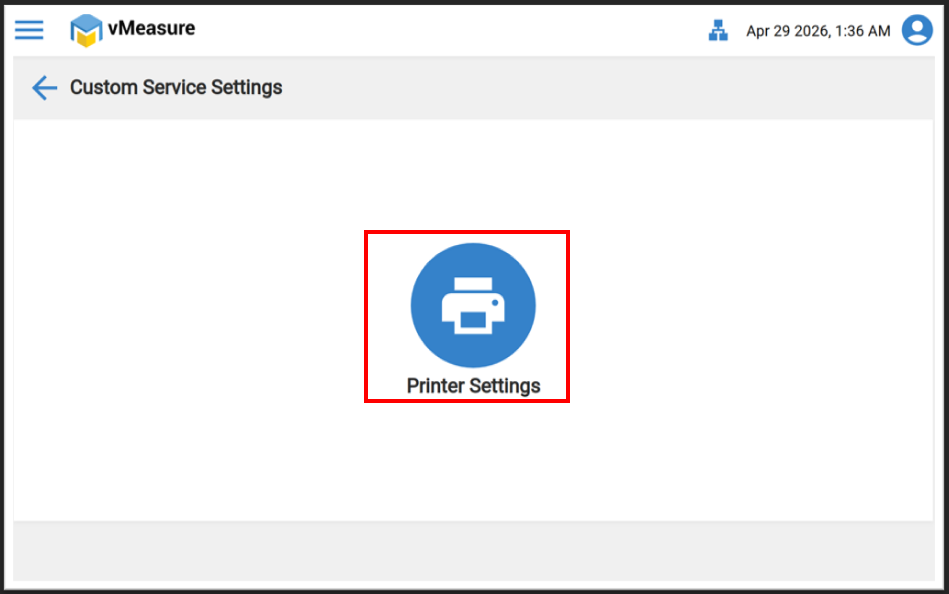
Step 3: Select “Custom Configuration.” and click on "Printer Setting".
Image-1 :
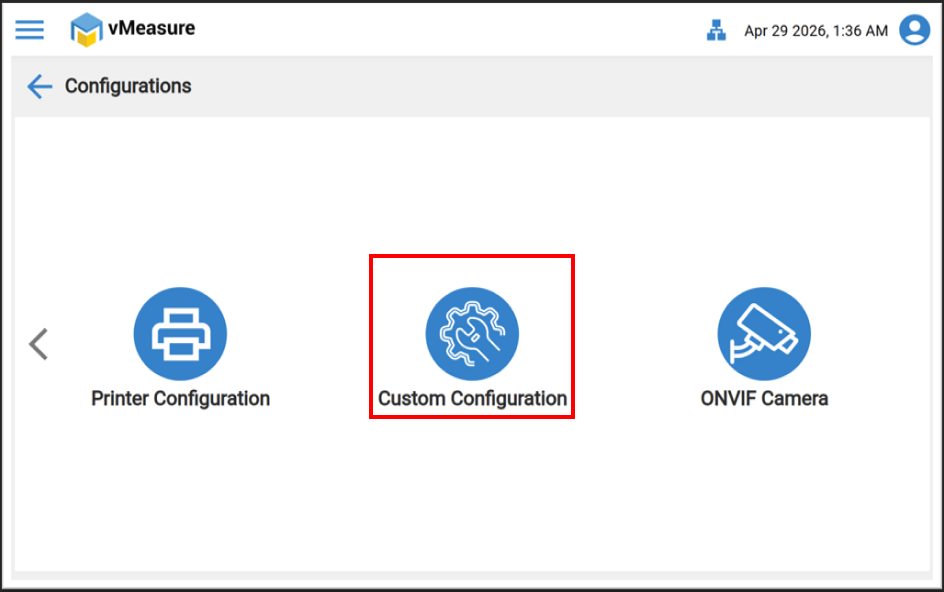
Image-2 :
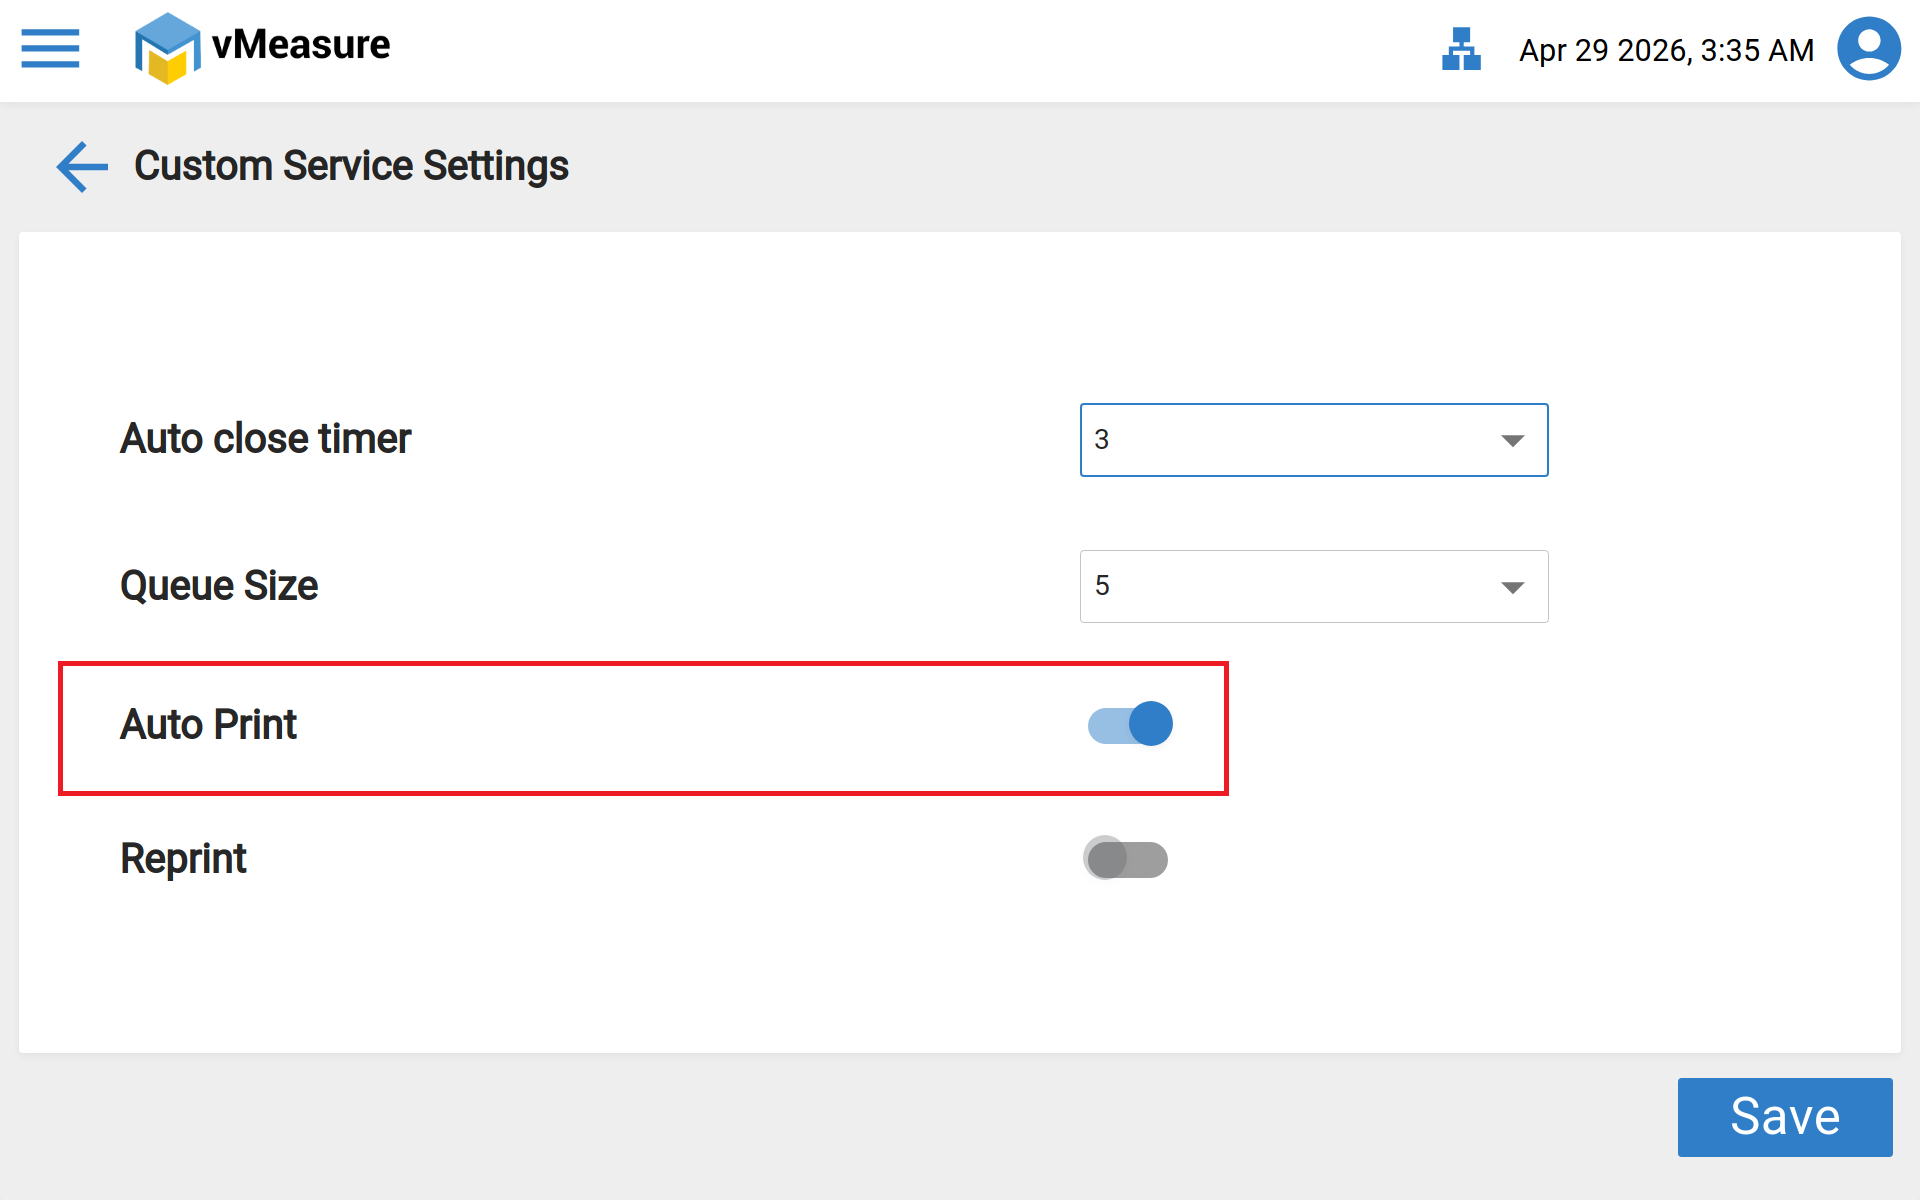
Step 4 : In the menu you will find an option as Auto Print. Click on the toggle to enable it.
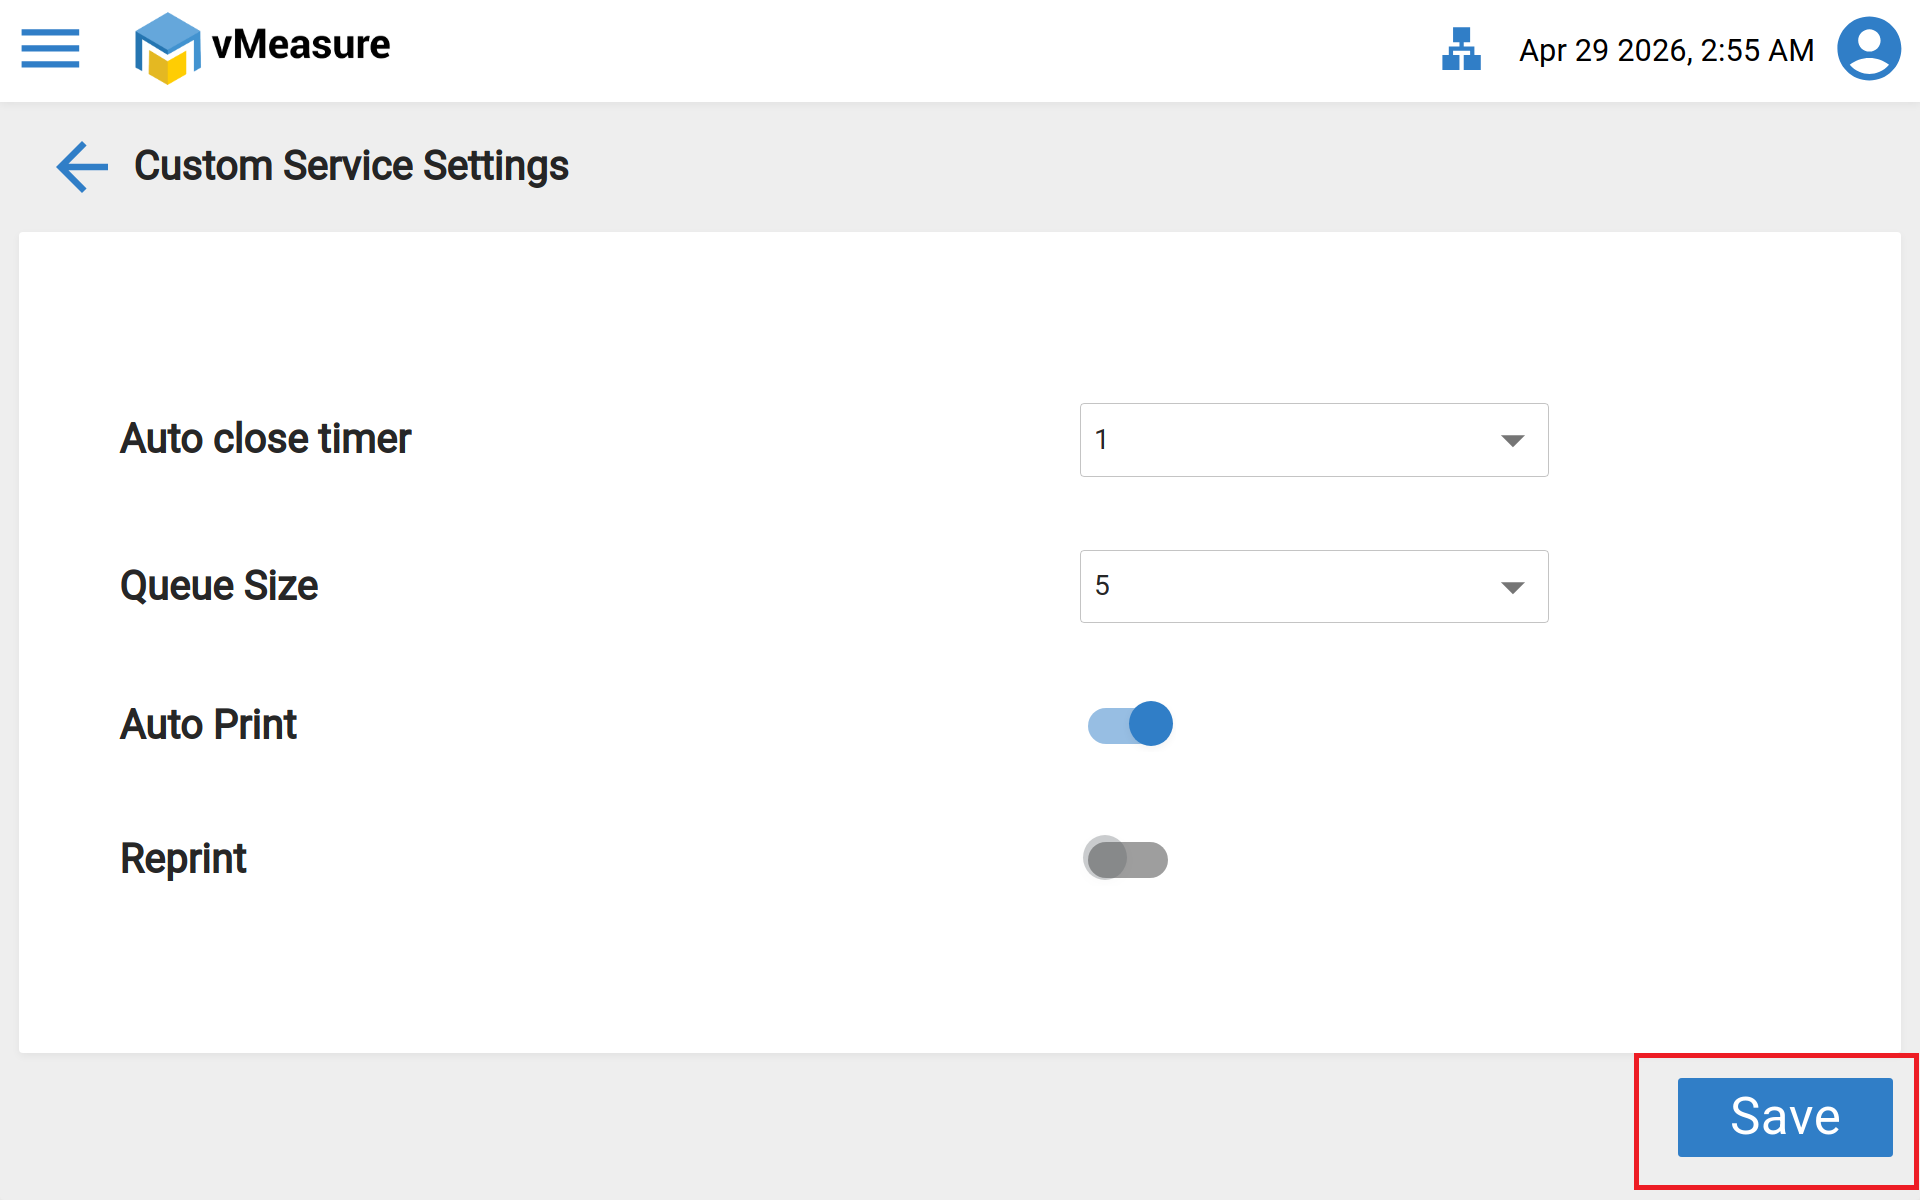
Step 5 : After enabling the toggle, click on Save.
After saving the settings, you will receive a message as Data saved successfully.
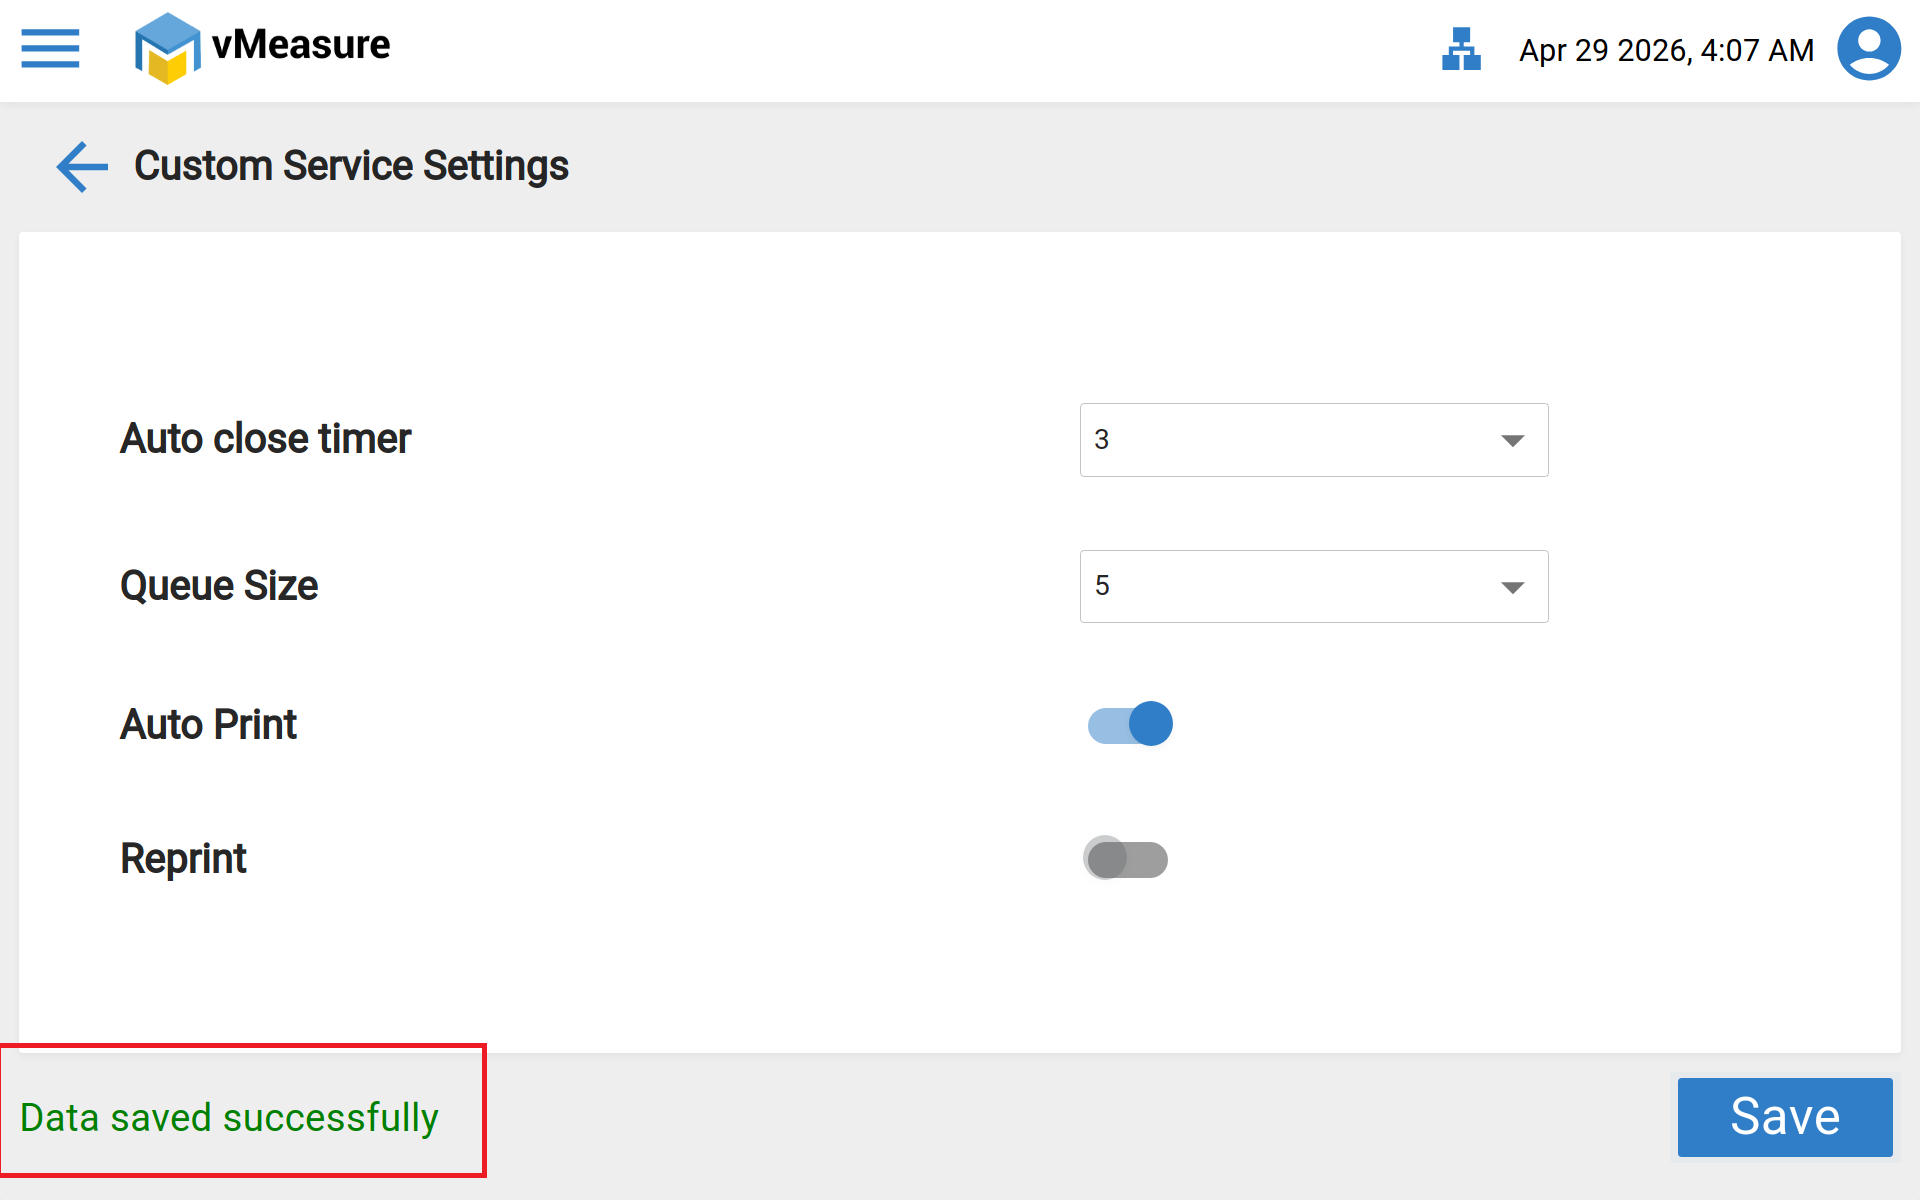
Now you have successfully enabled Auto Print for your printer.
Was this article helpful?
That’s Great!
Thank you for your feedback
Sorry! We couldn't be helpful
Thank you for your feedback
Feedback sent
We appreciate your effort and will try to fix the article