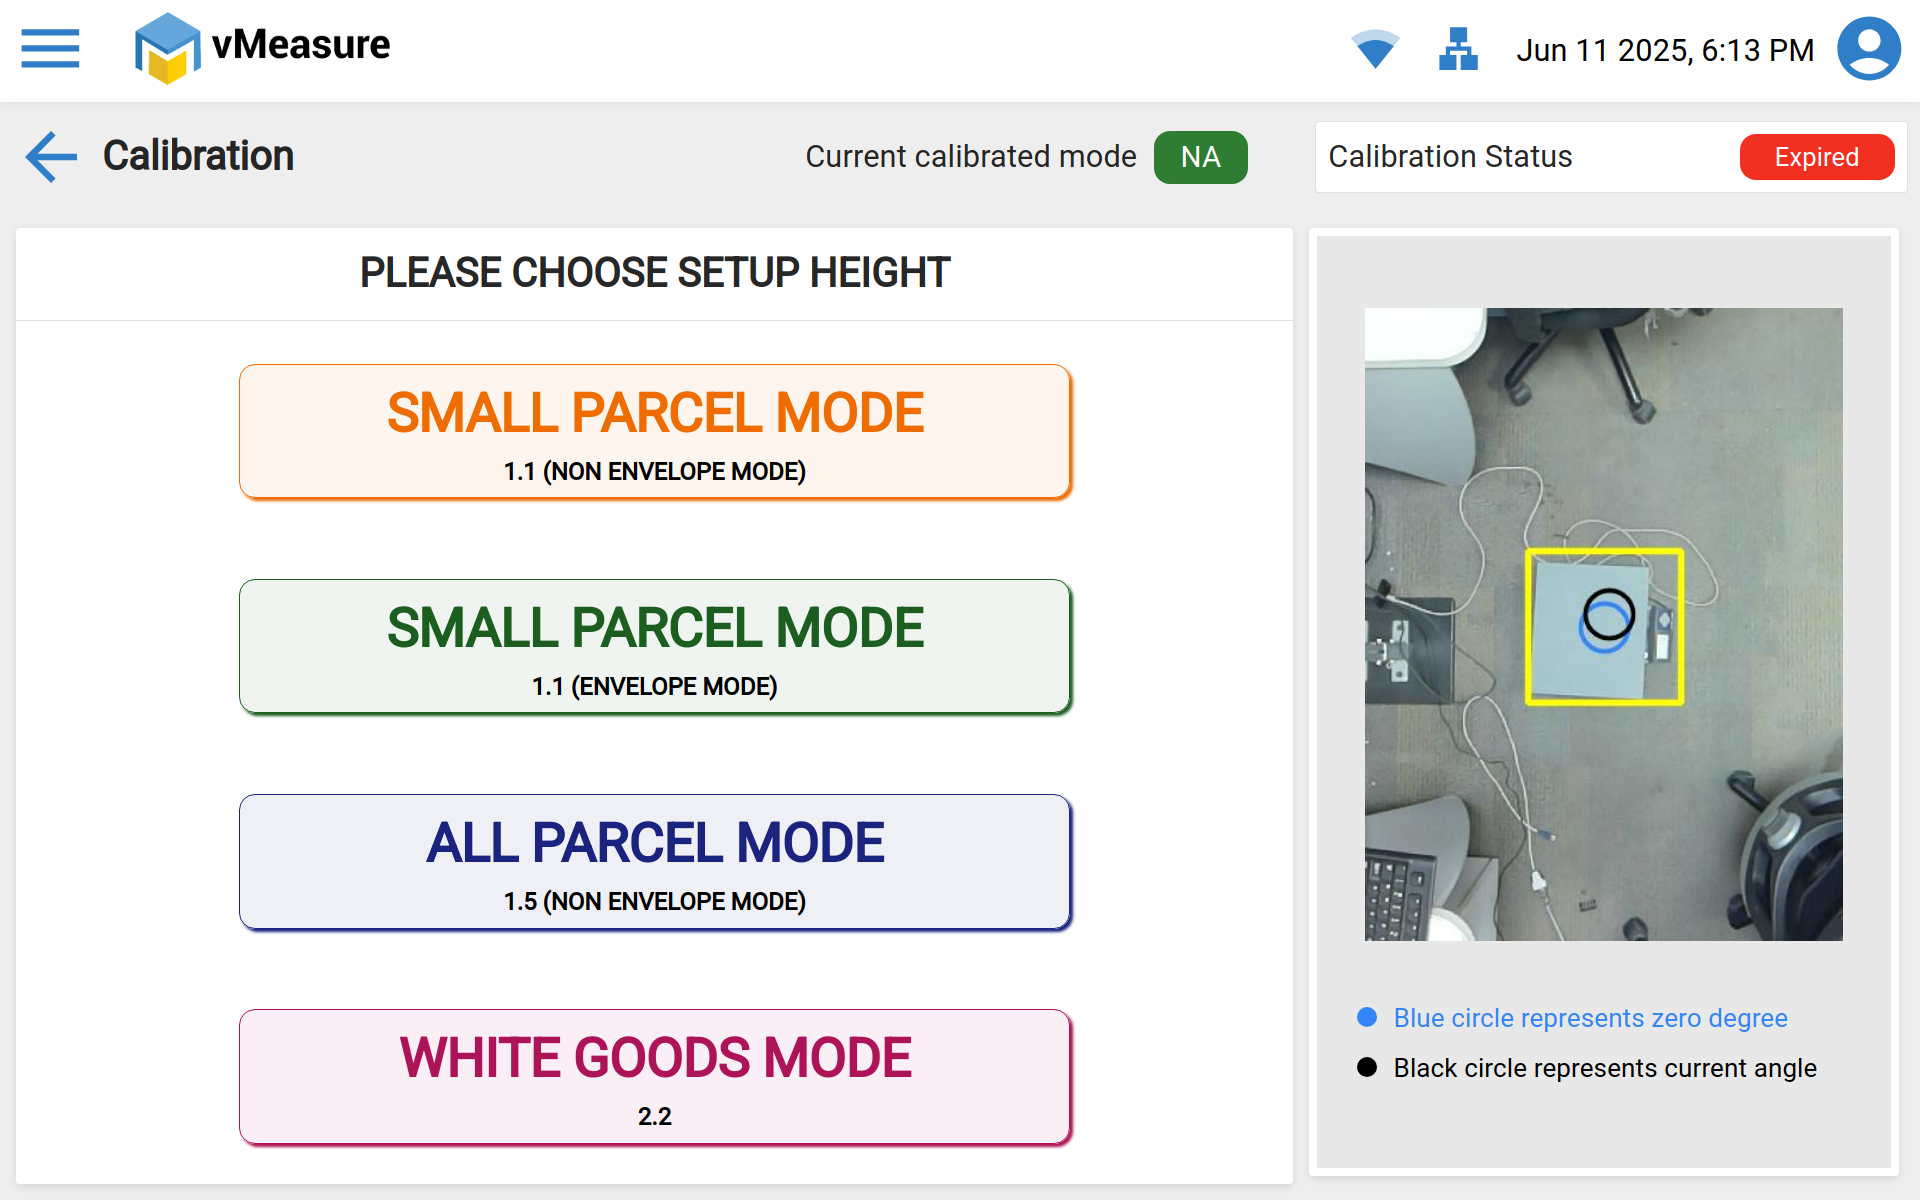
Step 1: Setting the Height of the vMeasure Device
Ensure the ARM pole is mounted at the correct height based on the calibration mode selected.
If a Weighing Scale is Used:
1.1 Small Parcel Mode: Distance from the top surface of the scale to the bottom of the camera should be 1.1 meters (43.1 inches).
1.5 All Parcel Mode: Distance should be 1.5 meters (59 inches).
2.2 White Goods Mode: Distance should be 2.2 meters (86.6 inches).
If a Weighing Scale is Not Used:
1.1 Small Parcel Mode: Distance from the ground to the bottom of the camera should be 1.1 meters (43.1 inches).
1.5 All Parcel Mode: Distance should be 1.5 meters (59 inches).
2.2 White Goods Mode: Distance should be 2.2 meters (86.6 inches).
Step 2: Ensure Flat Surface and Correct Angle Alignment of the vMeasure Device
Surface Check:
Make sure the calibration surface is completely flat. If a weighing scale is being used, it must be positioned within the designated work area (highlighted by the yellow rectangle box).Angle Alignment:
Use the on-screen indicators to verify device alignment:Blue Circle: Represents the ideal 0-degree angle (perfect alignment).
Black Circle: Reflects the device’s current angle.
Adjust the device until both circles overlap or are as close as possible to confirm that the device is level.
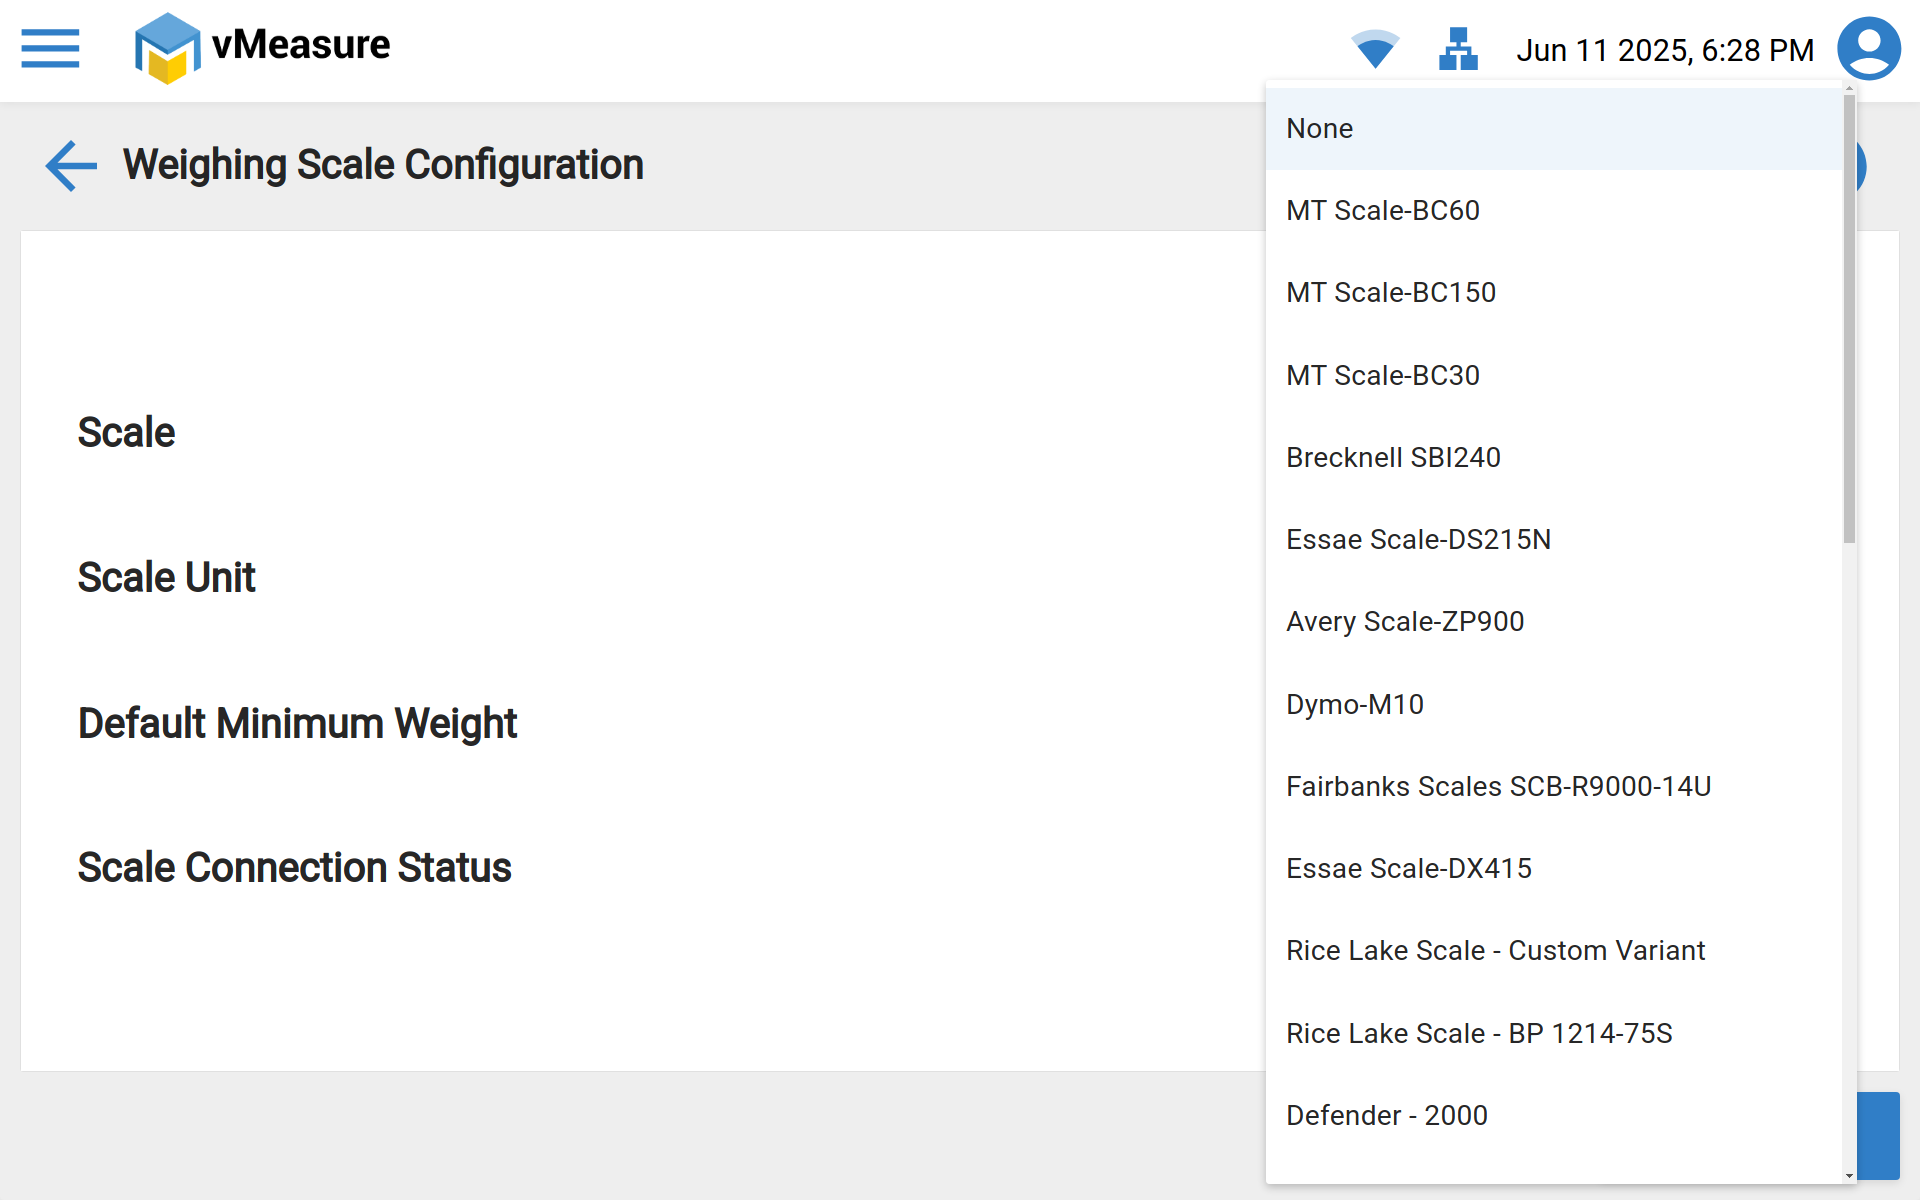
Step 3: Select the Appropriate Weighing Scale (if applicable) or Set to "None"
Ensure the correct weighing scale is selected from the scale settings. If no scale is being used, choose the "None" option.
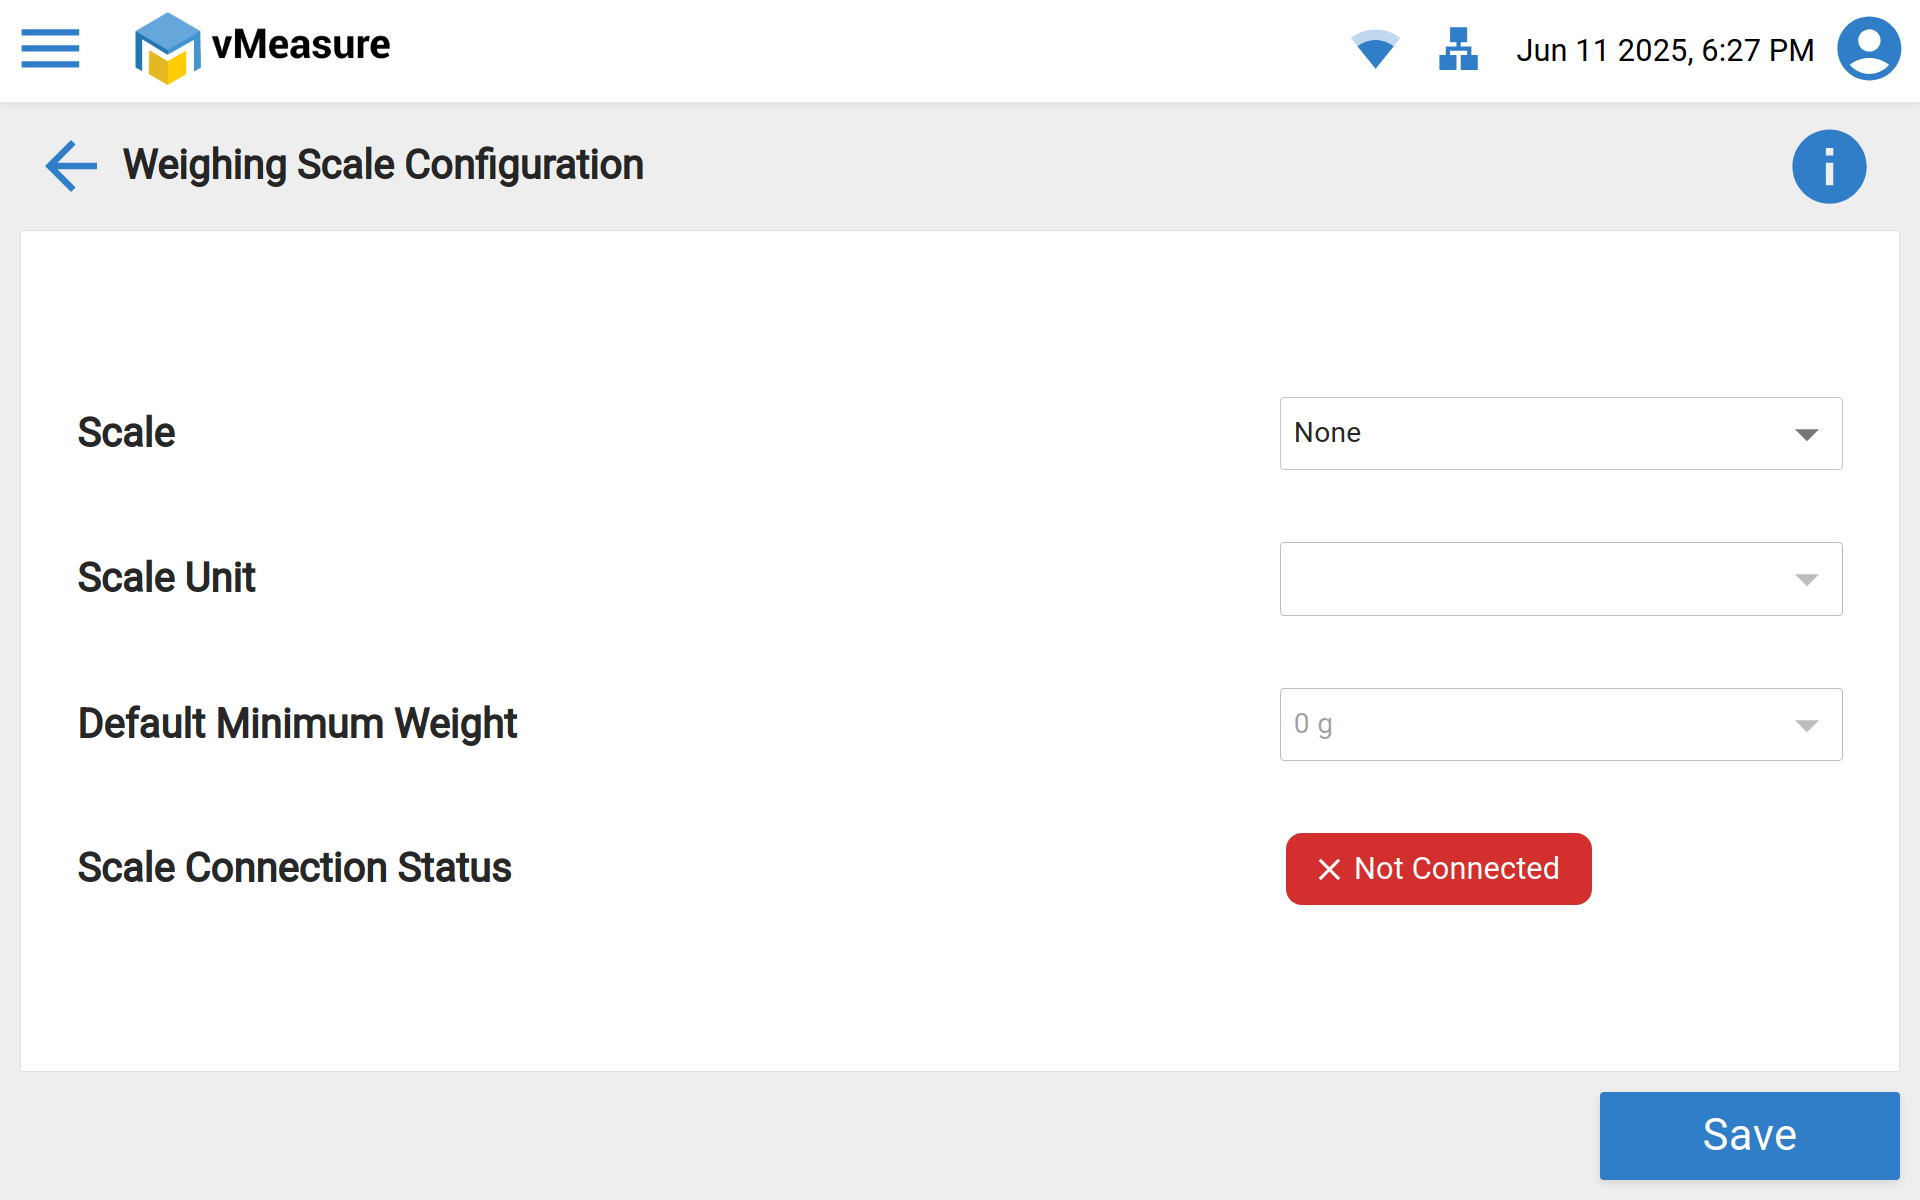
Before saving the weighing scale configuration, please make sure of the following:
The weighing scale is in a zero state.
No objects or shipments are placed on or near the scale.
The scale is properly positioned directly below the camera.
Step 4: Clear the Calibration Area
Before initiating the calibration process, please ensure the following:
The Region of Interest (ROI) is free from any objects.
There are no cables hanging near or obstructing the camera.
The weighing scale is clear and in a zero state, with nothing placed on it.
Calibration Failure Image: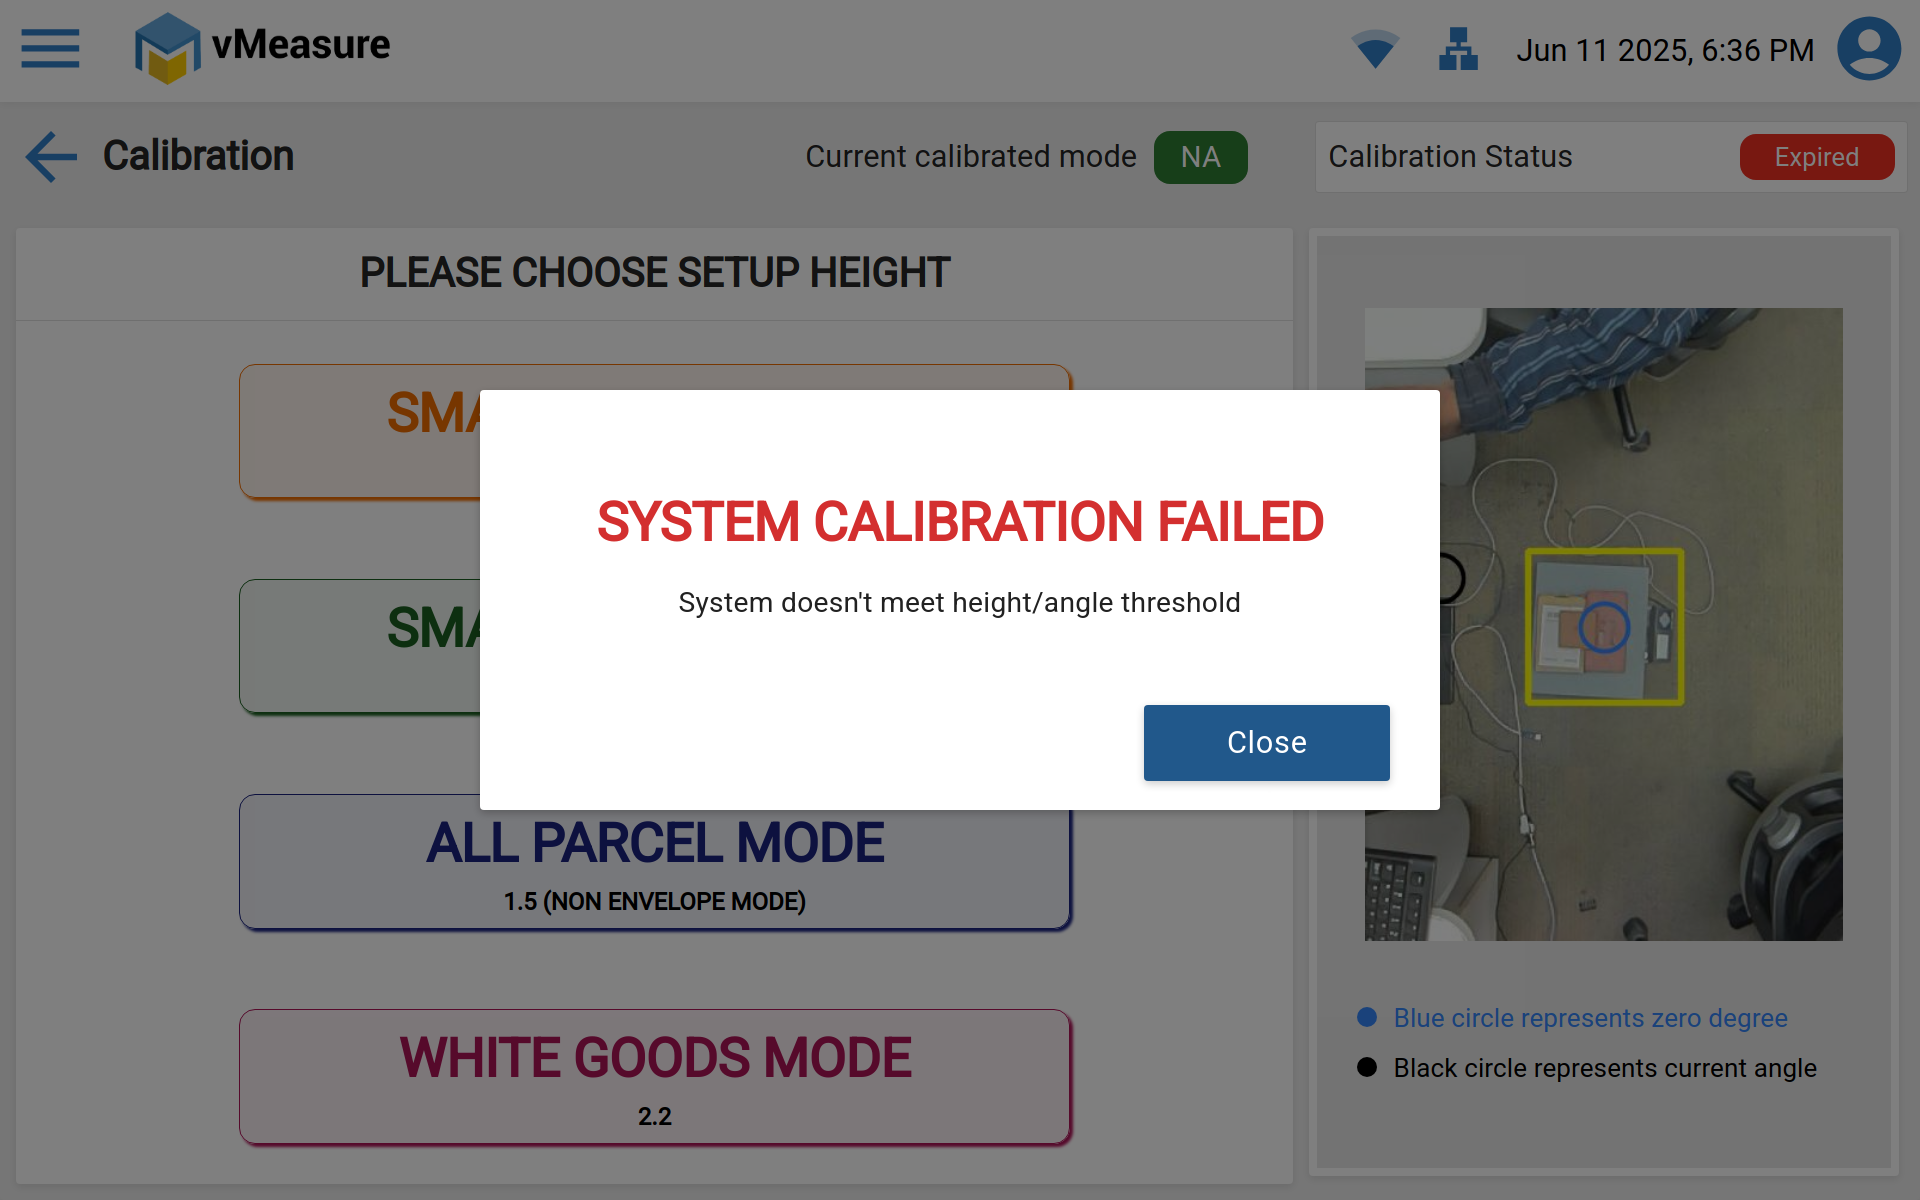
Calibration Successful Image:
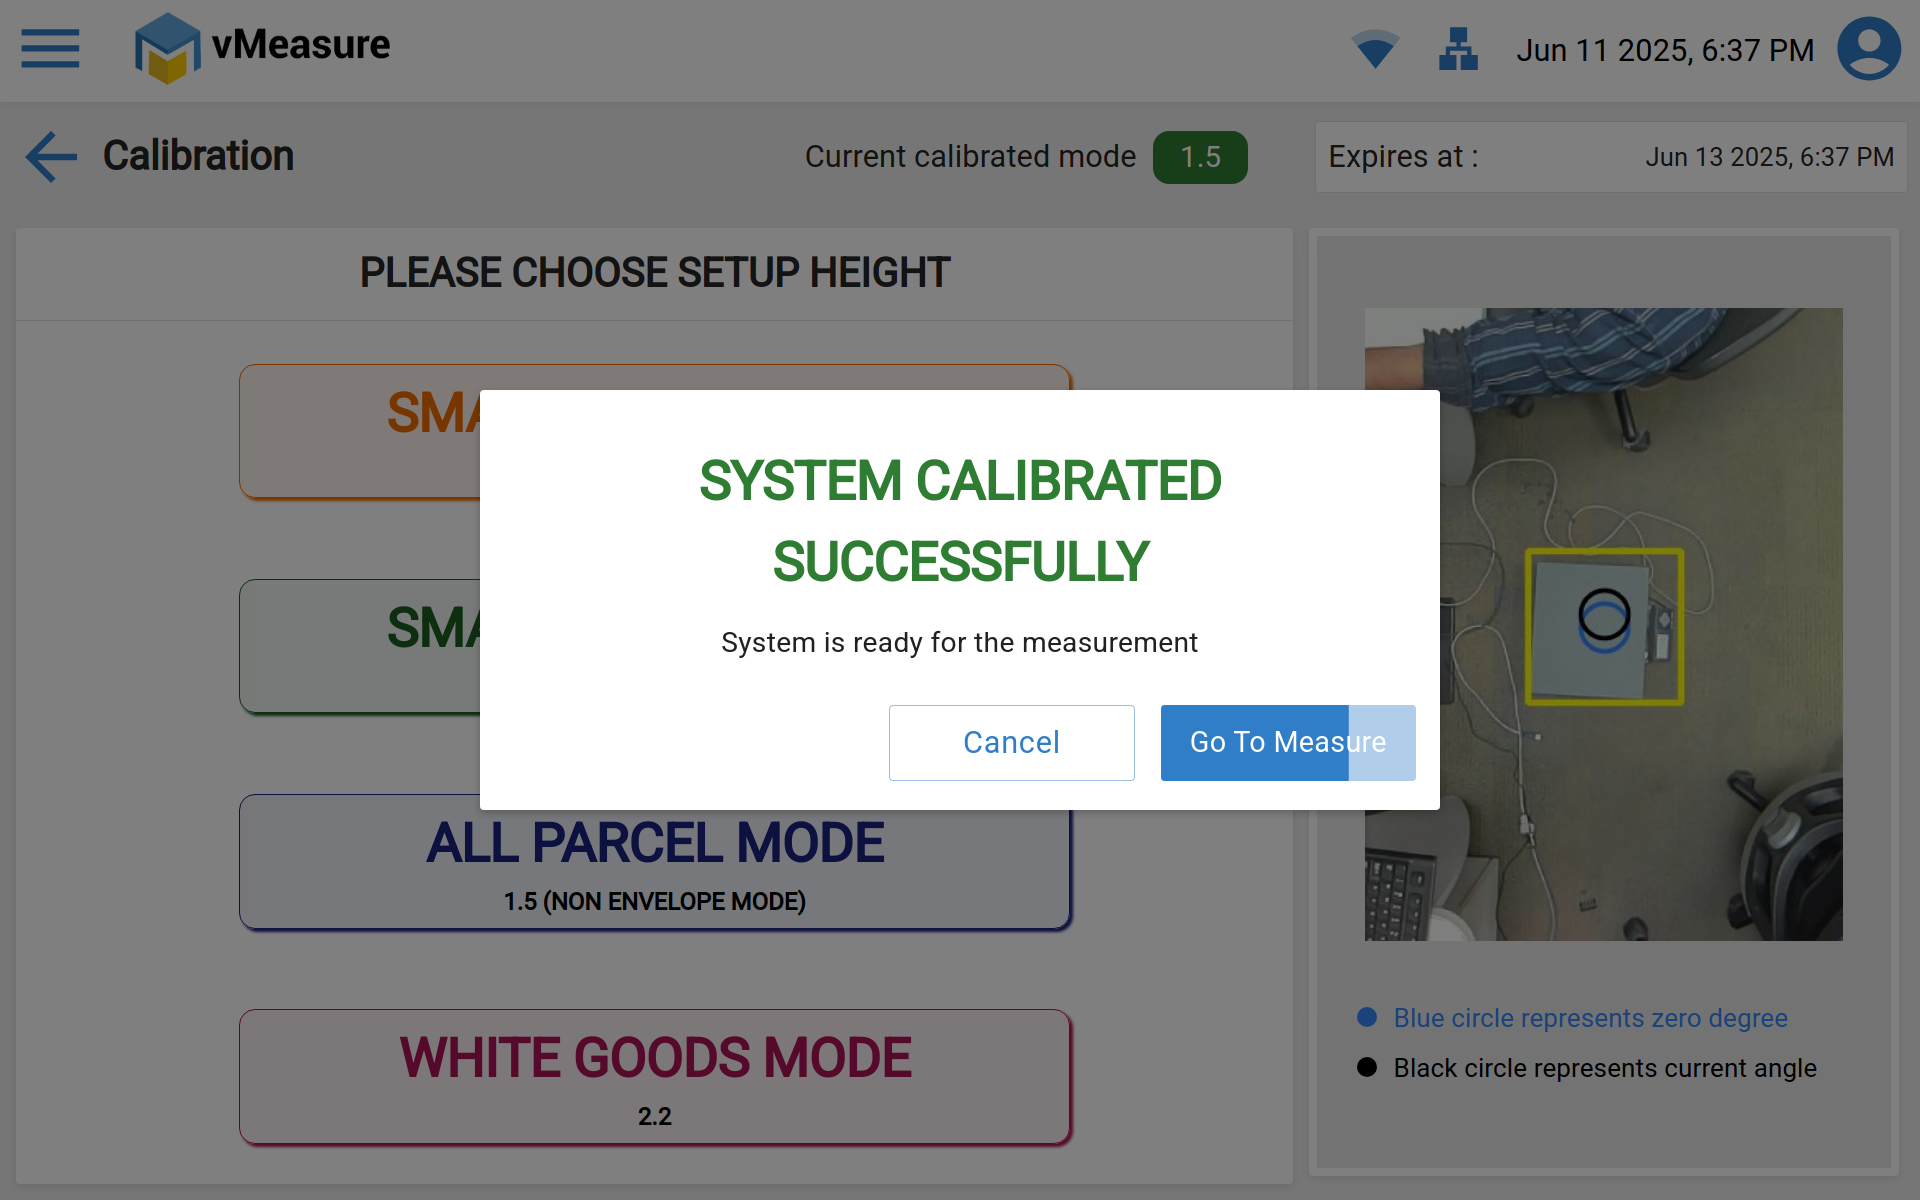
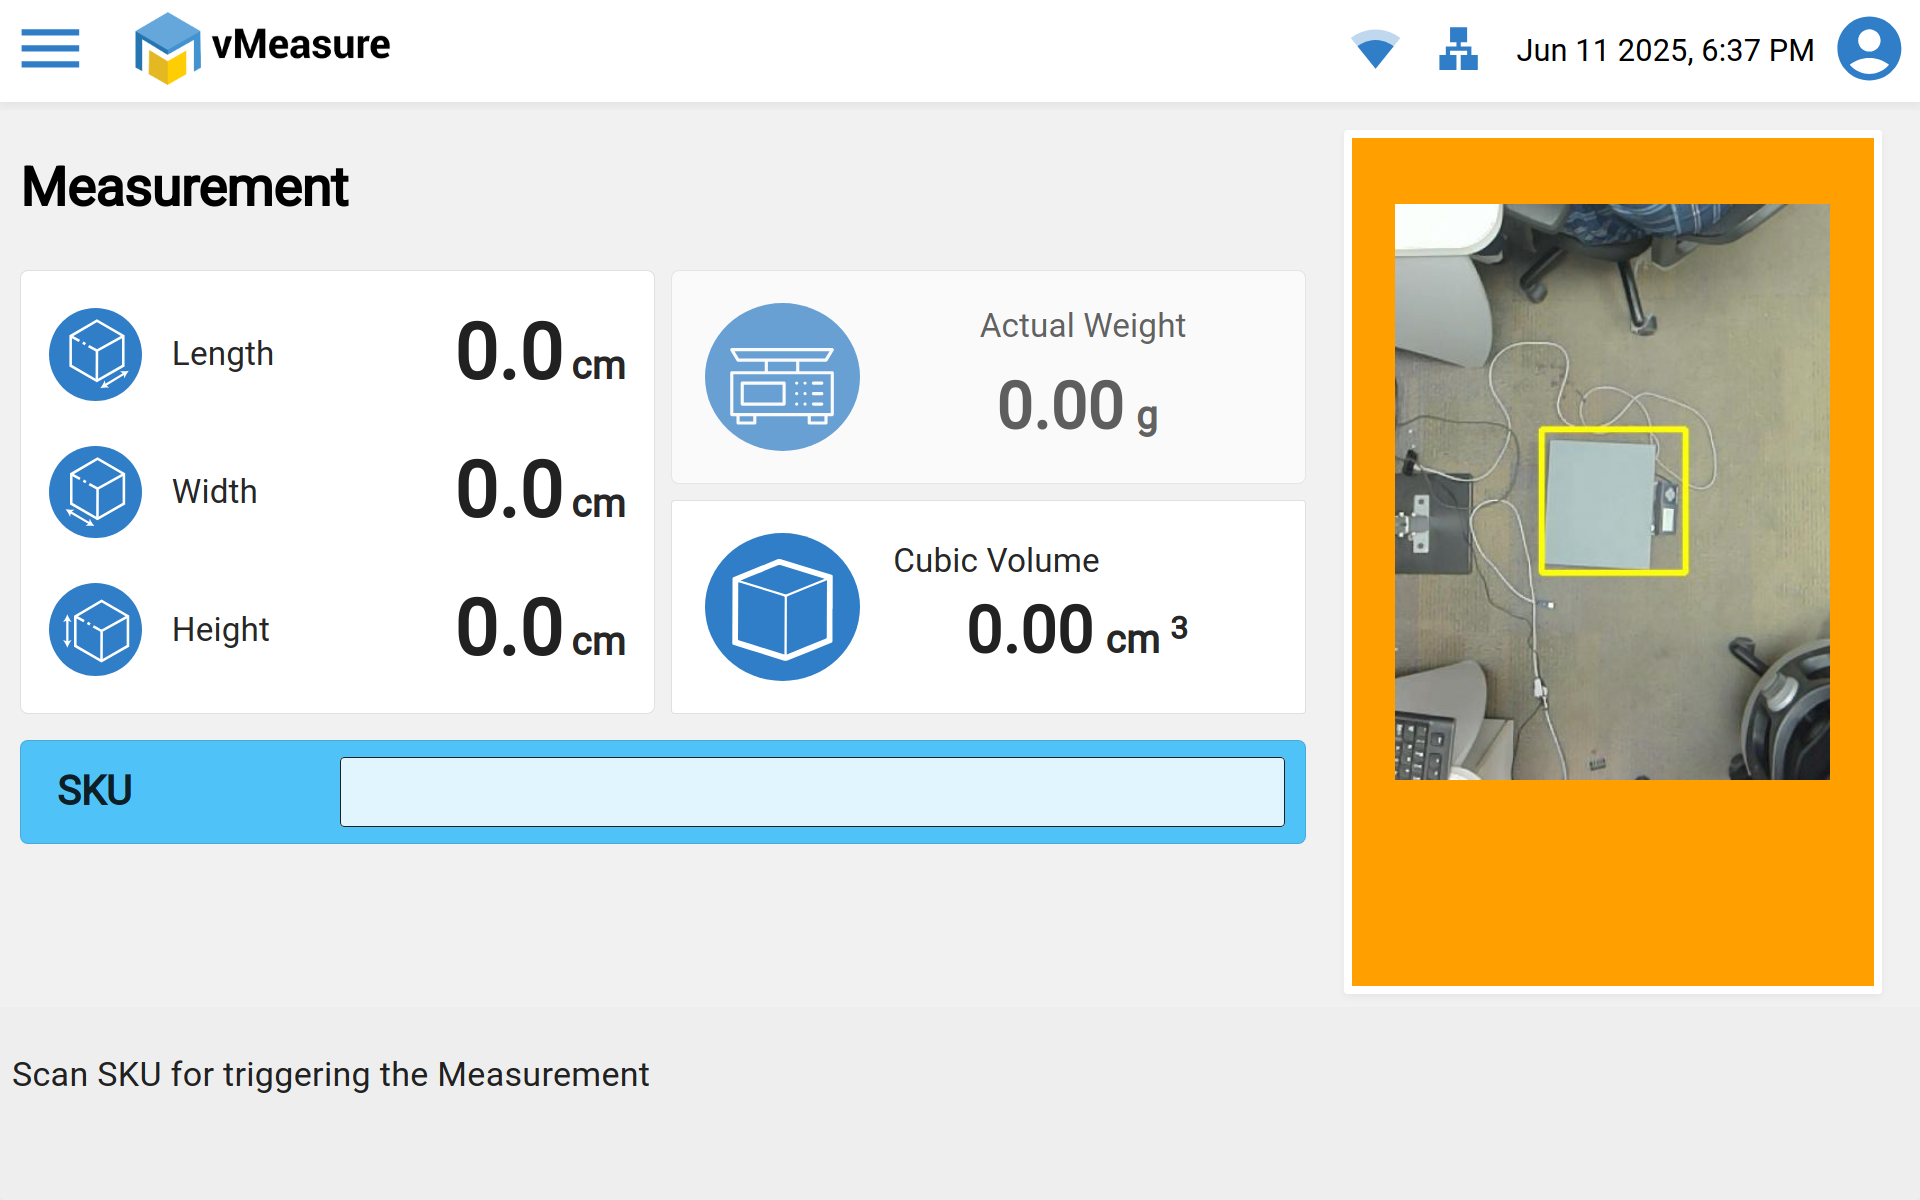
Once the calibration got successful ready for Measurement:
Was this article helpful?
That’s Great!
Thank you for your feedback
Sorry! We couldn't be helpful
Thank you for your feedback
Feedback sent
We appreciate your effort and will try to fix the article